How to add a single-line diagram to a project
Generate a single-line diagram for a project from the Projects page and finish the design so EVpin can draw it.
By the end your project will have a single-line diagram, drawn from its design. You need a project with a saved design that has chargers, a power cabinet, a switchgear and a transformer joined by conduit runs, as in How to auto-connect equipment. Single-line diagrams are available for sites in the United States.
Open the project's add menu
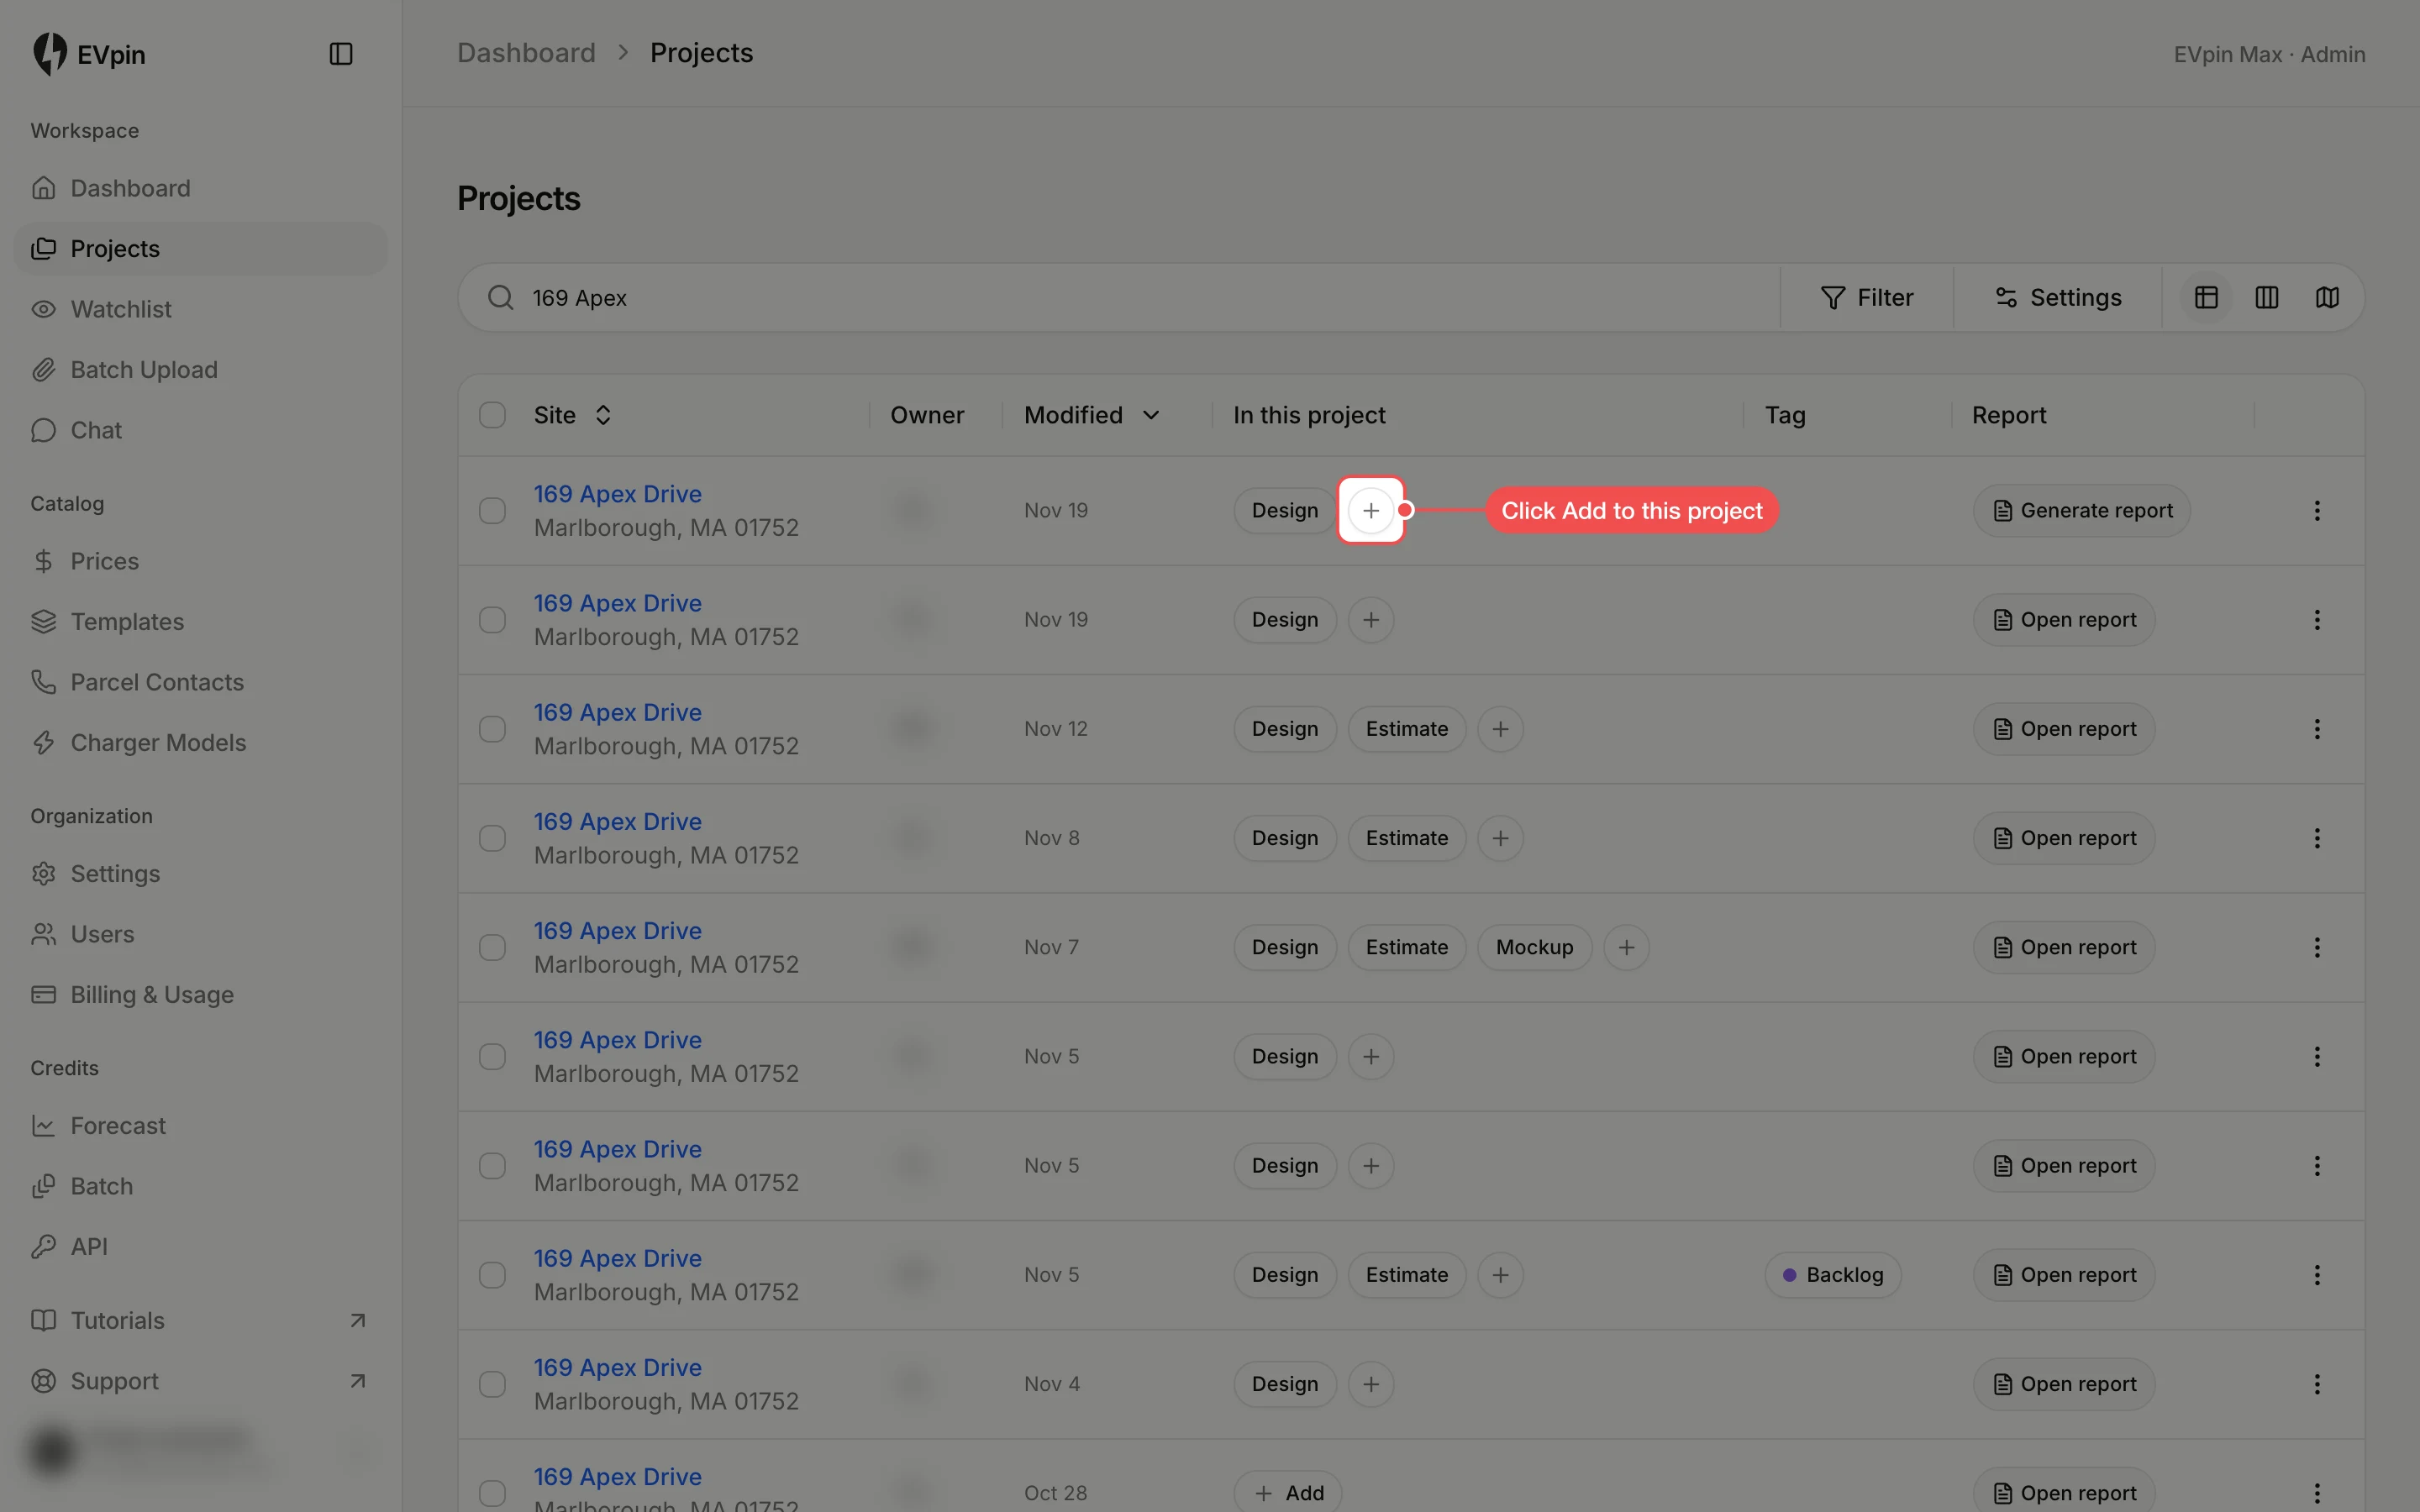
In Projects, find the project and click the + in its In this project column.
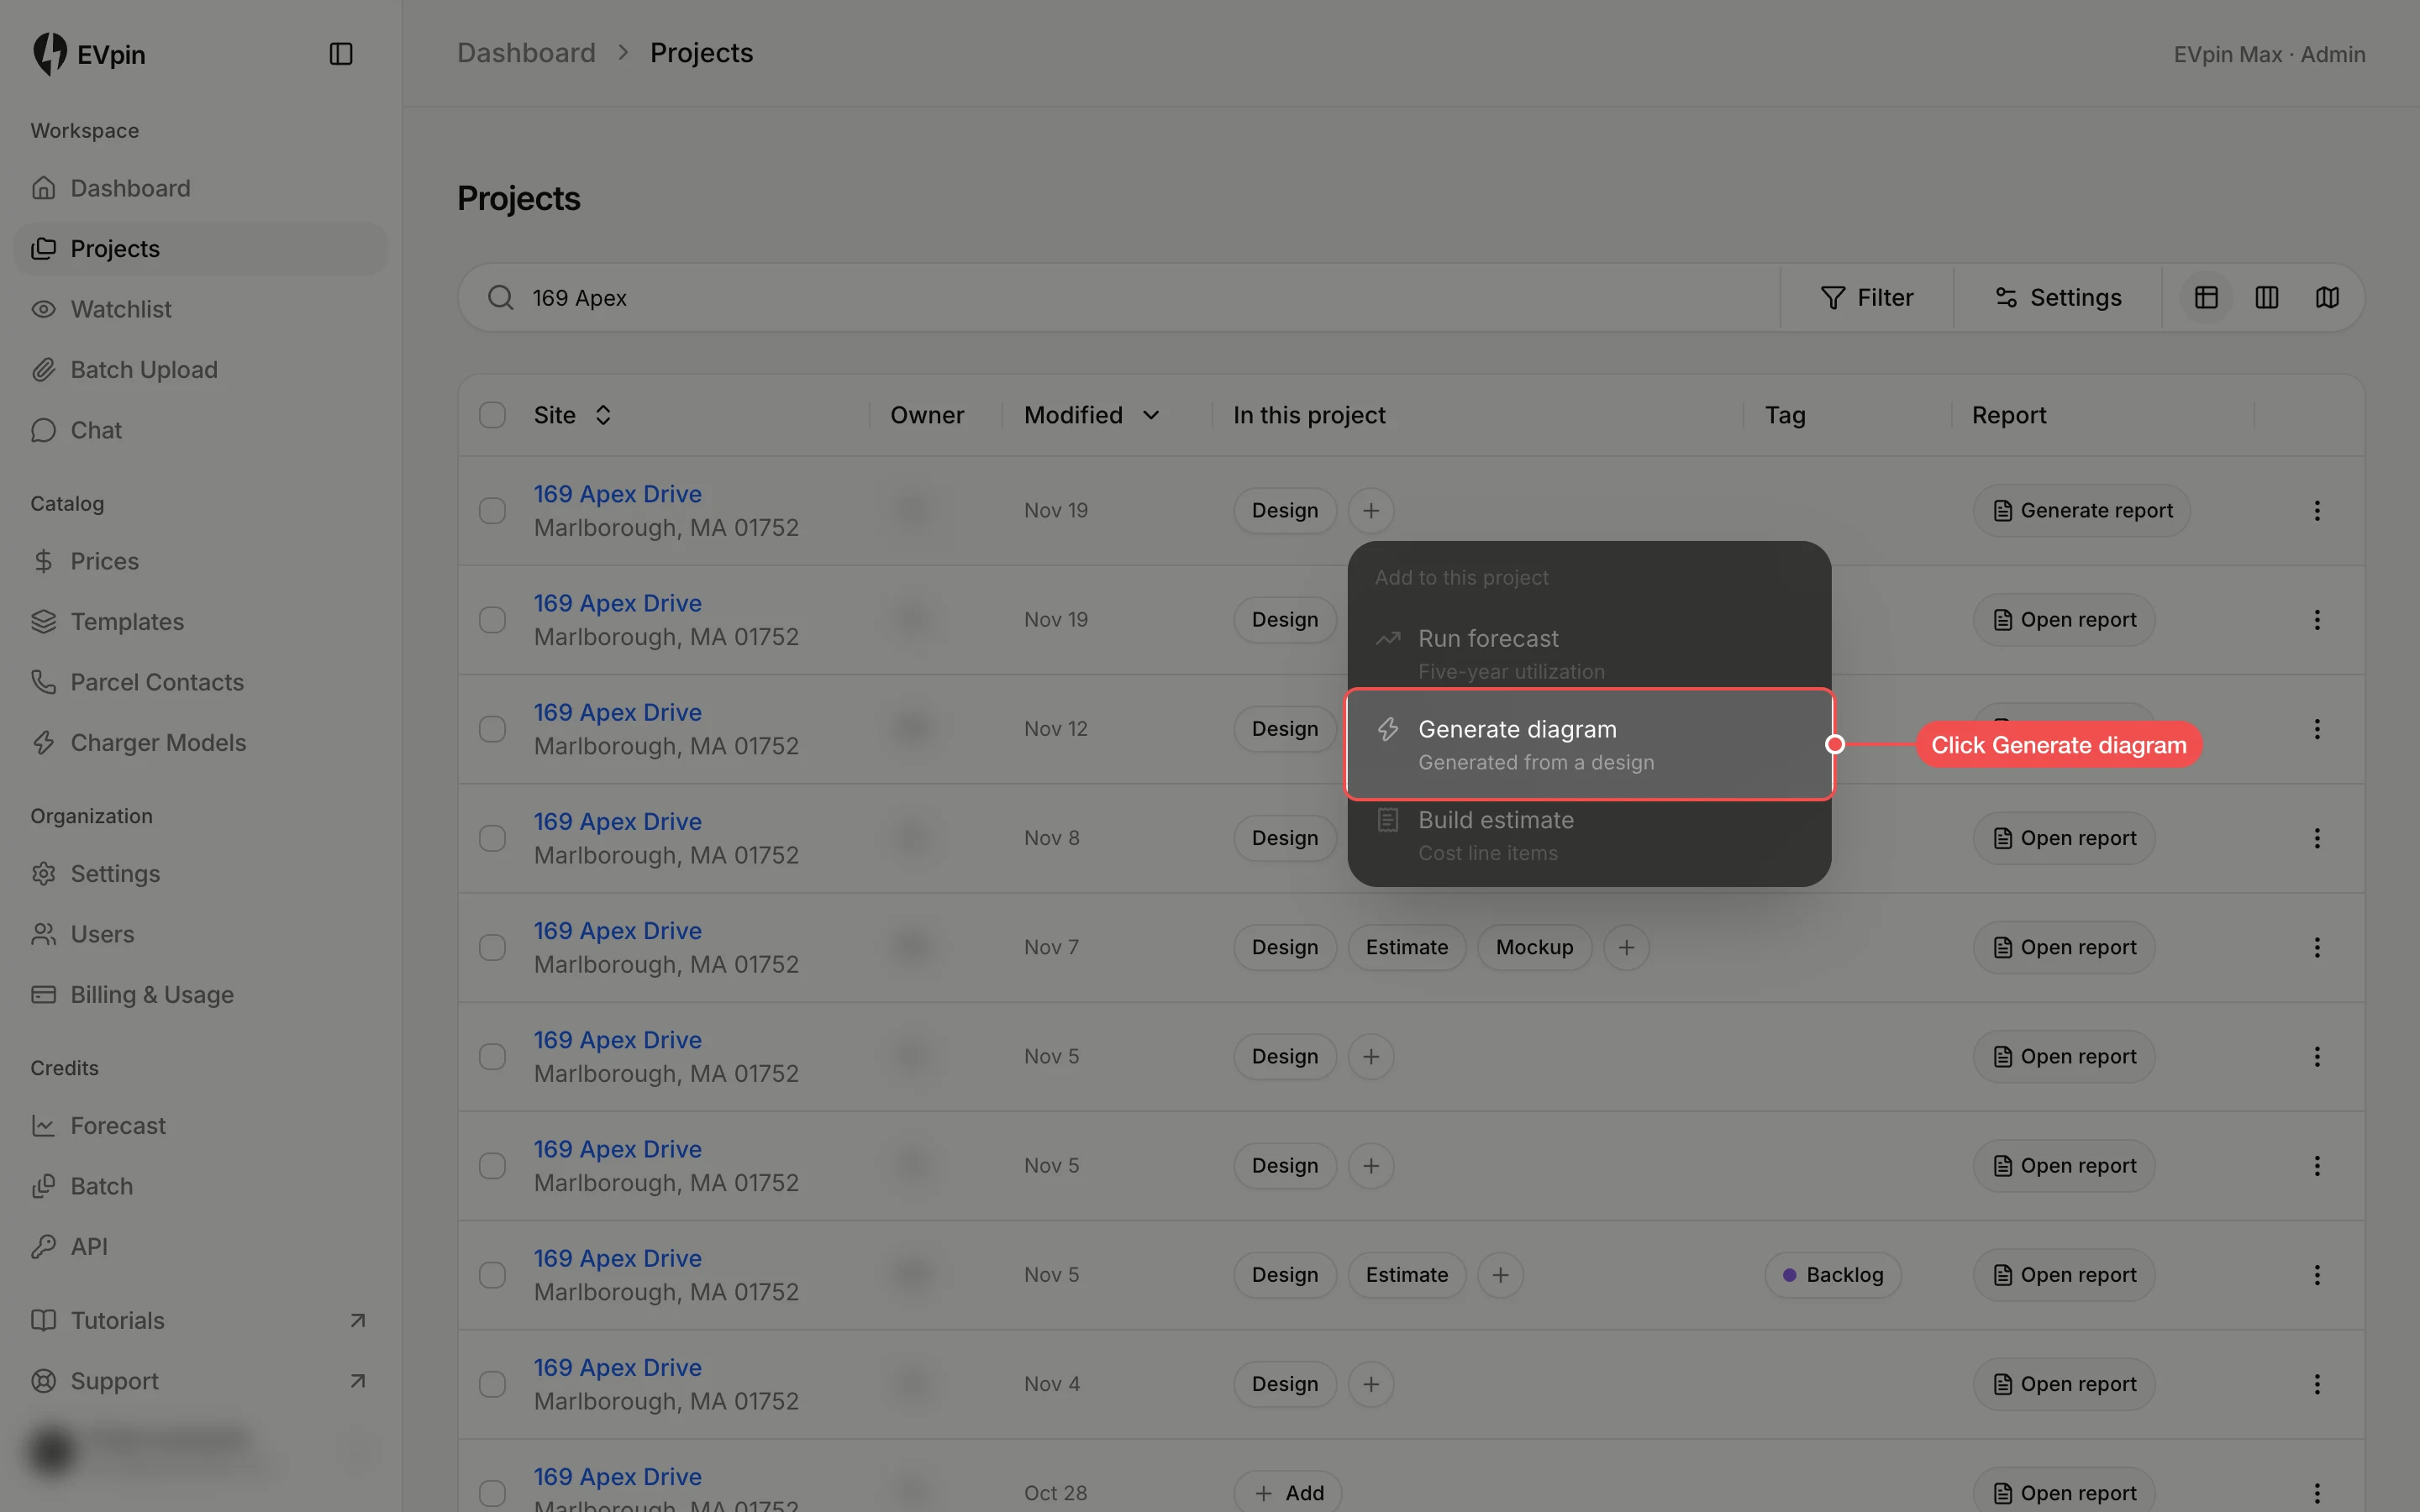
Click Generate diagram
In the Add to this project menu, click Generate diagram. The design opens with the Electrical panel on its SLD tab.
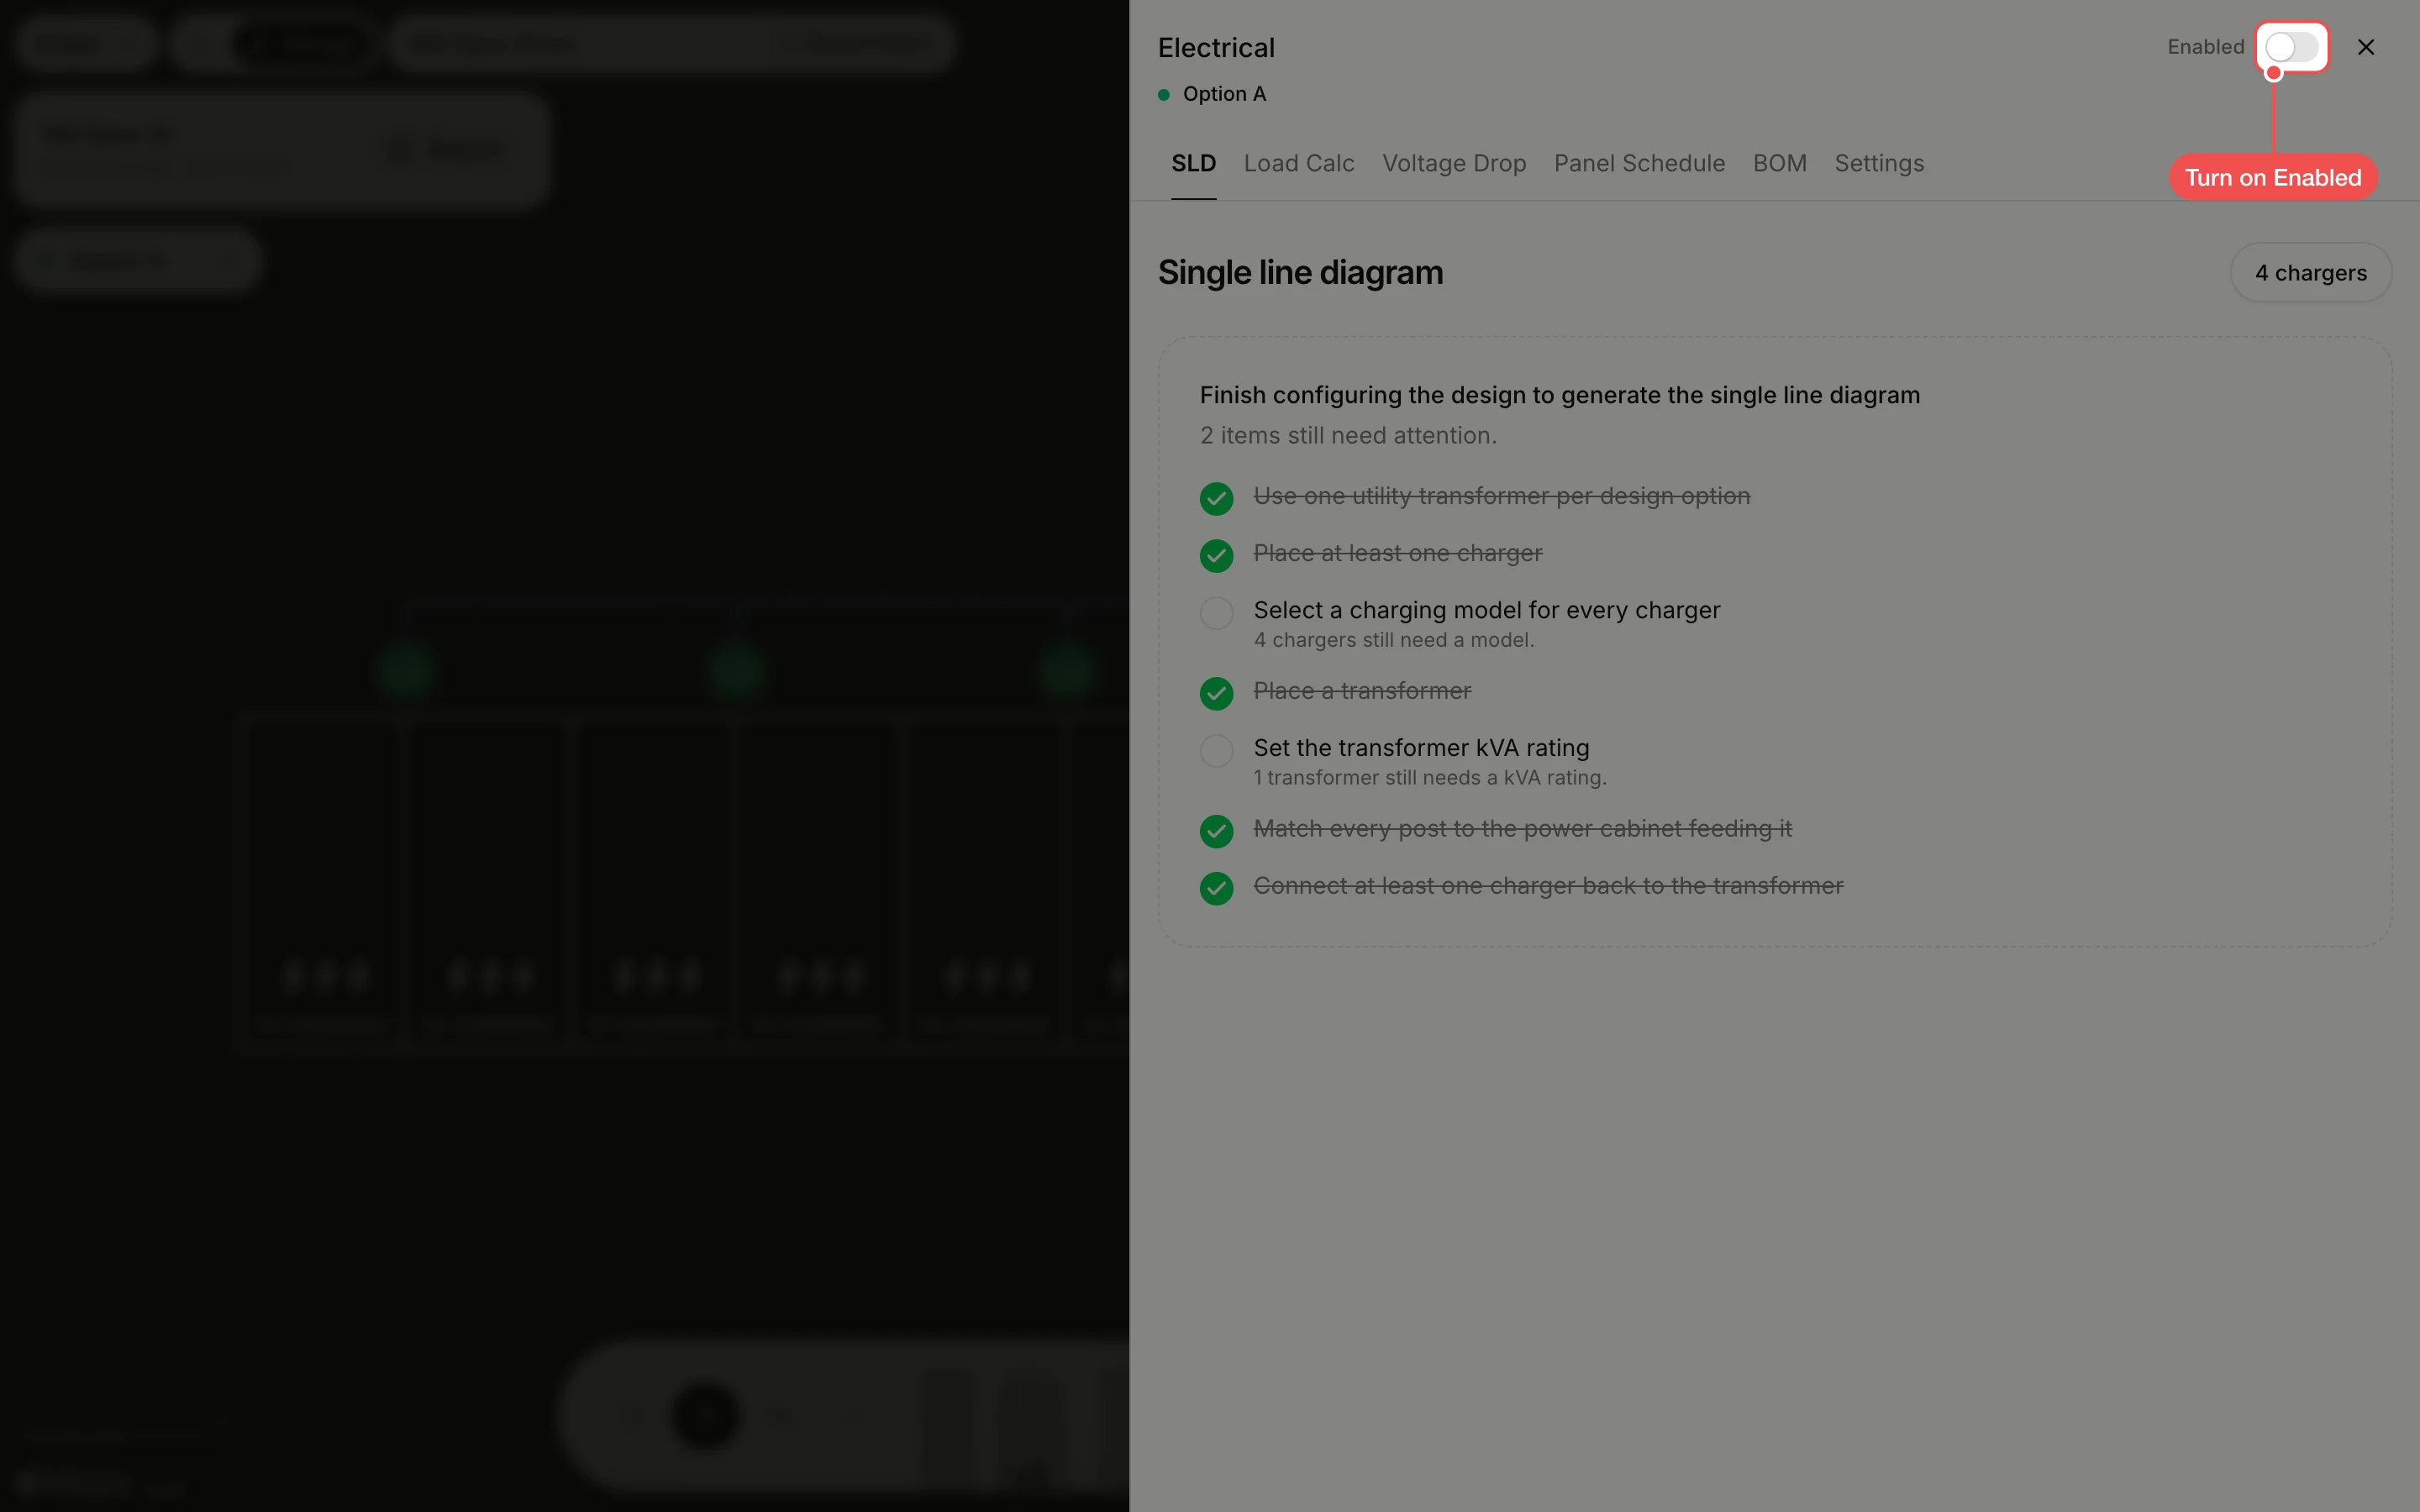
Turn on Enabled
At the top of the Electrical panel, turn on Enabled. This turns on electrical design for the current design option.
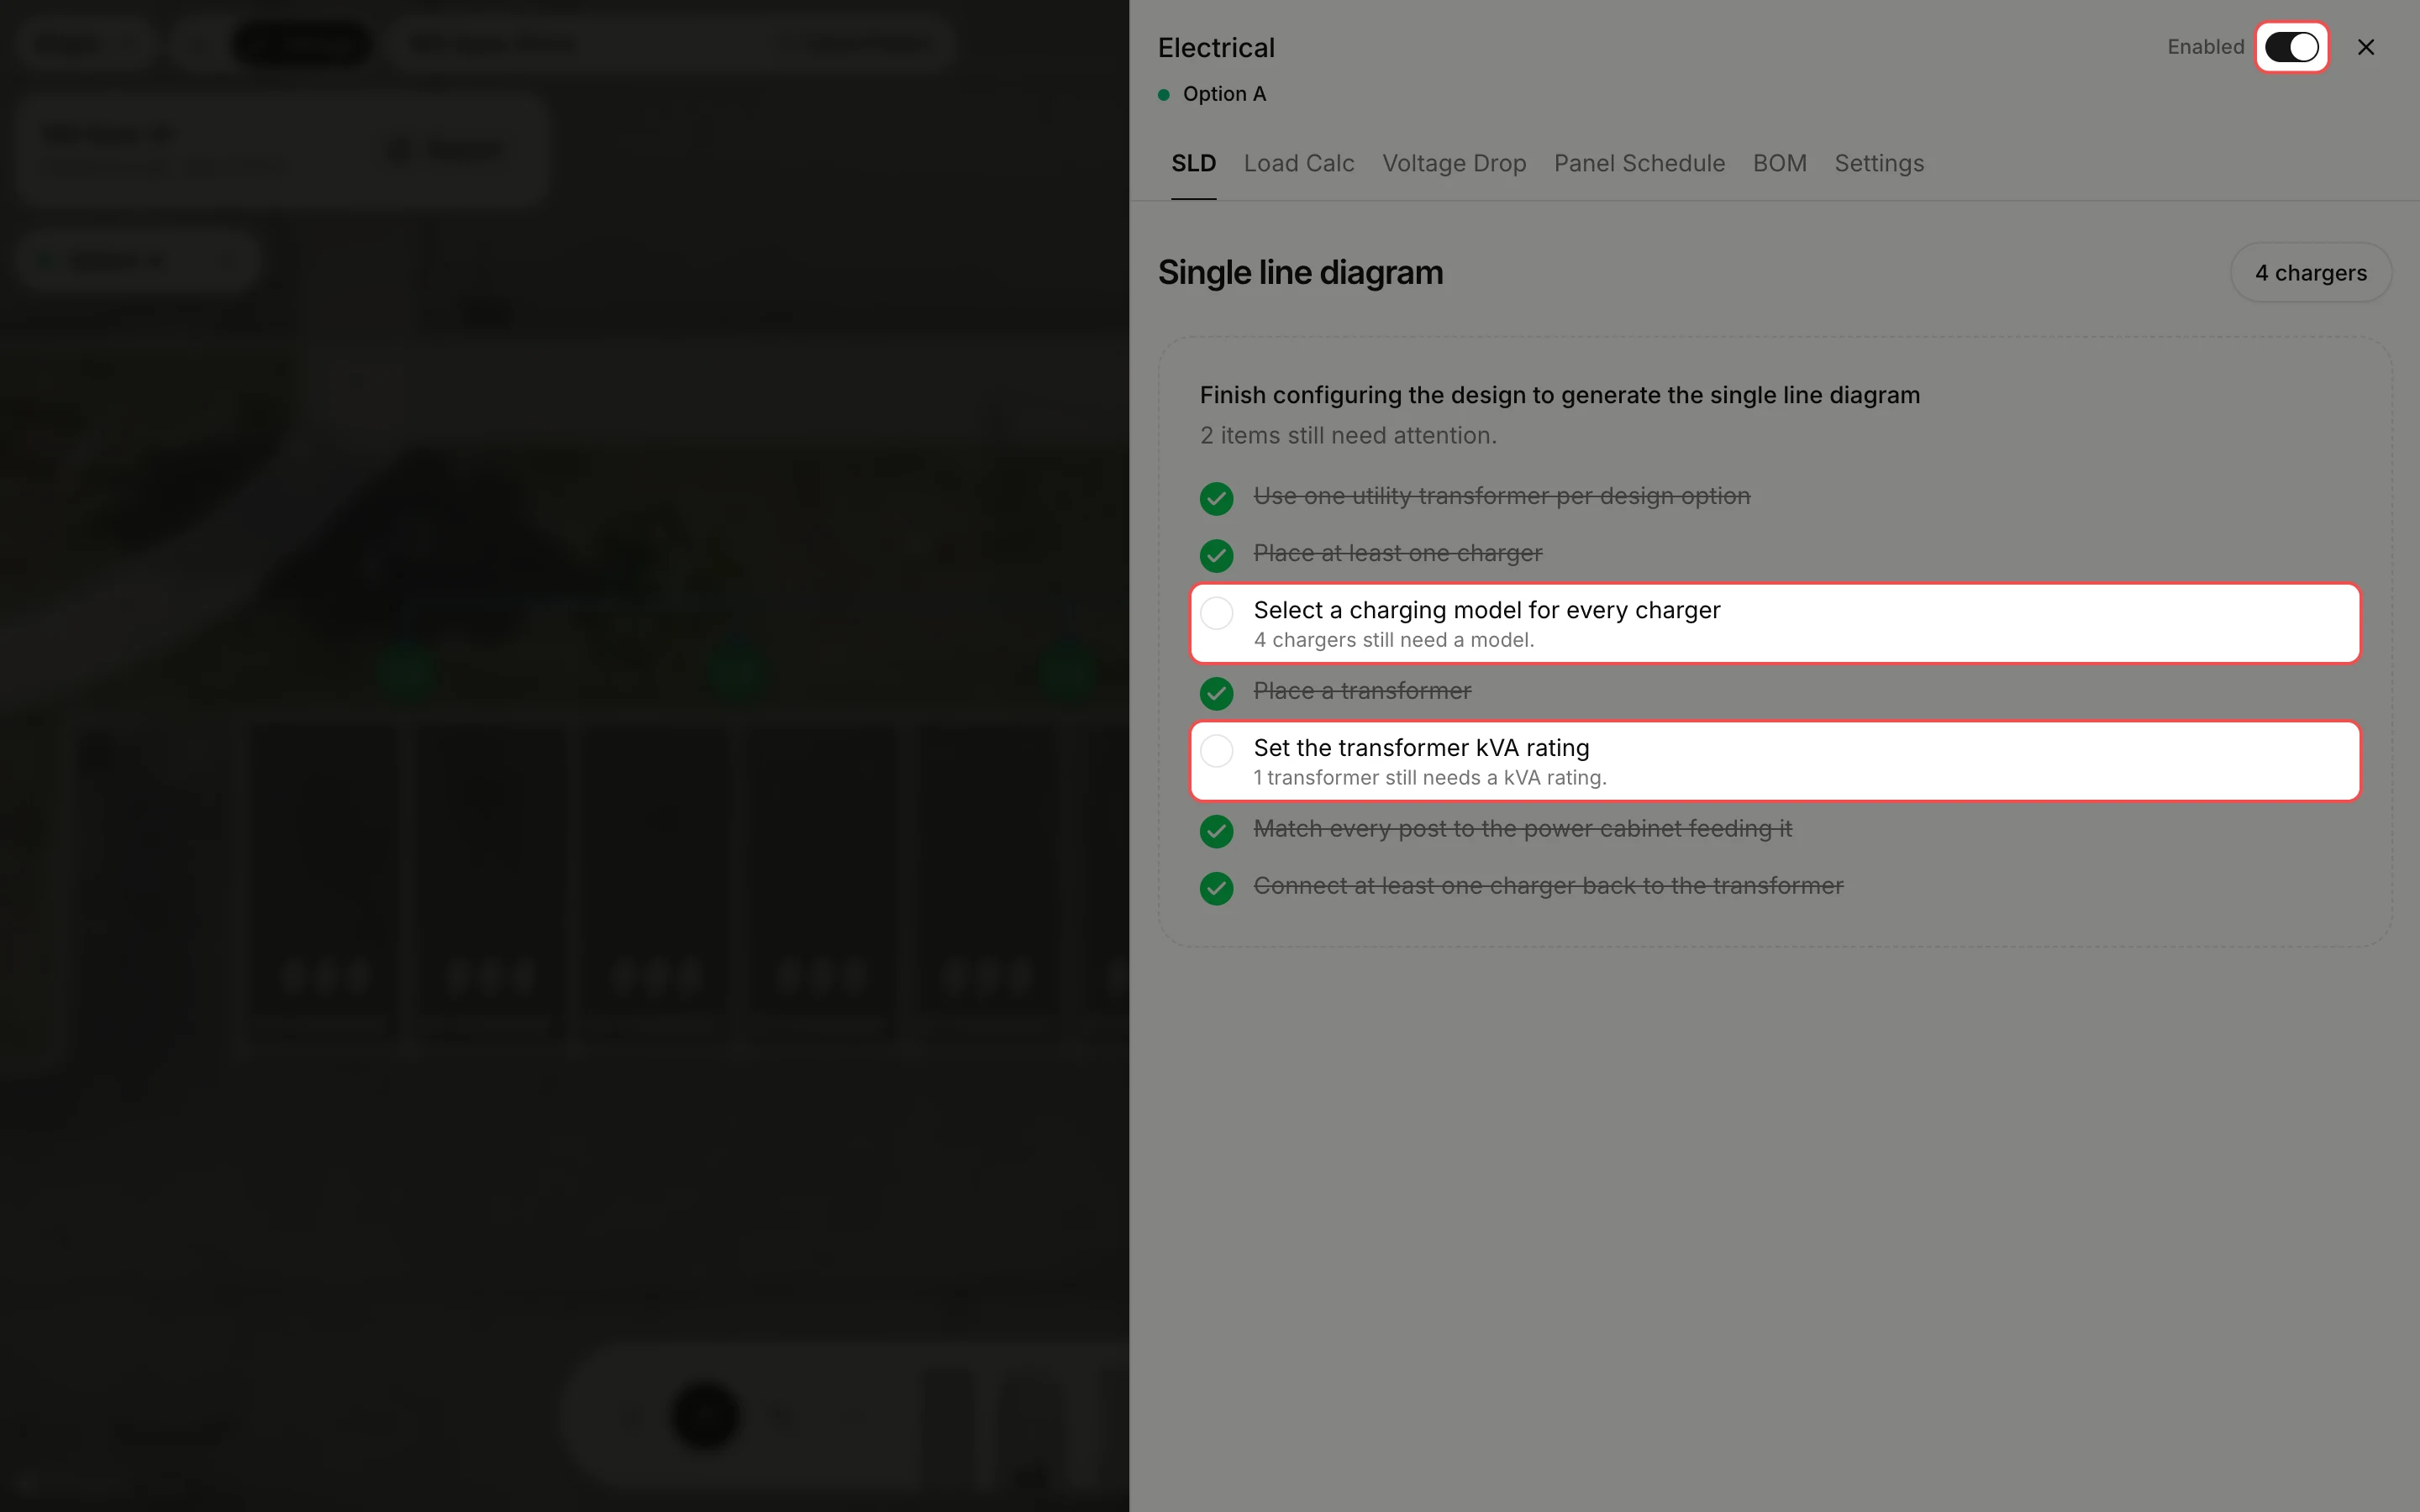
Read what is missing
The SLD tab lists what the design still needs before the diagram can be drawn. Here every charger needs a model and the transformer needs a kVA rating.
Finish the design and save it
Close the panel and clear each item on the map: pick the power cabinet's model as in How to pick a power cabinet's model, and set the transformer's rating as in How to set a transformer's kVA rating. Then click Save in the toolbar.
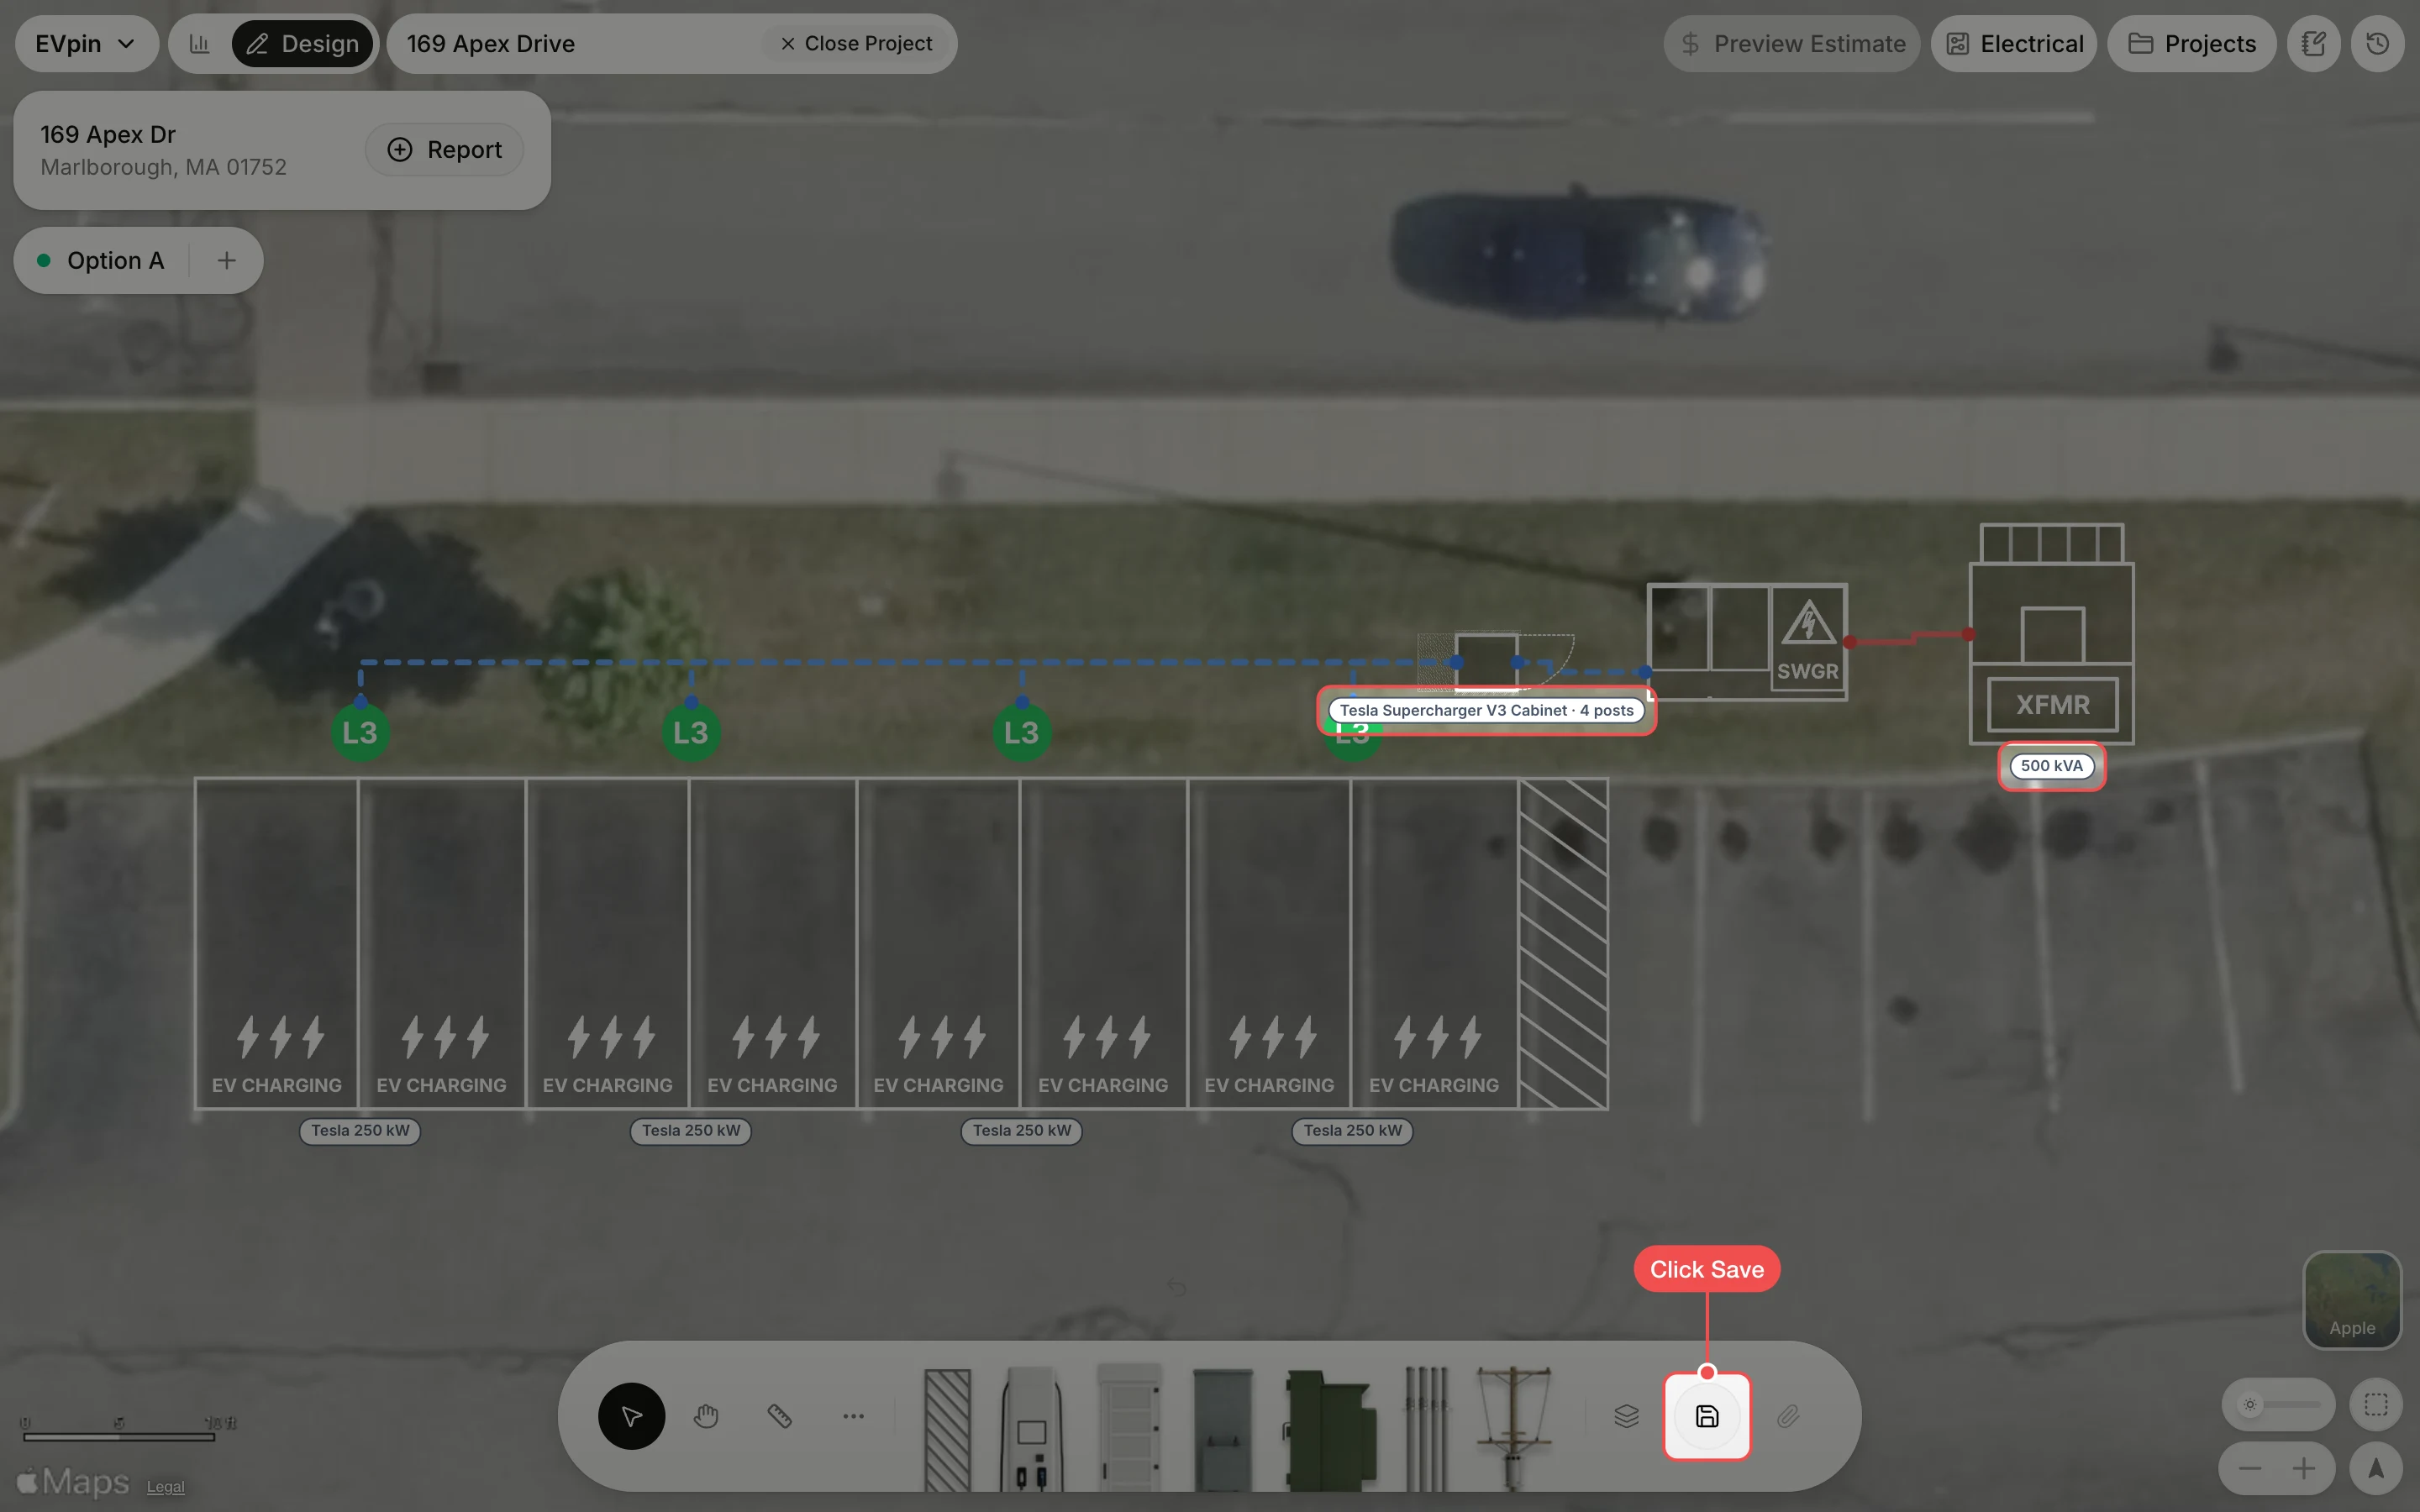
Open the diagram
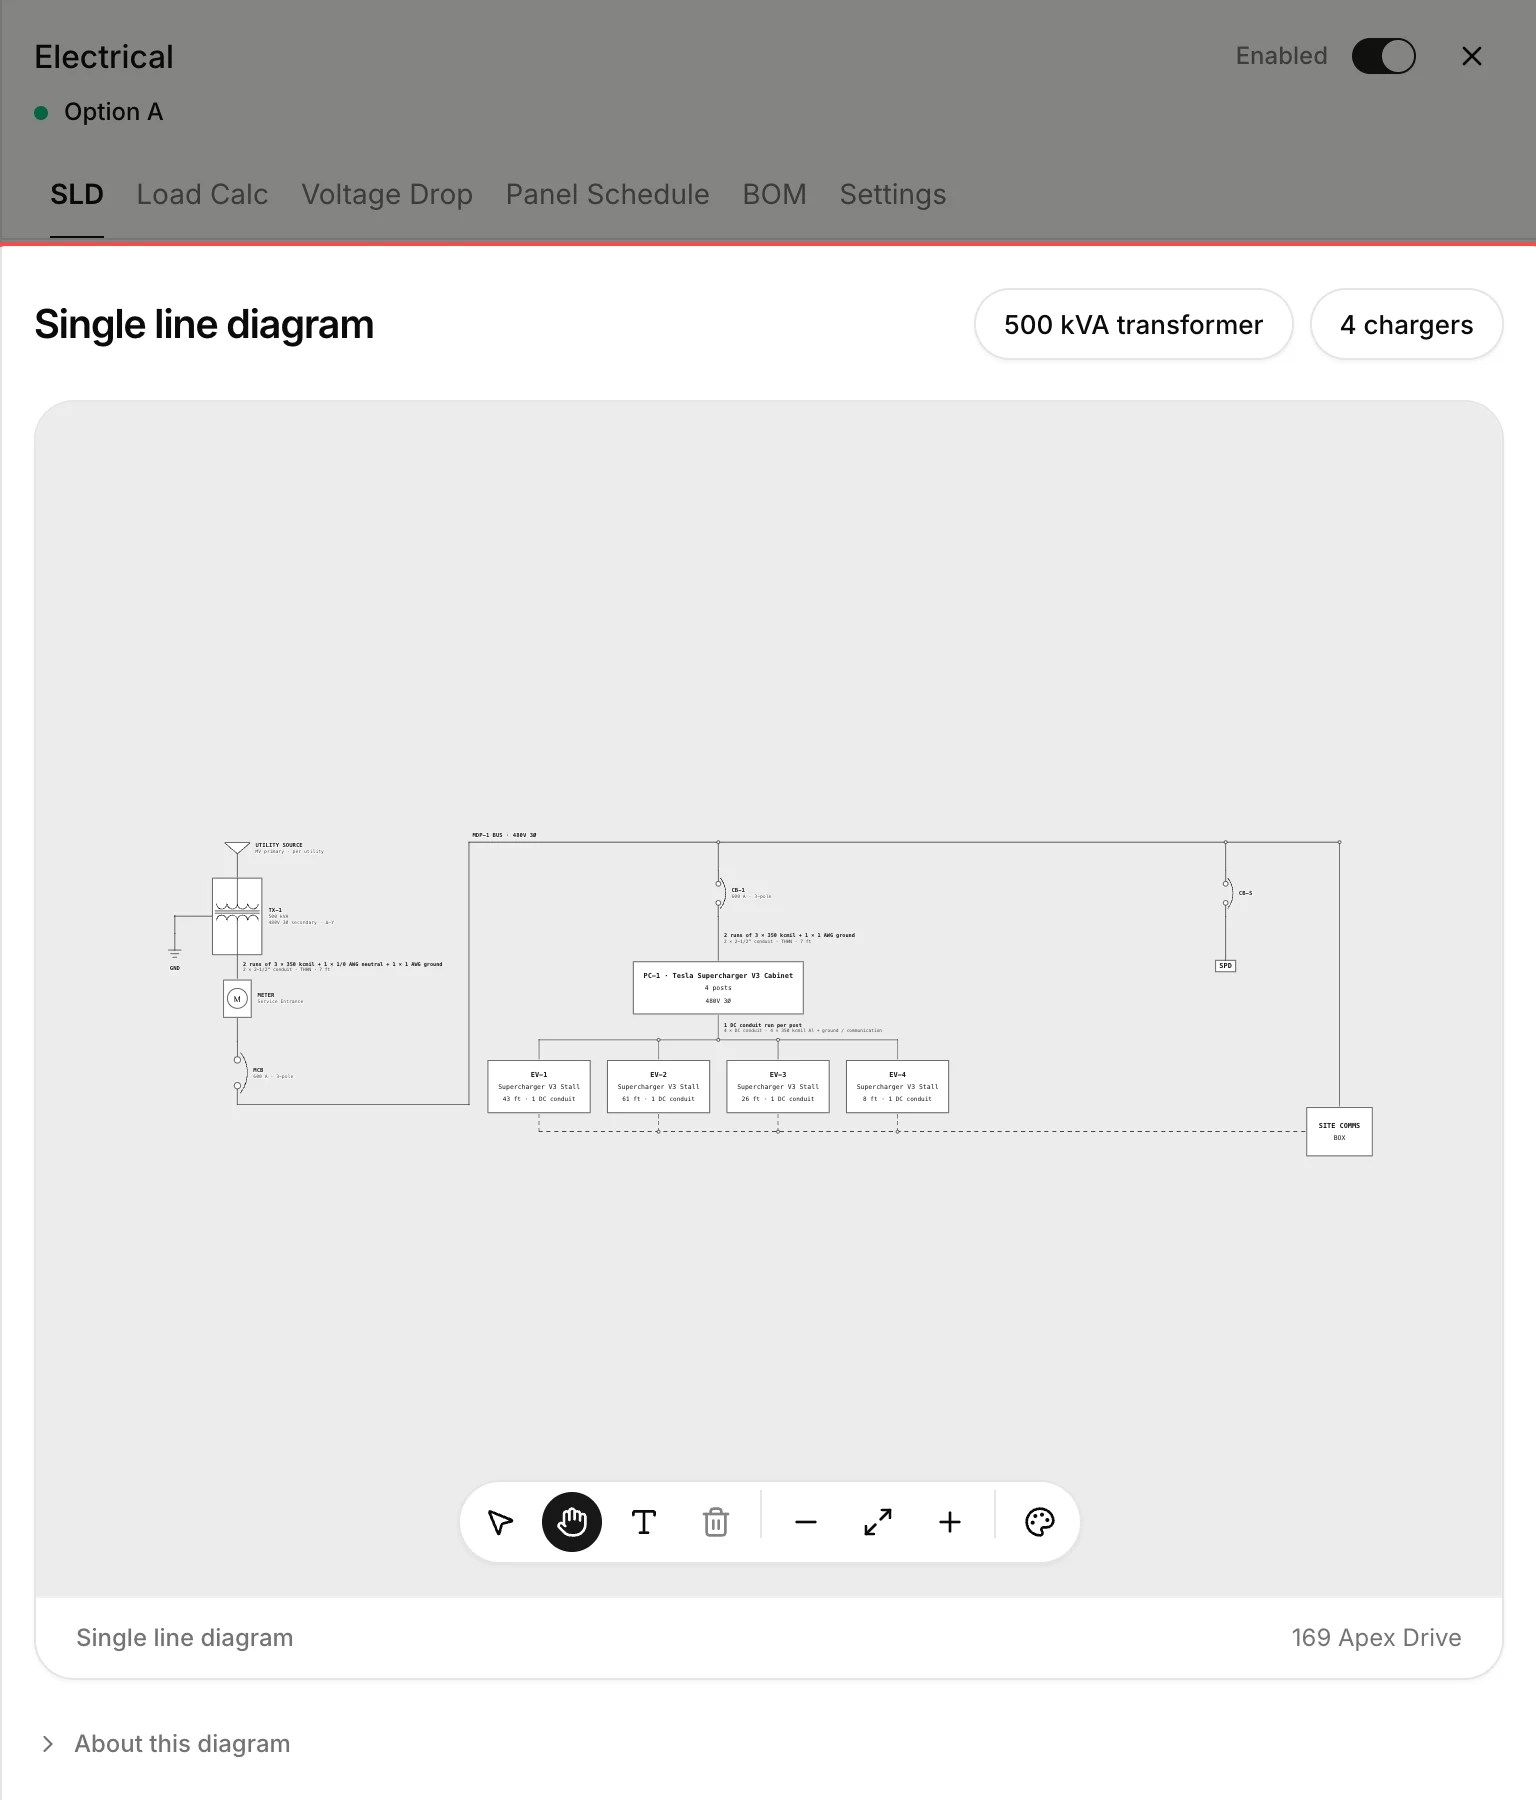
Click Electrical at the top of the page. The SLD tab now shows the single line diagram, from the utility source through the transformer, switchgear and power cabinet to each charger.
Find it on the Projects page
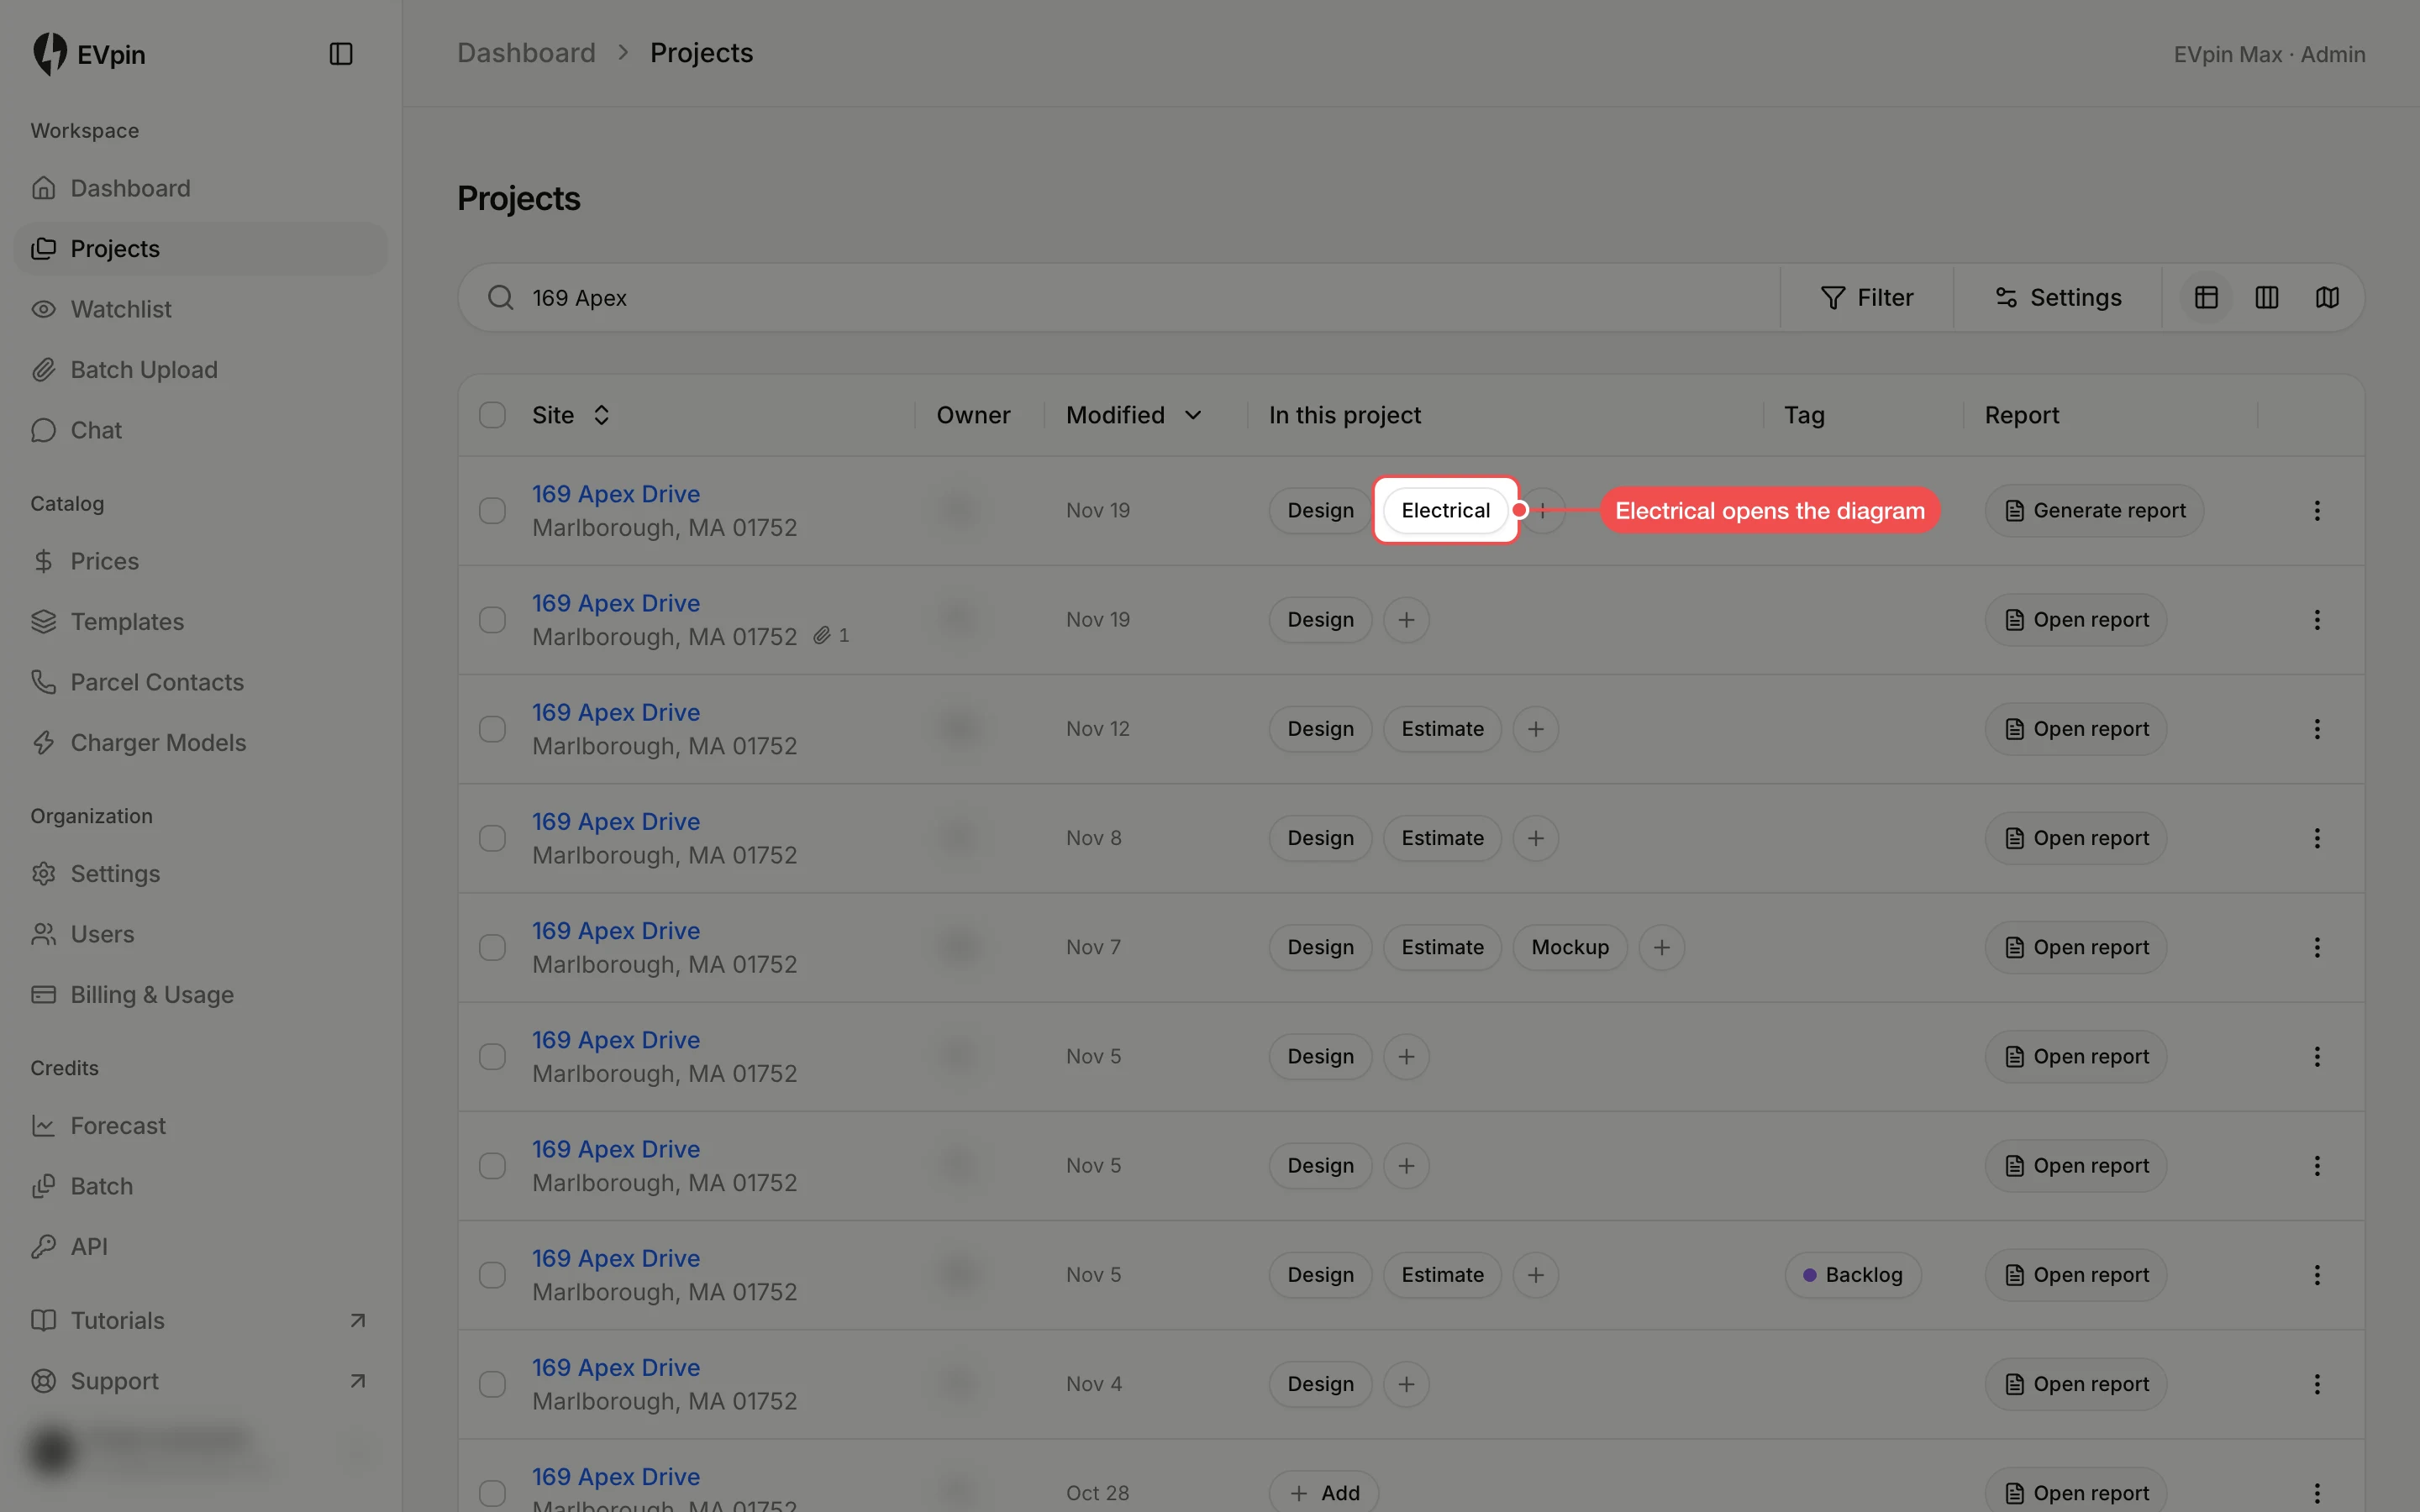
Back in Projects, the project's row has an Electrical chip. Click it to open the single-line diagram.
What's next
- How to view a design's single line diagram to fit it to the panel and add notes.
- How to check a design's load calculation to see whether the transformer is big enough.