How to add charging stalls to a design
Generate a row of chargers on the Design page, move it into place, and save the design as a project.
By the end you will have a saved design with a row of charging stalls laid out to scale on the site. You need an EVpin account and the address of the site.
Open the Design page
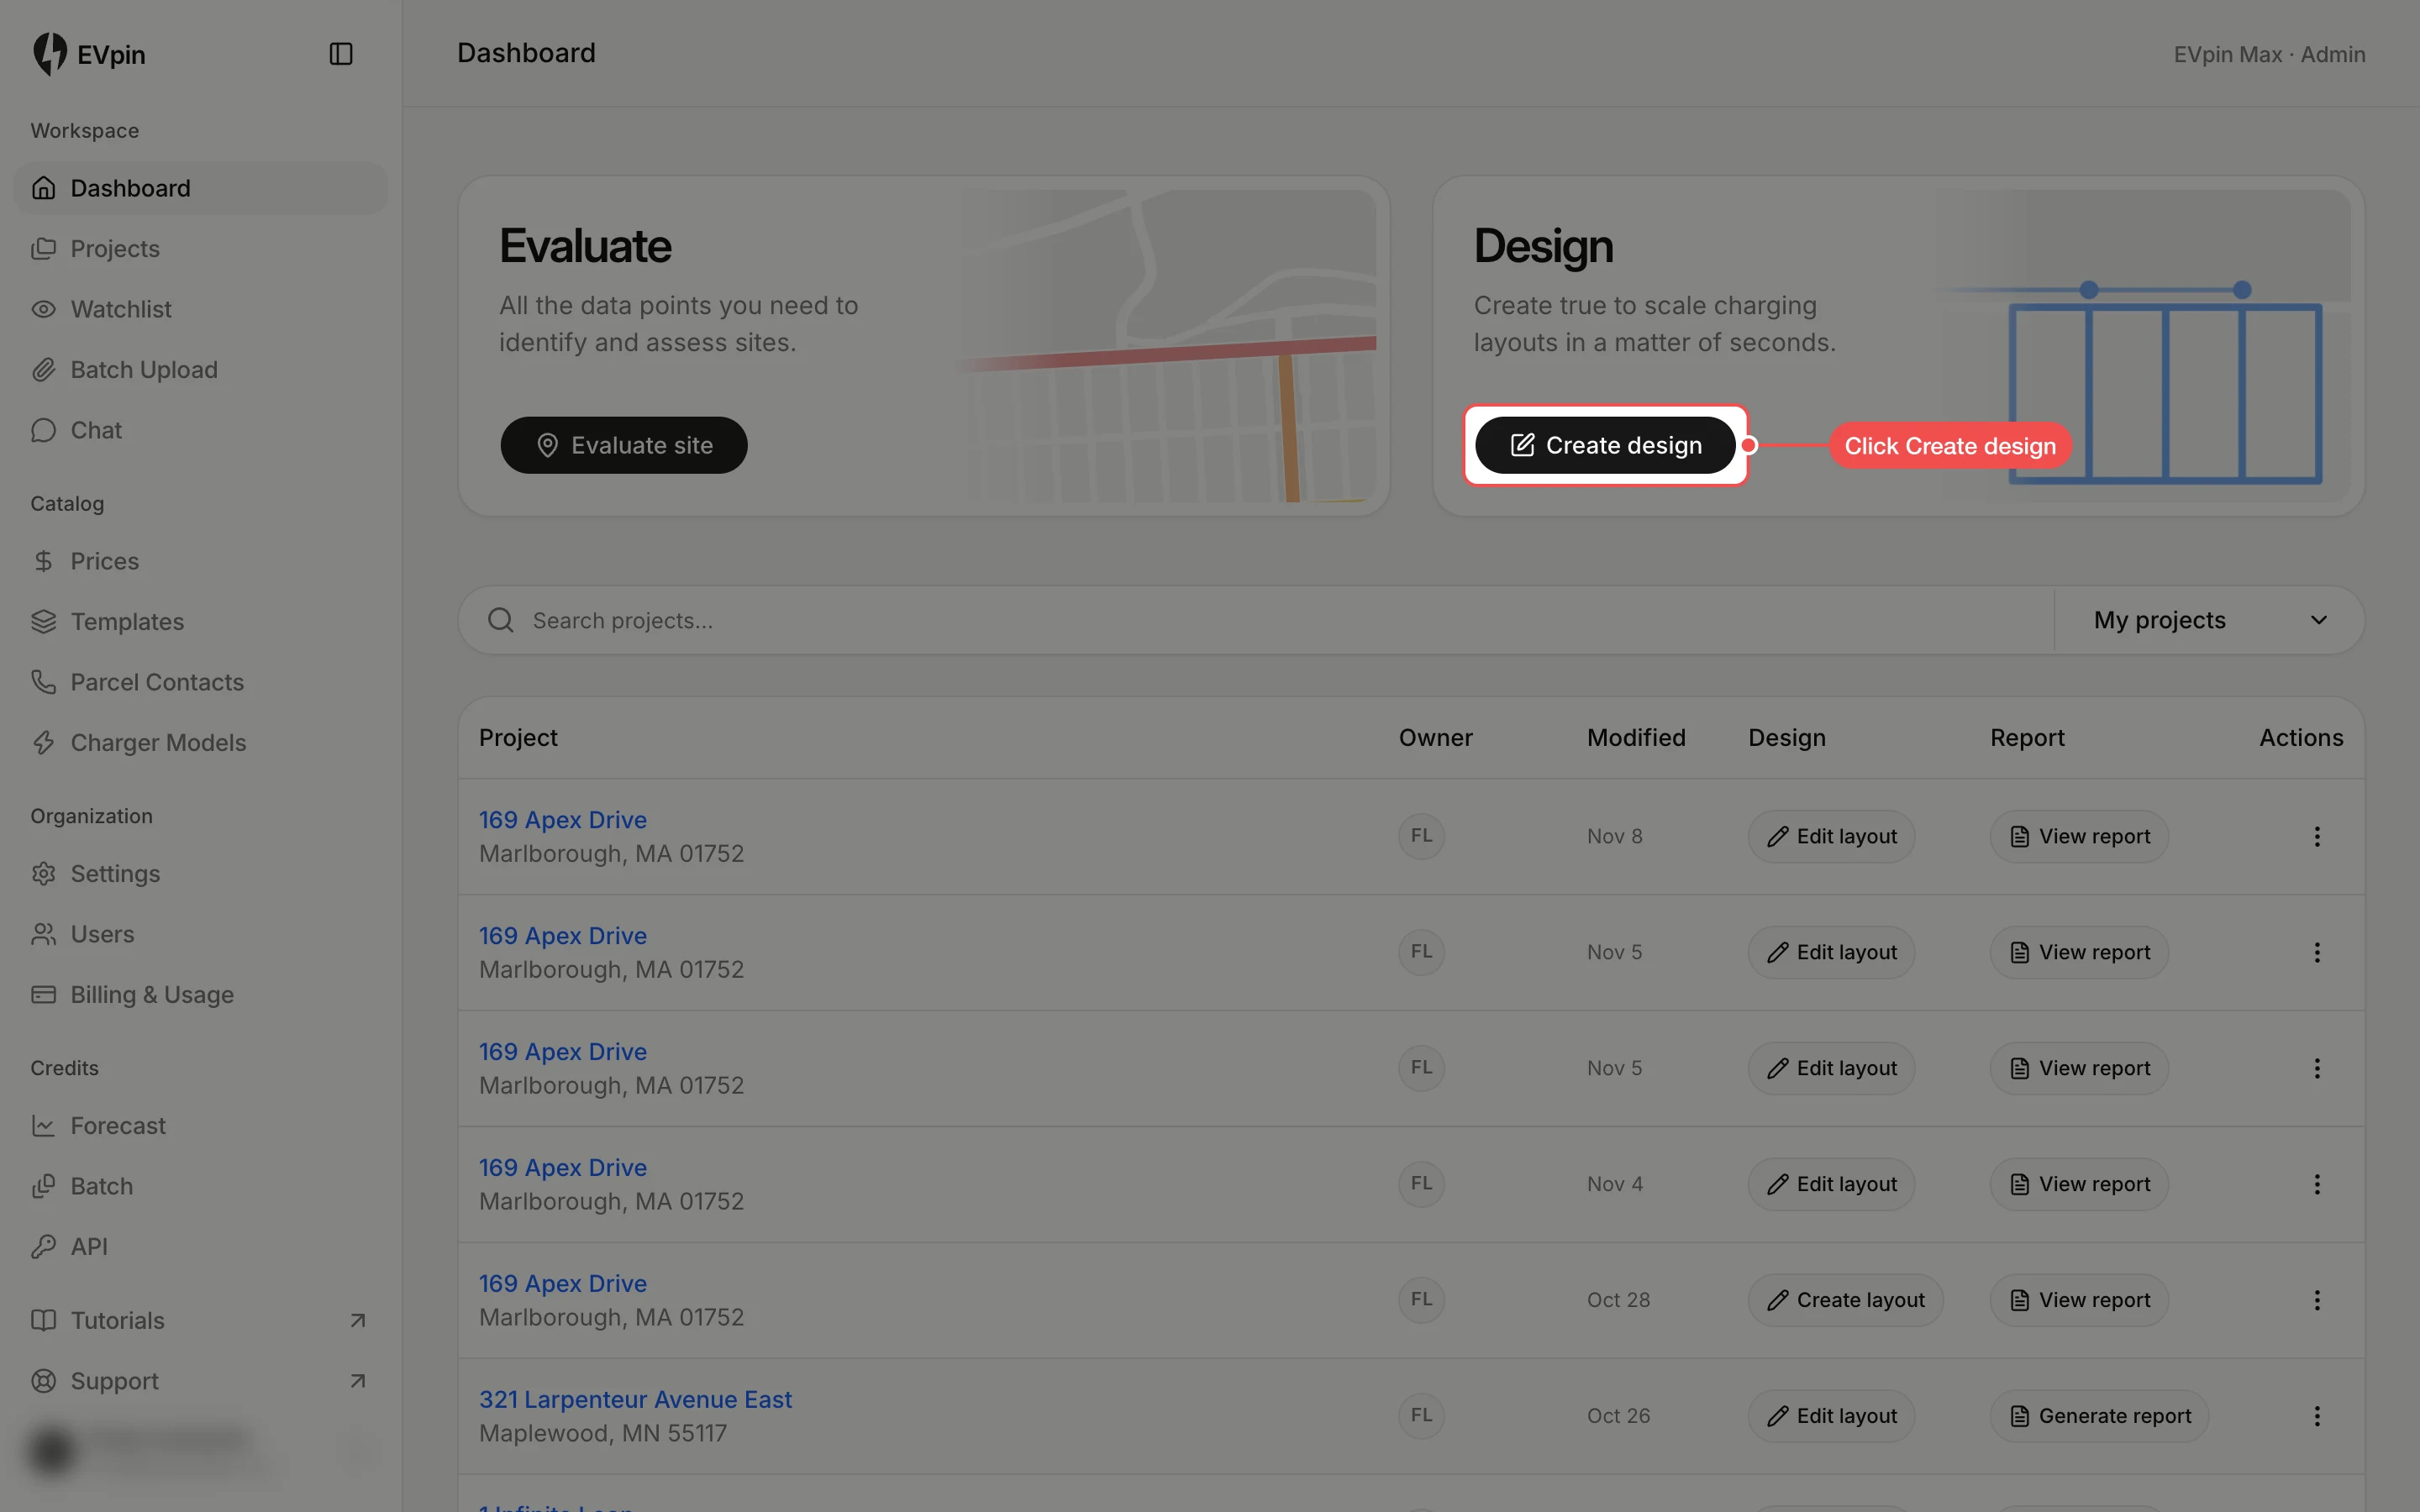
From the dashboard, click Create design. The map opens in satellite view with the search box at the top.
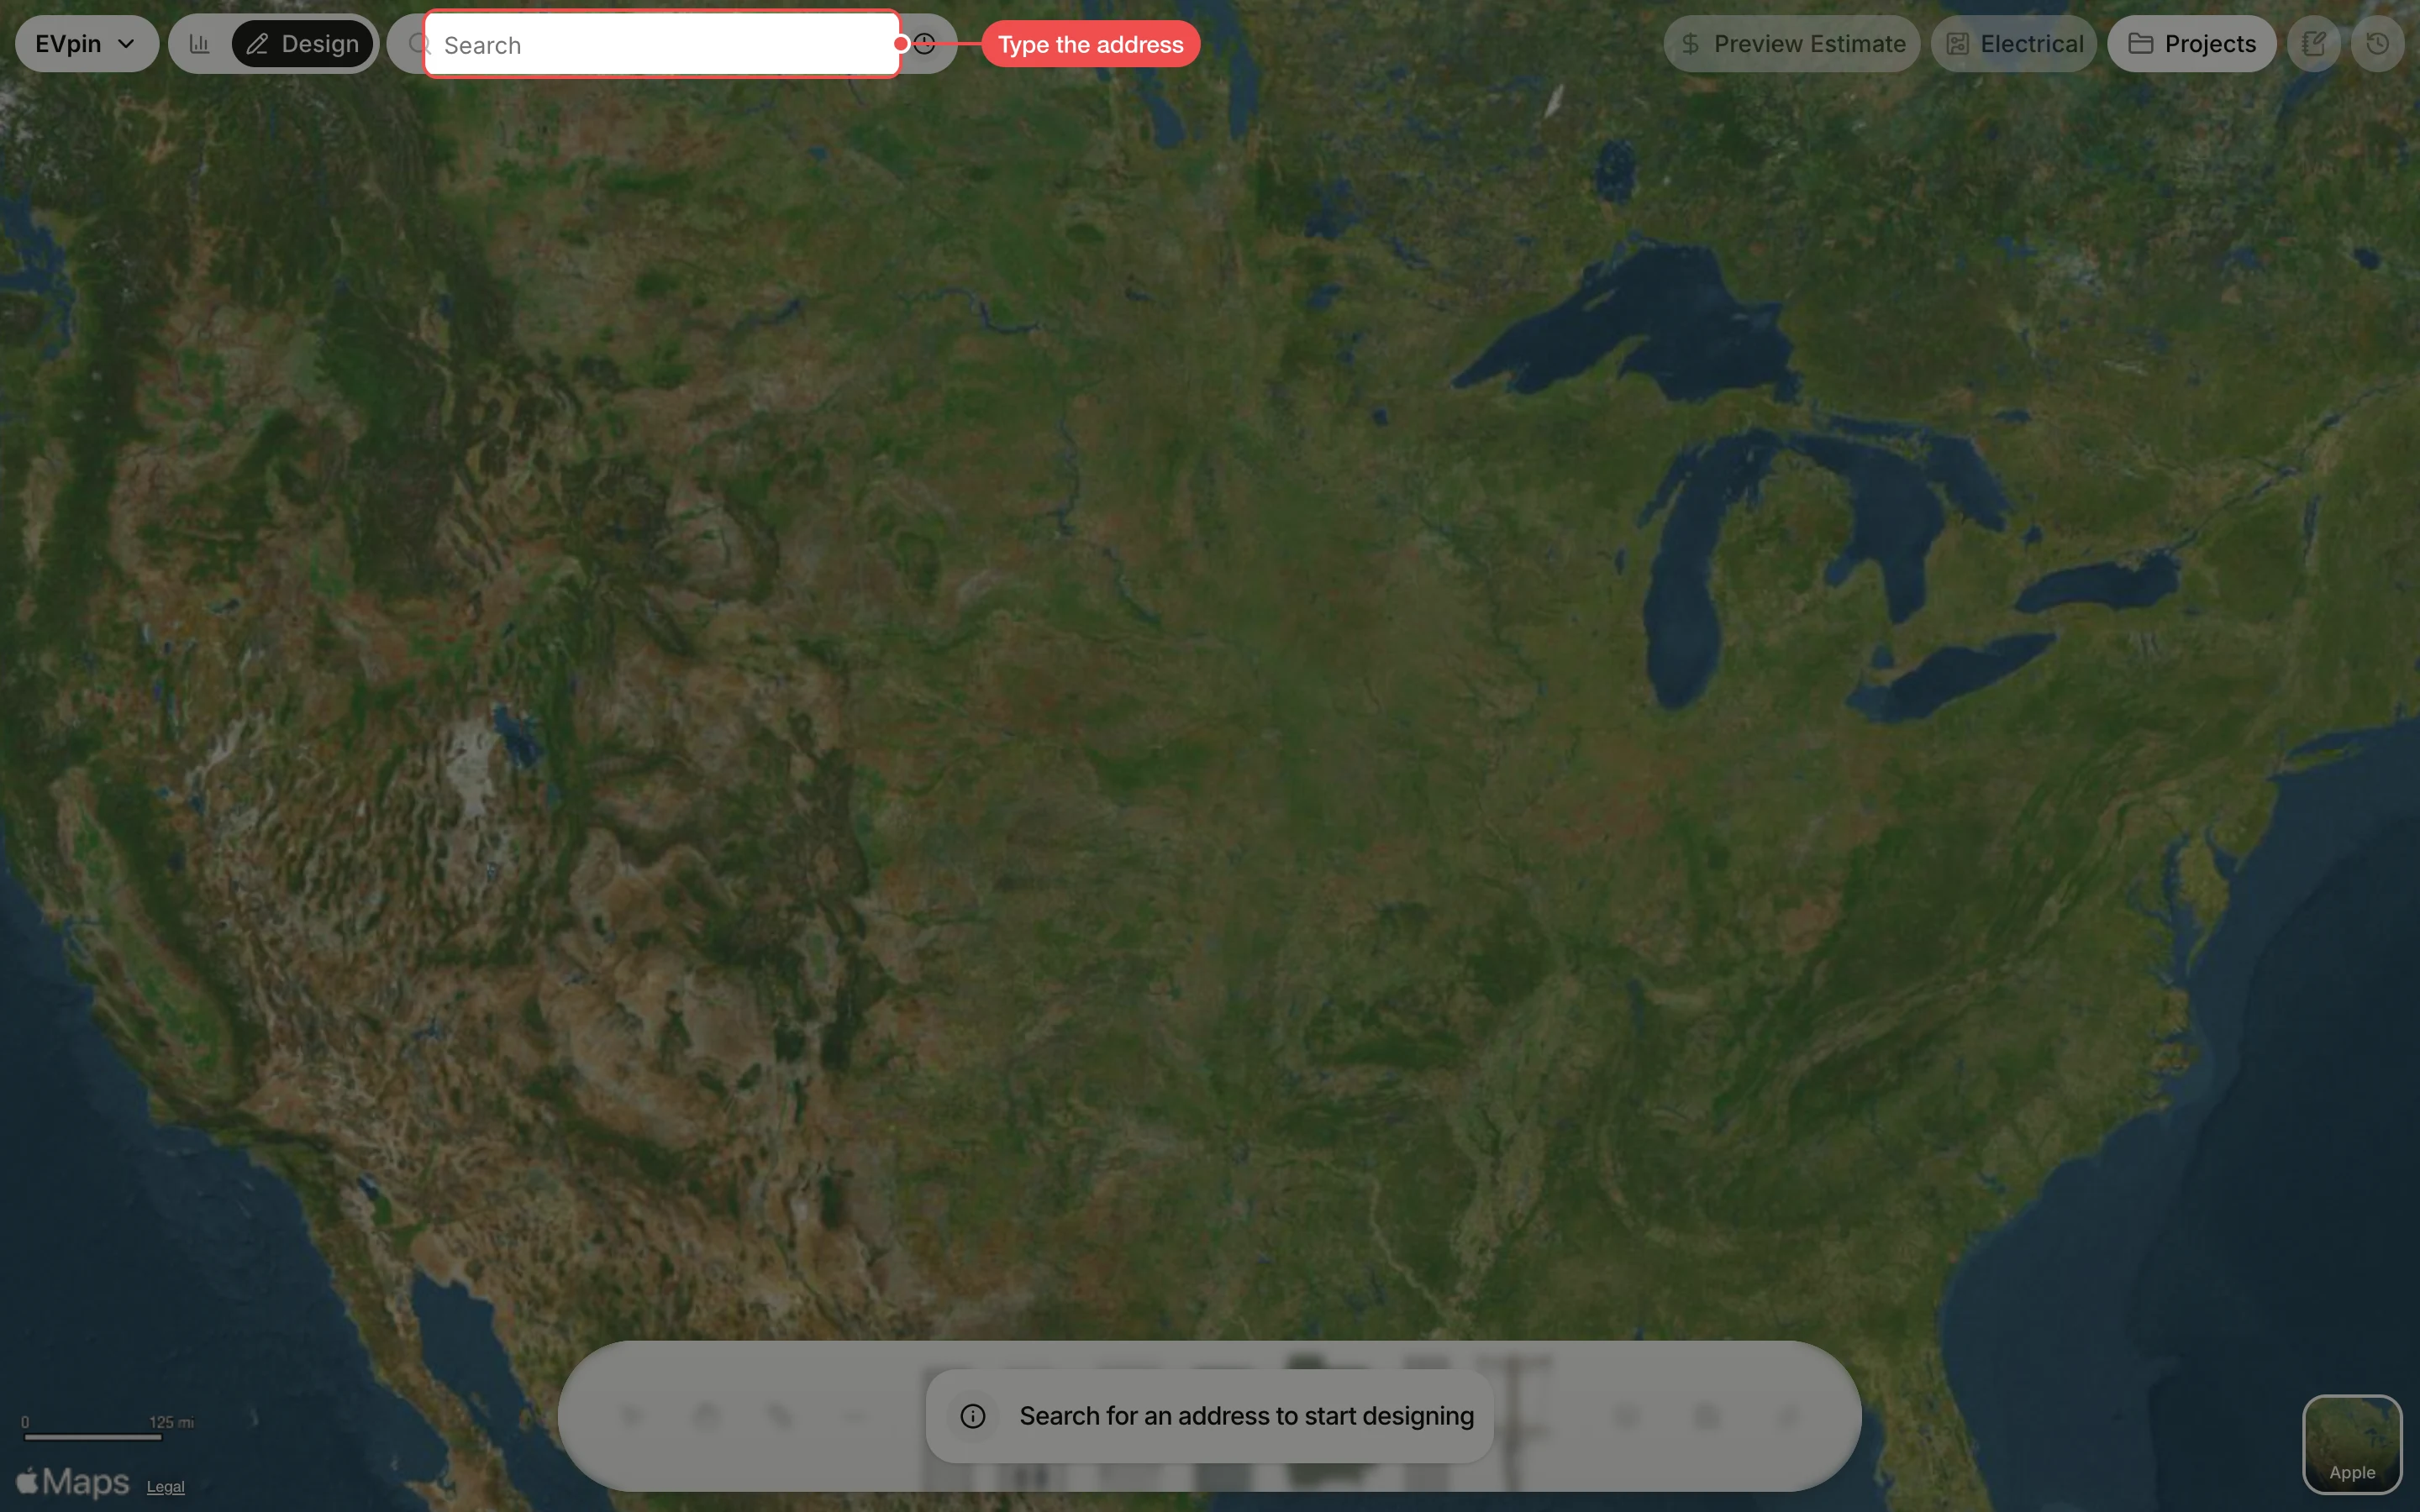
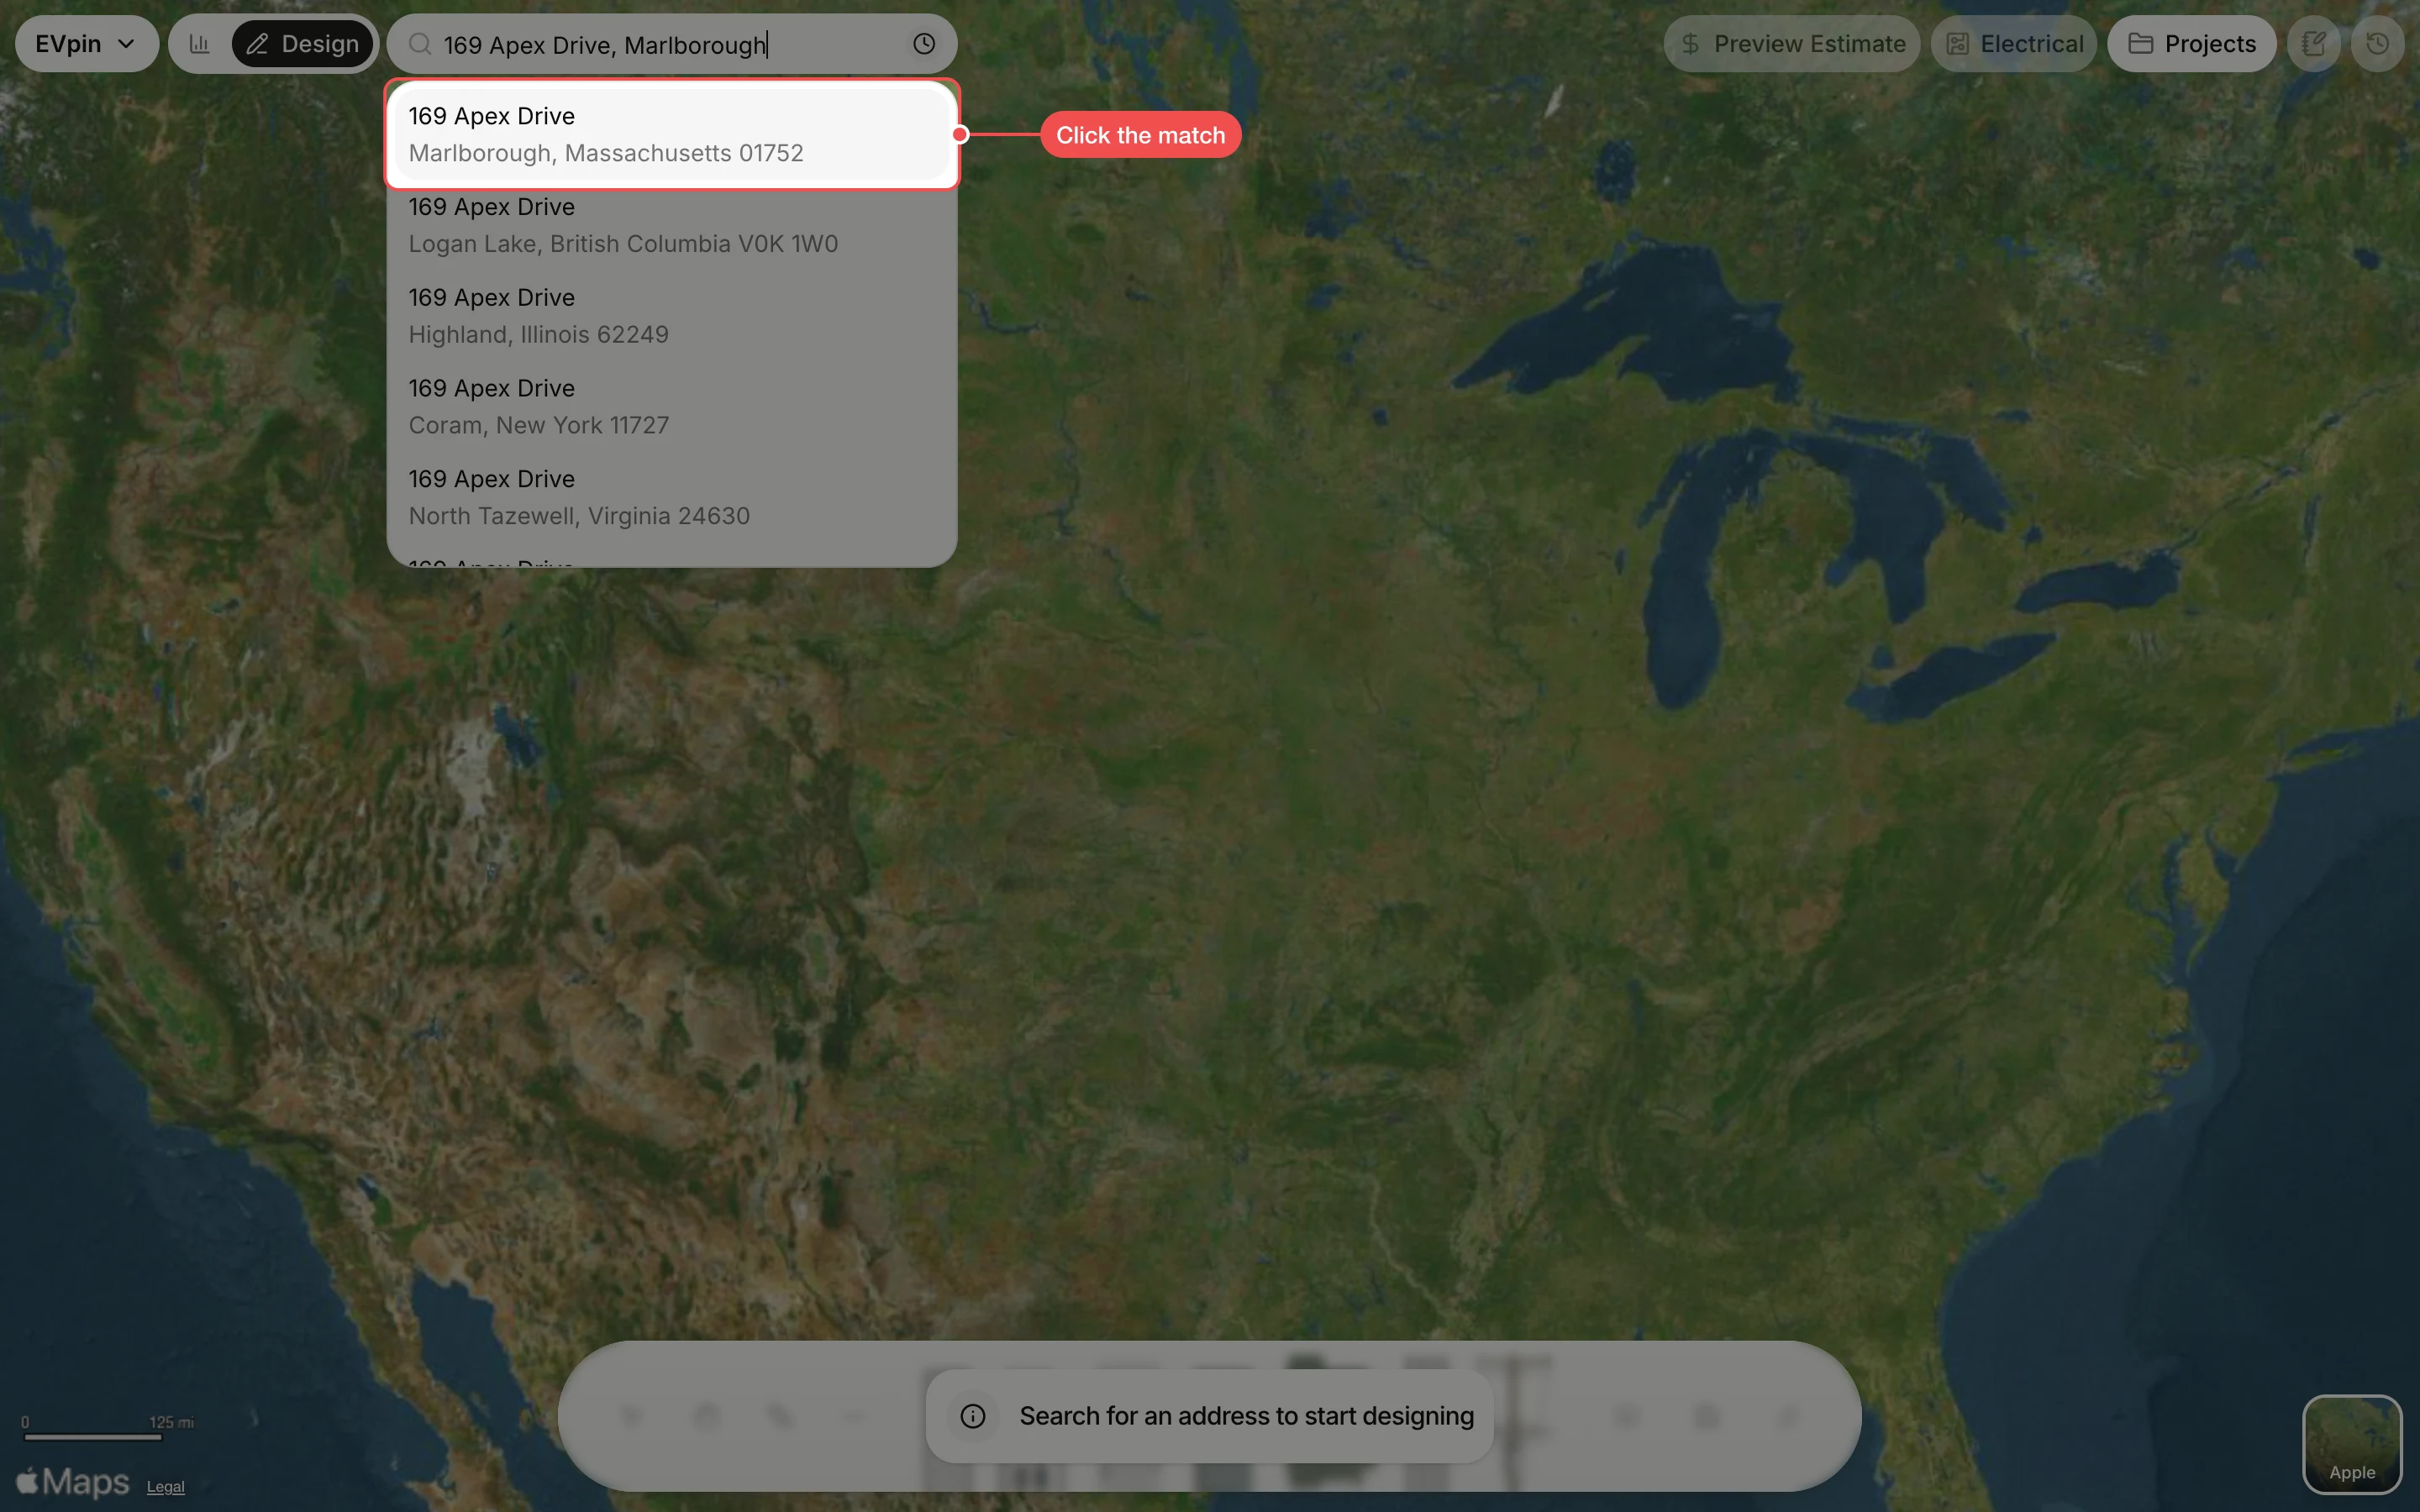
Click the right match
Click the suggestion with the correct city and ZIP code. The map zooms to the parcel and the design tools appear along the bottom.
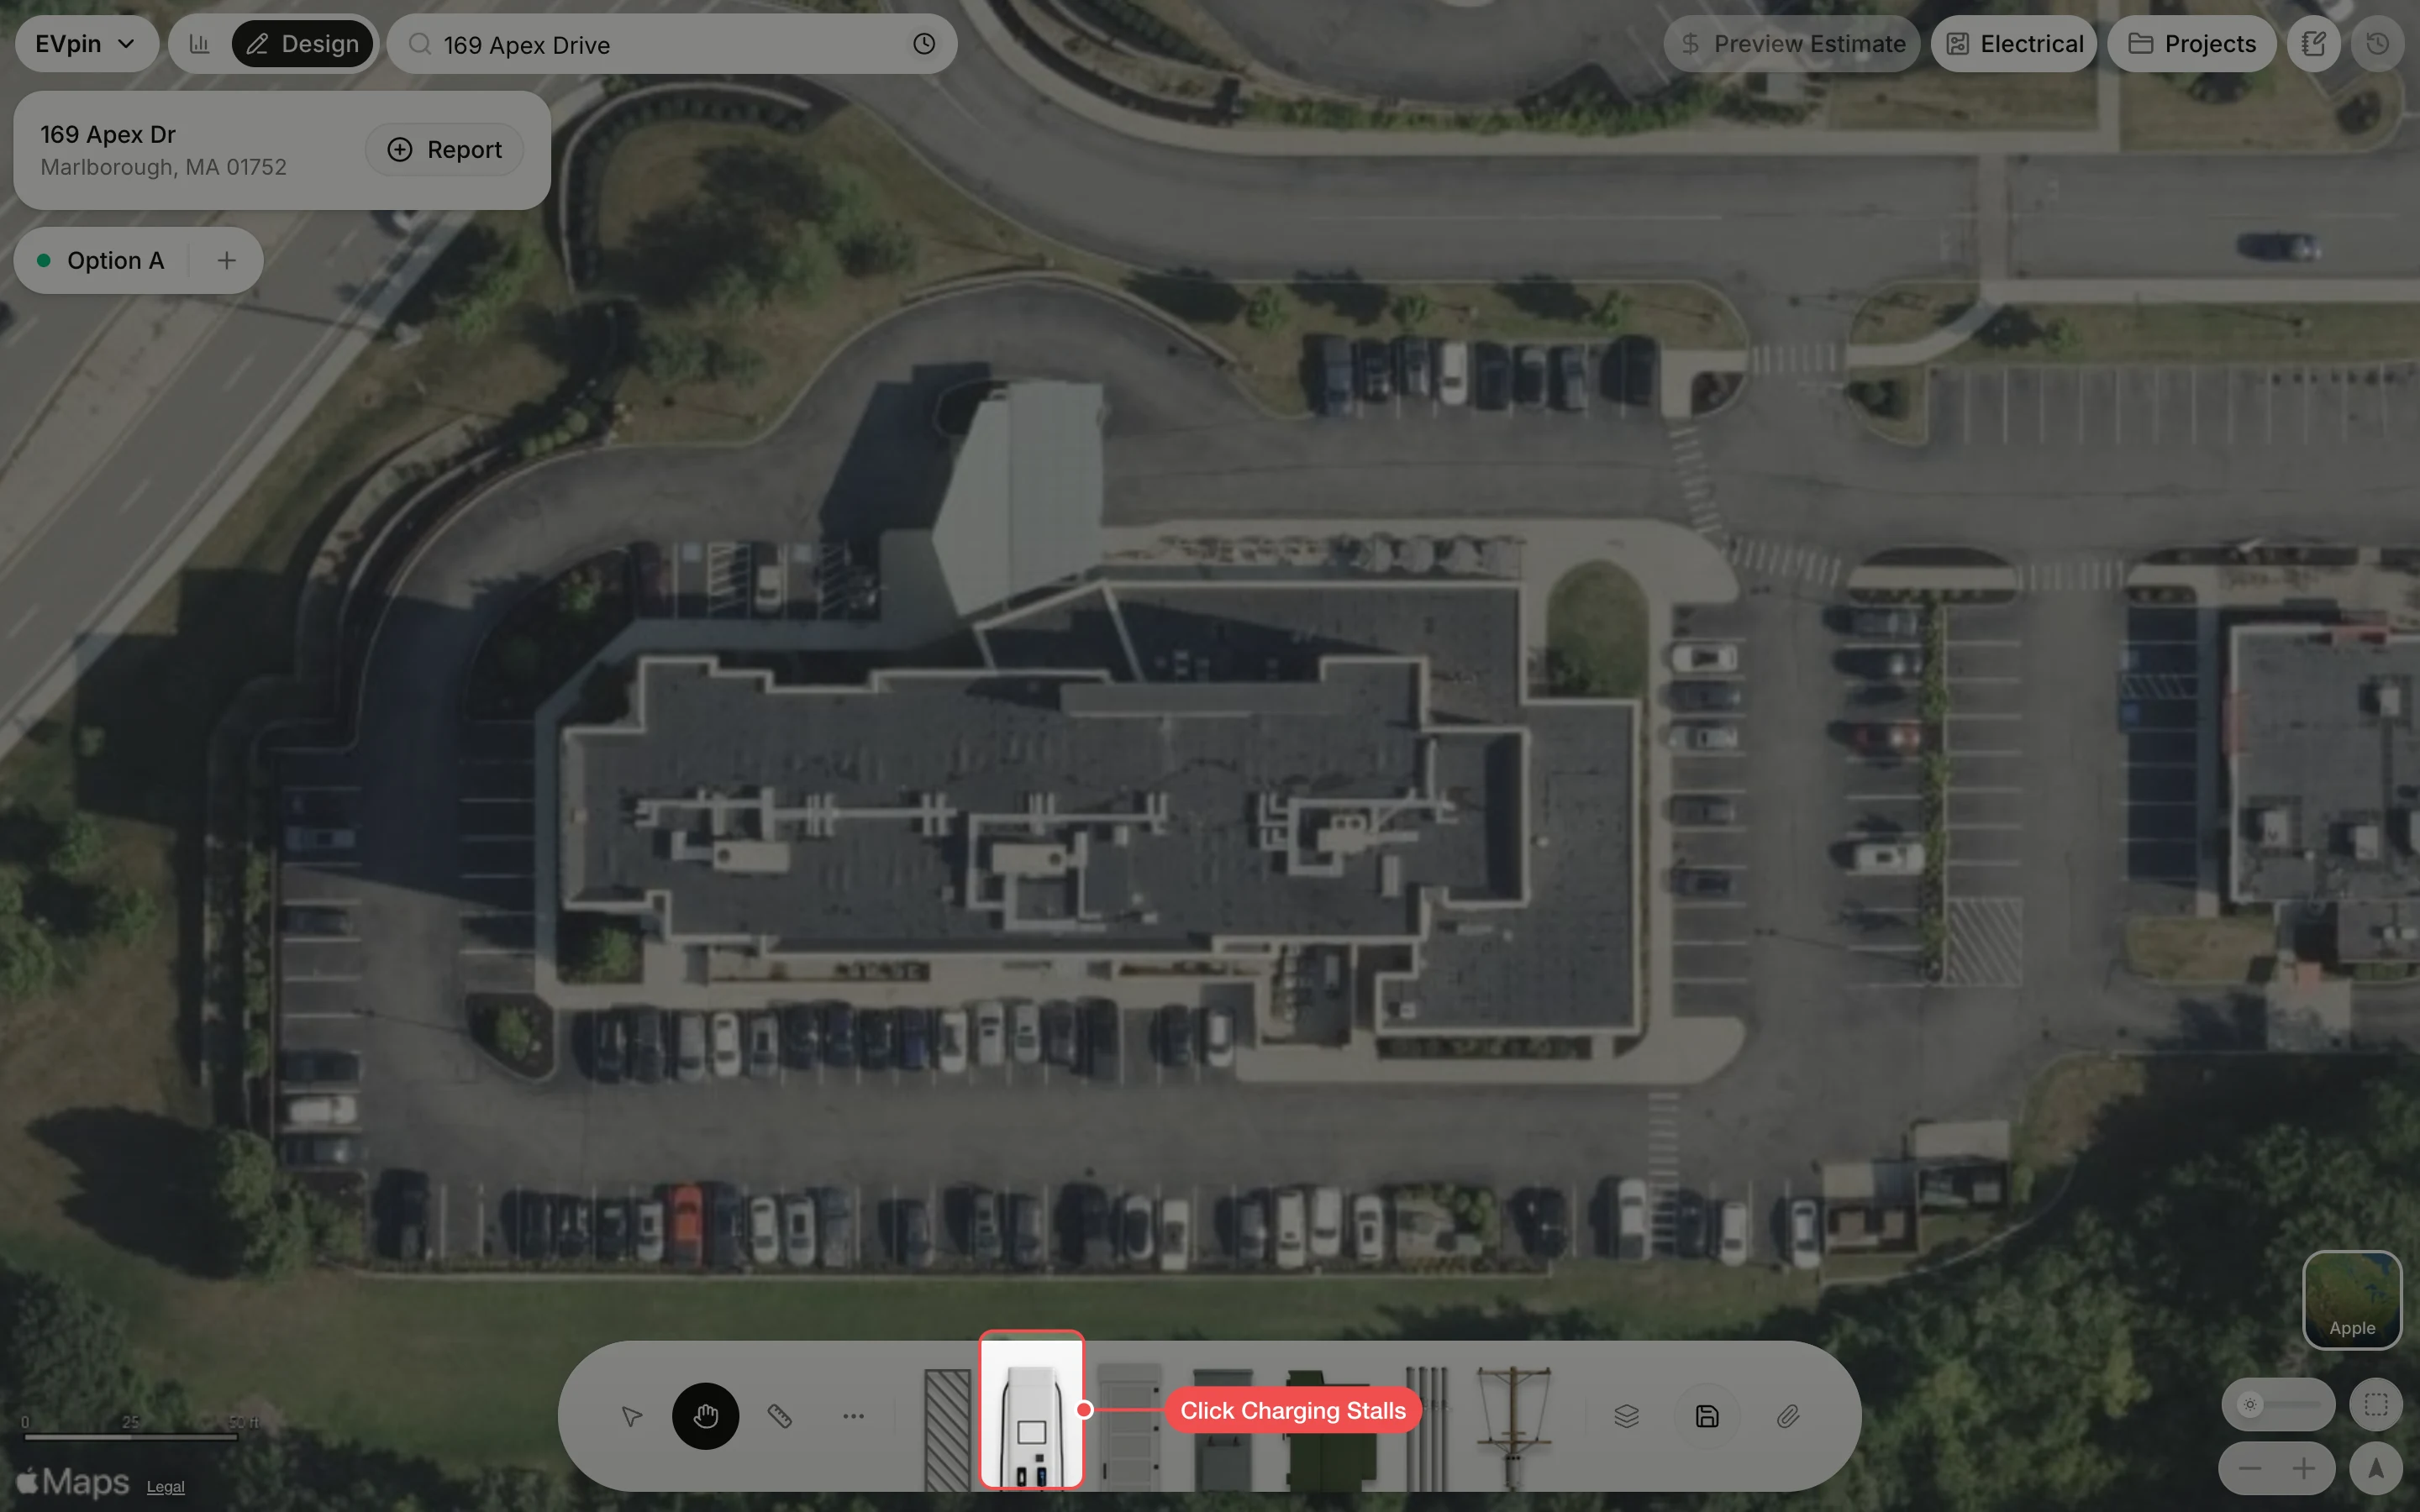
Set up the chargers
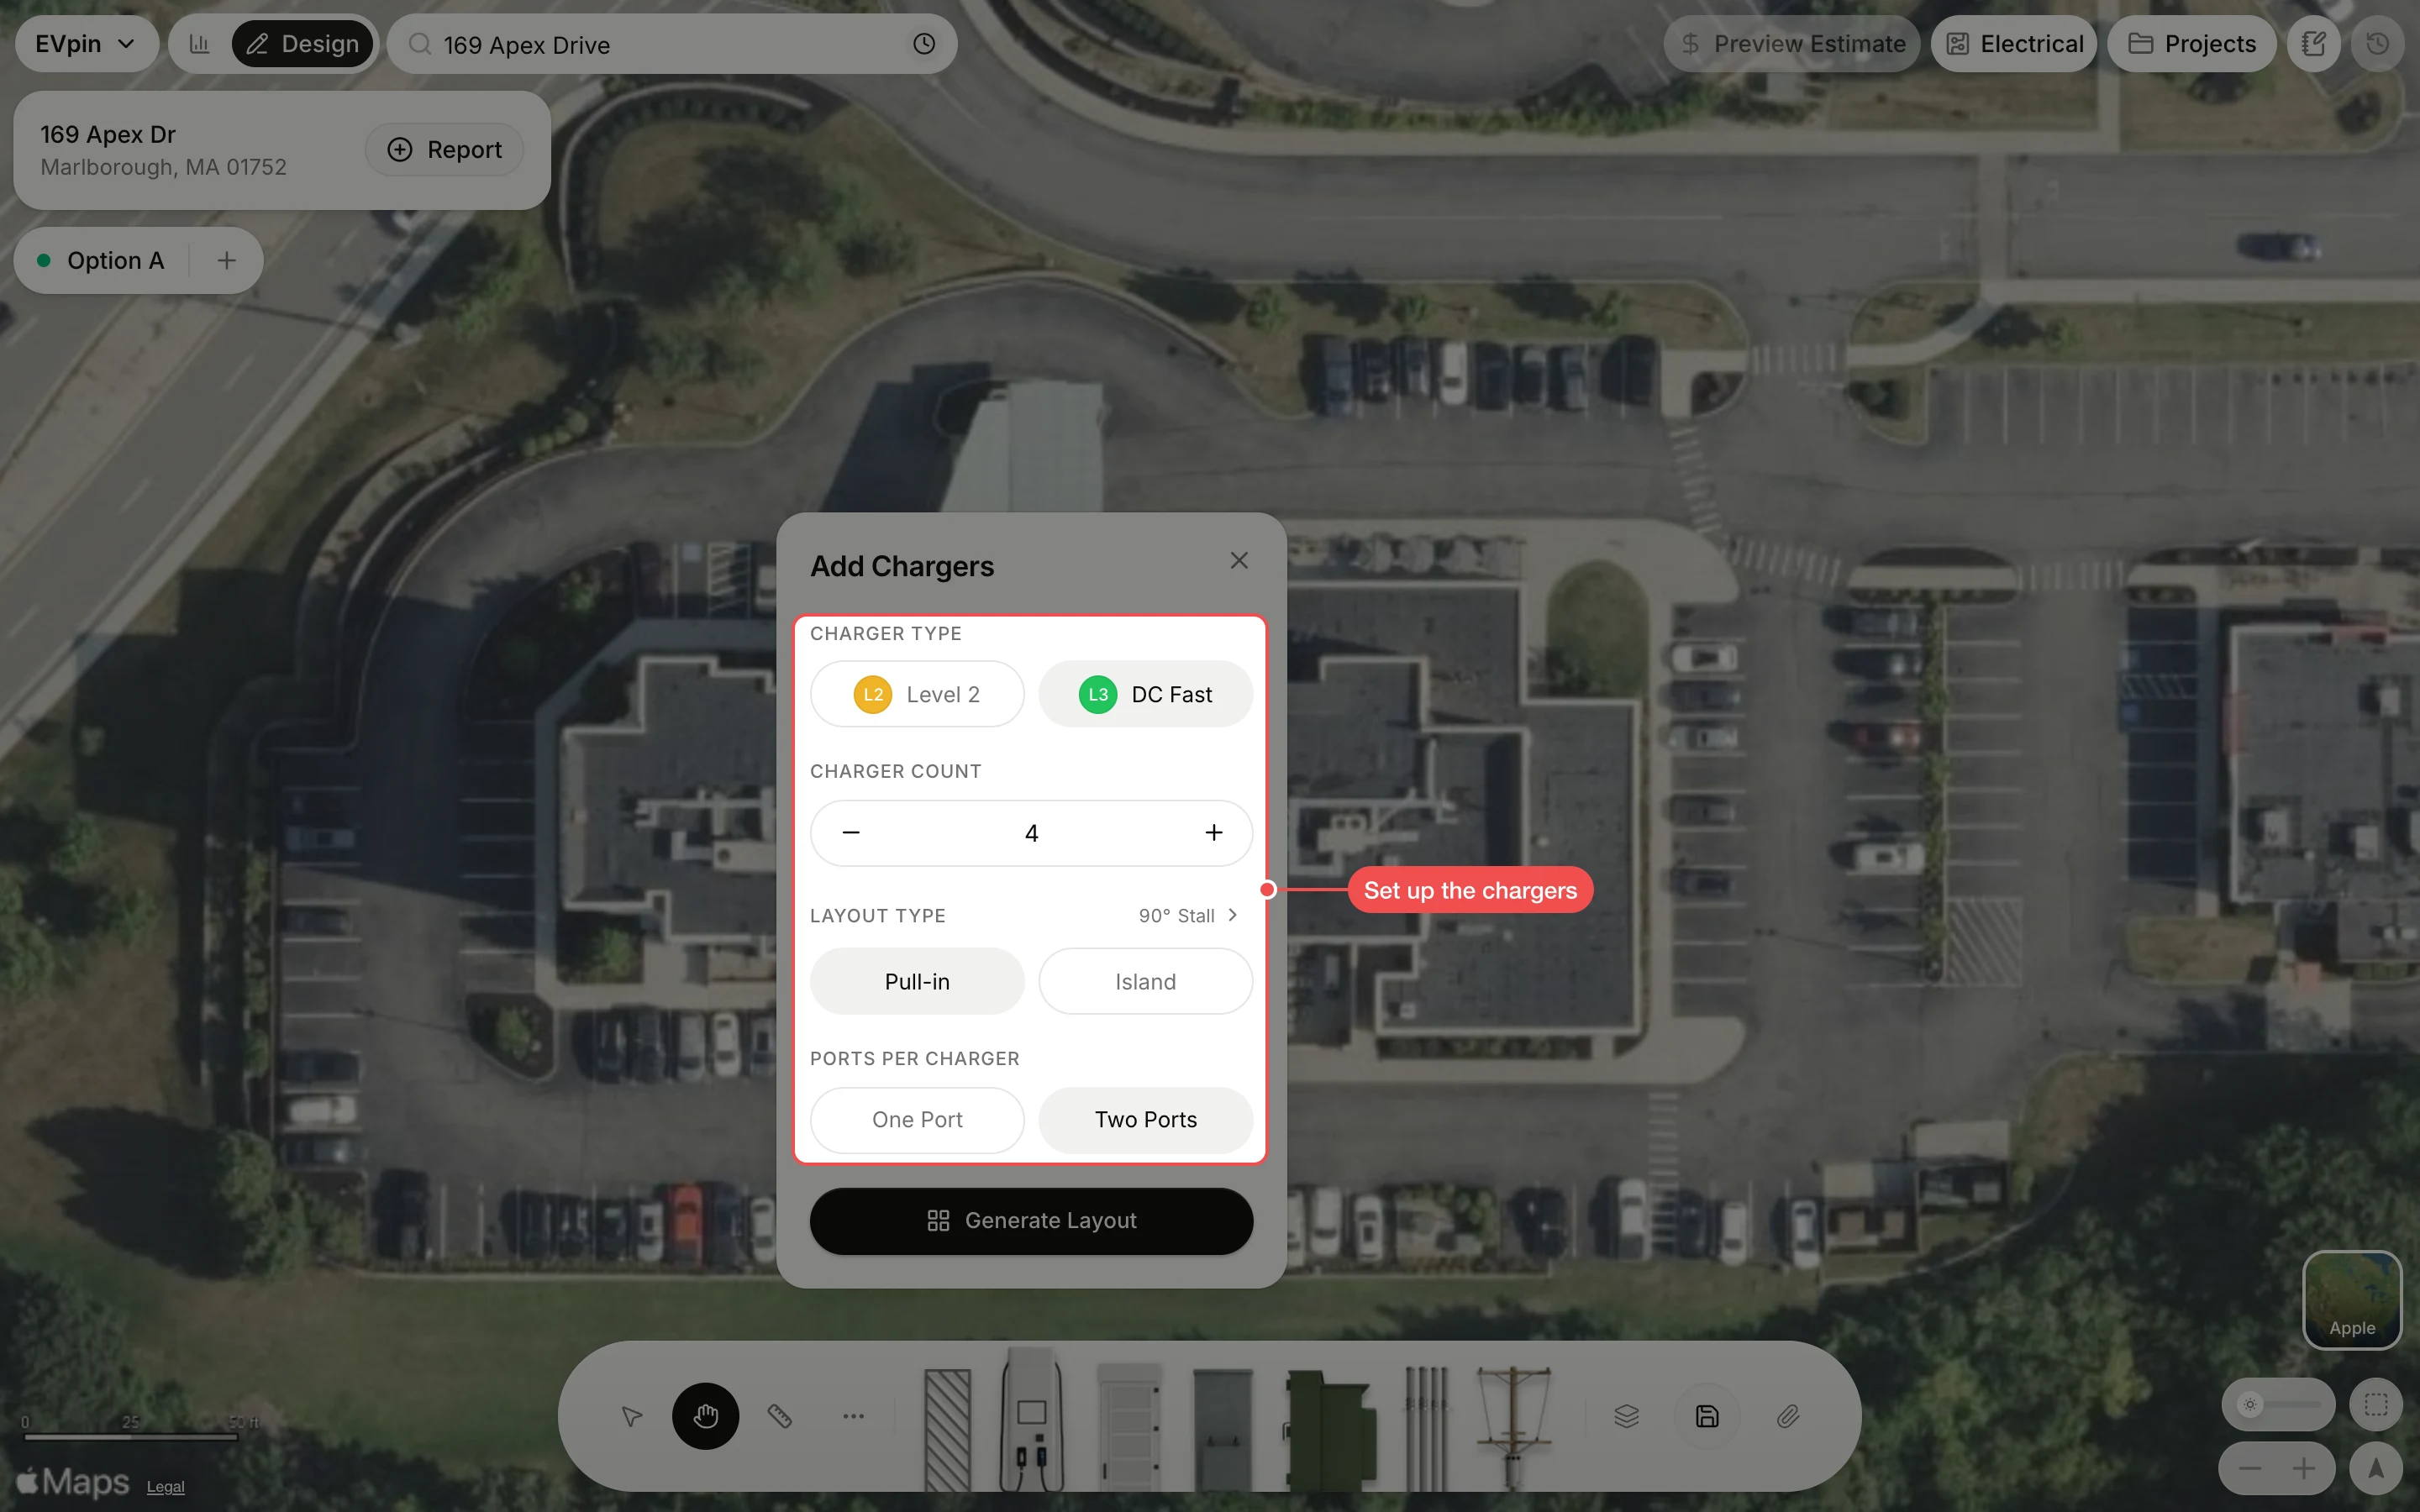
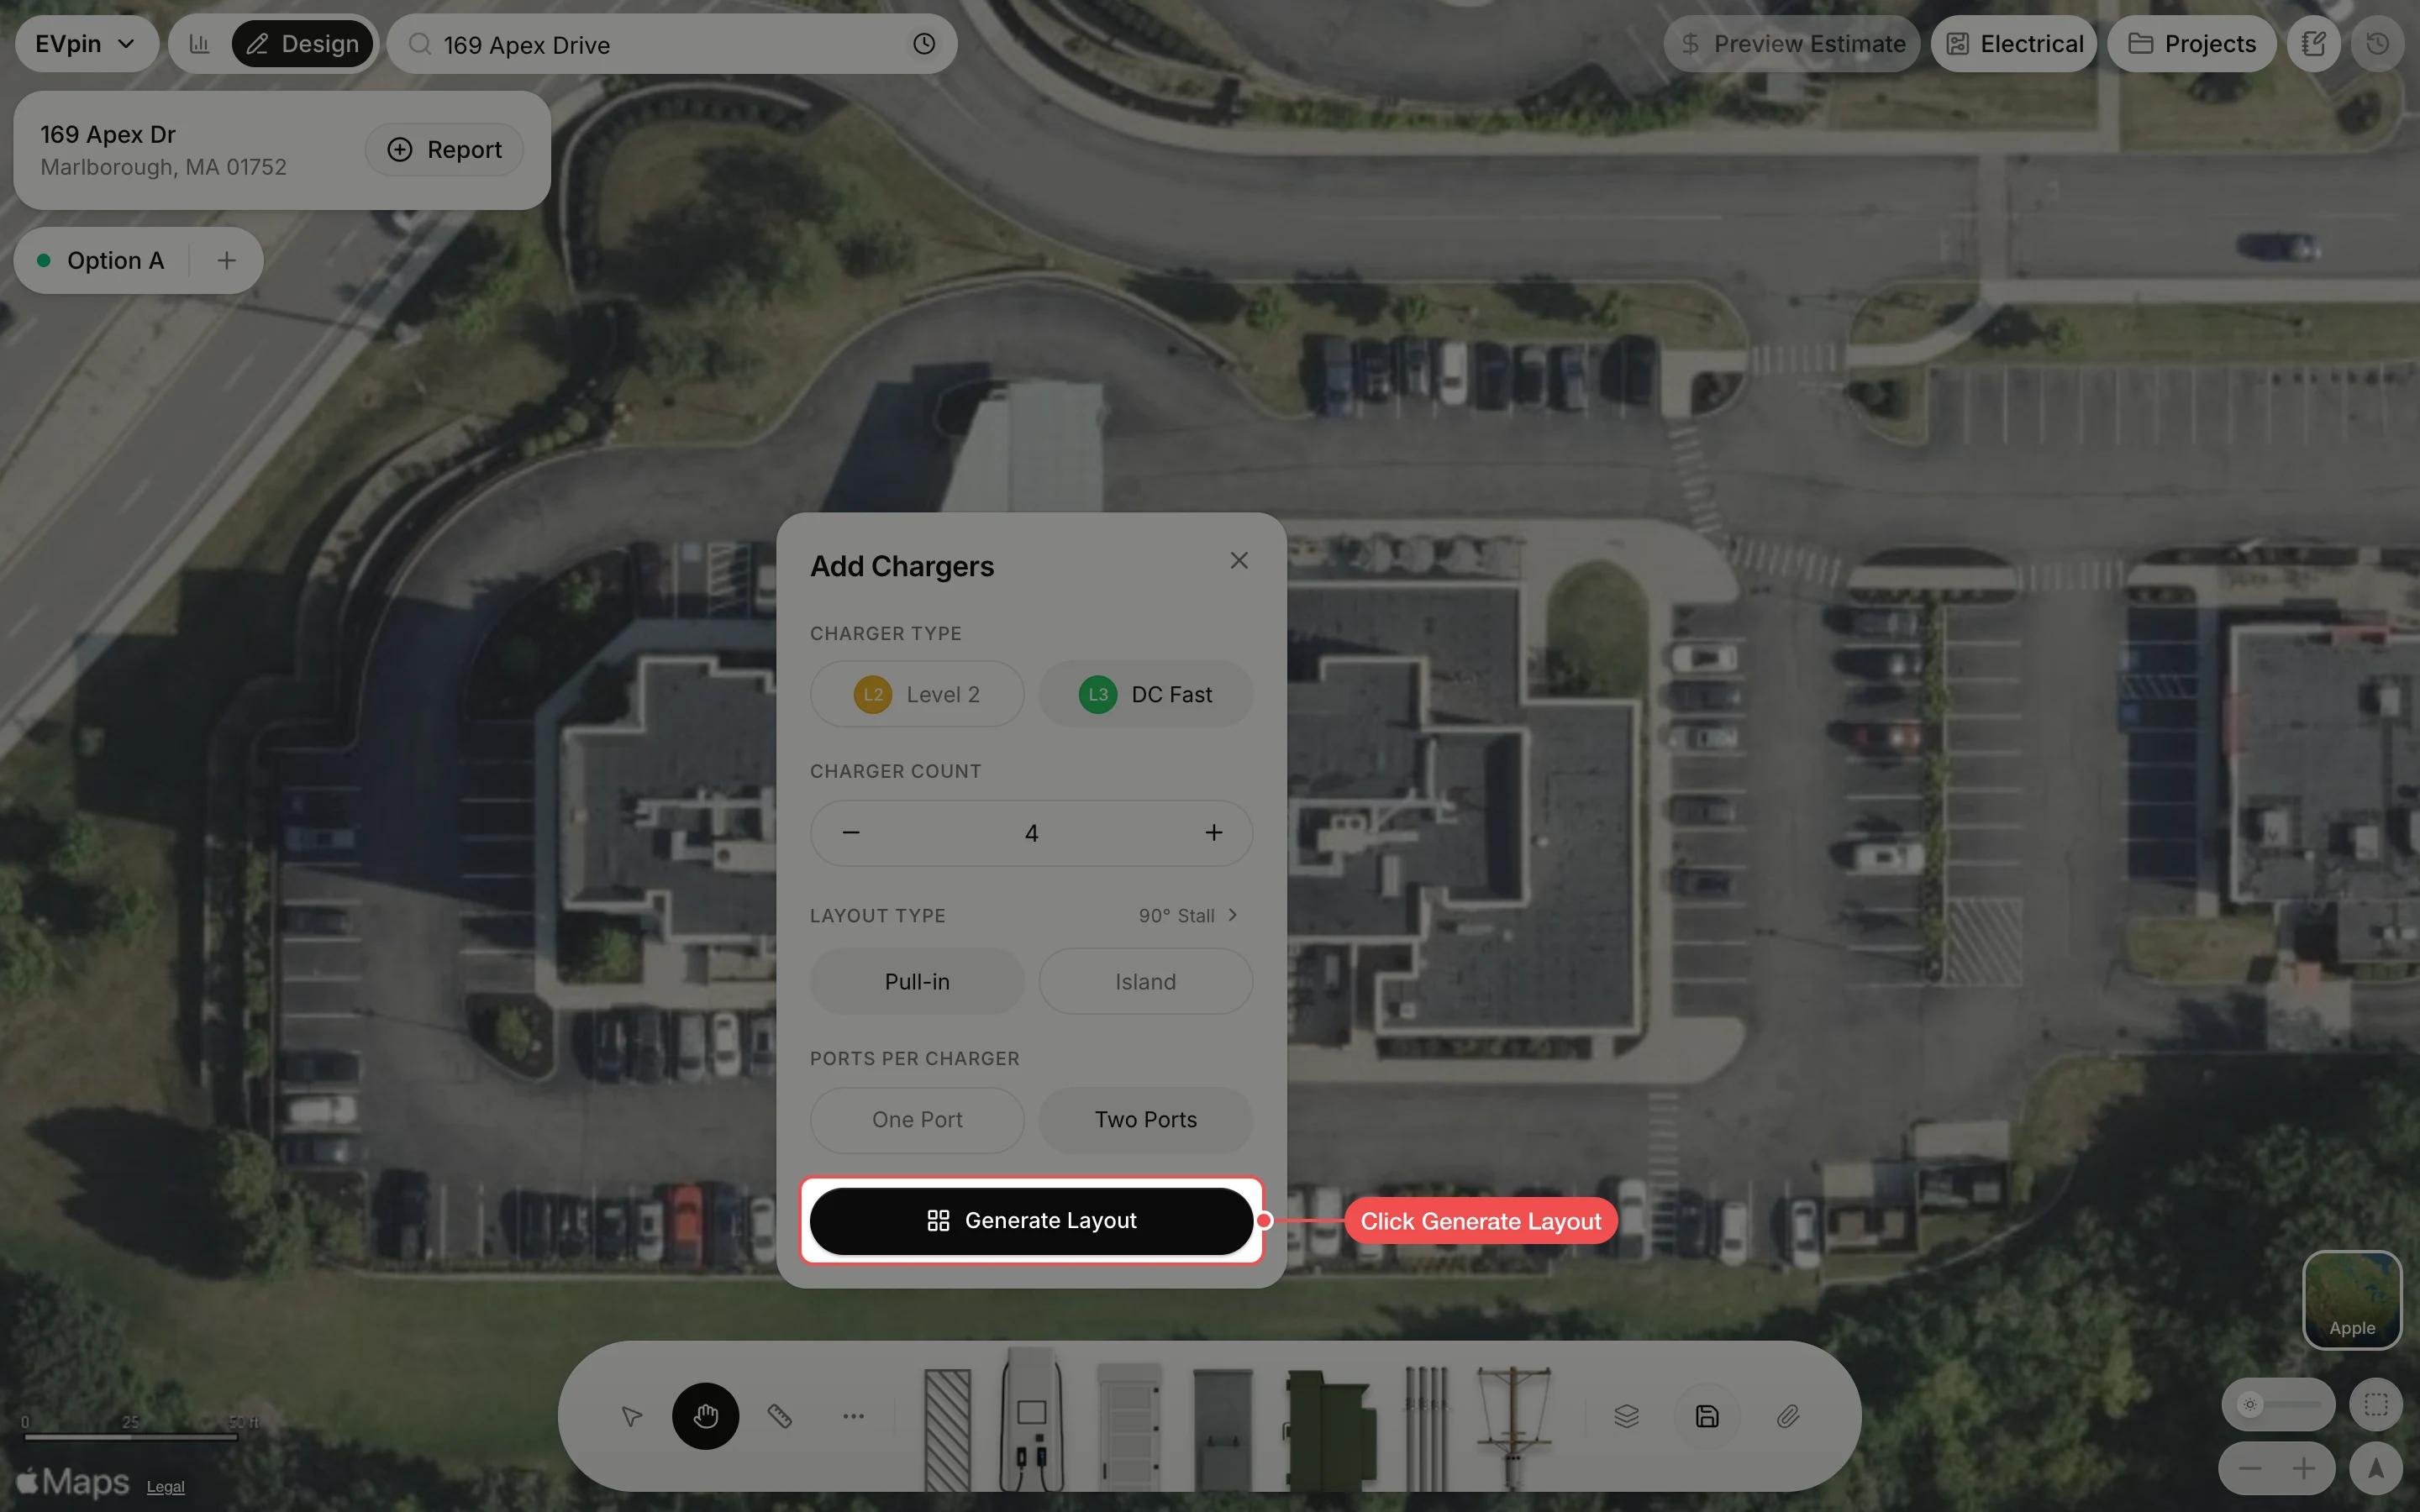
In Add Chargers, click Level 2 or DC Fast, set the Charger Count, then click a layout (Pull-in or Island) and the number of ports per charger.
Move the stalls into place
The stalls appear selected in the middle of the map, one stall per port. Drag them onto the parking row where they belong. Use the handles to resize the group, or rotate it to match angled spaces.
Save the design
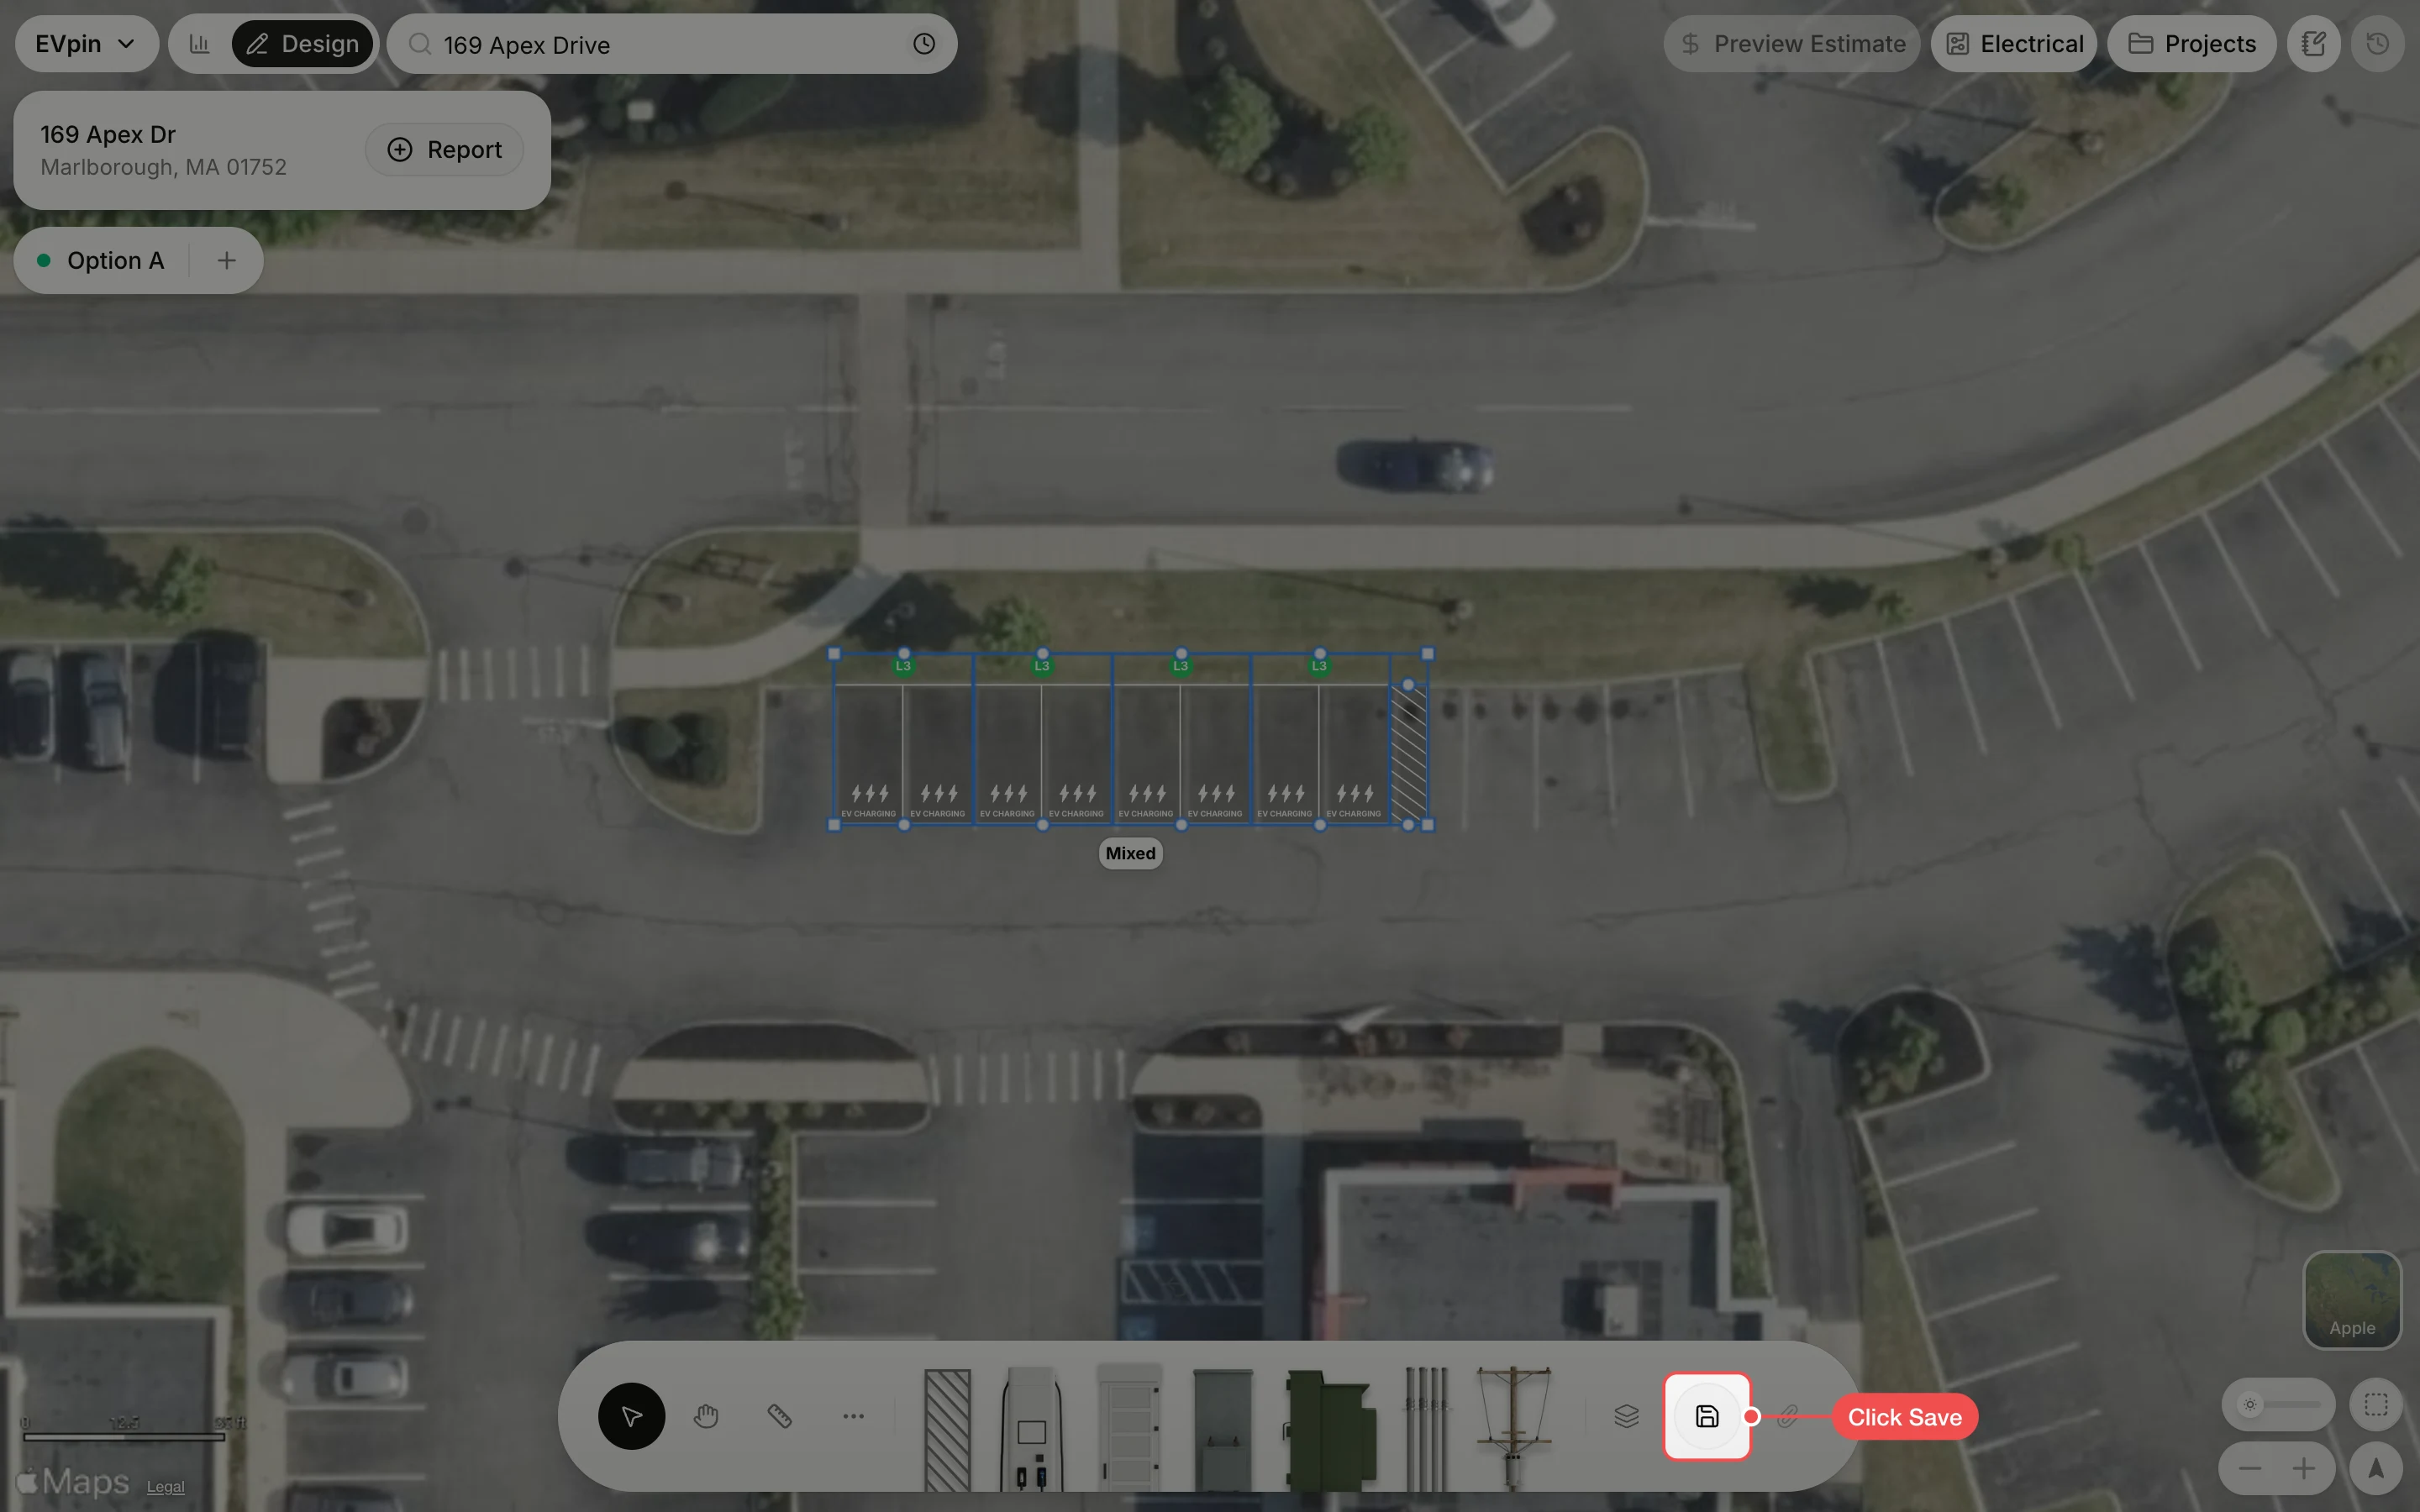
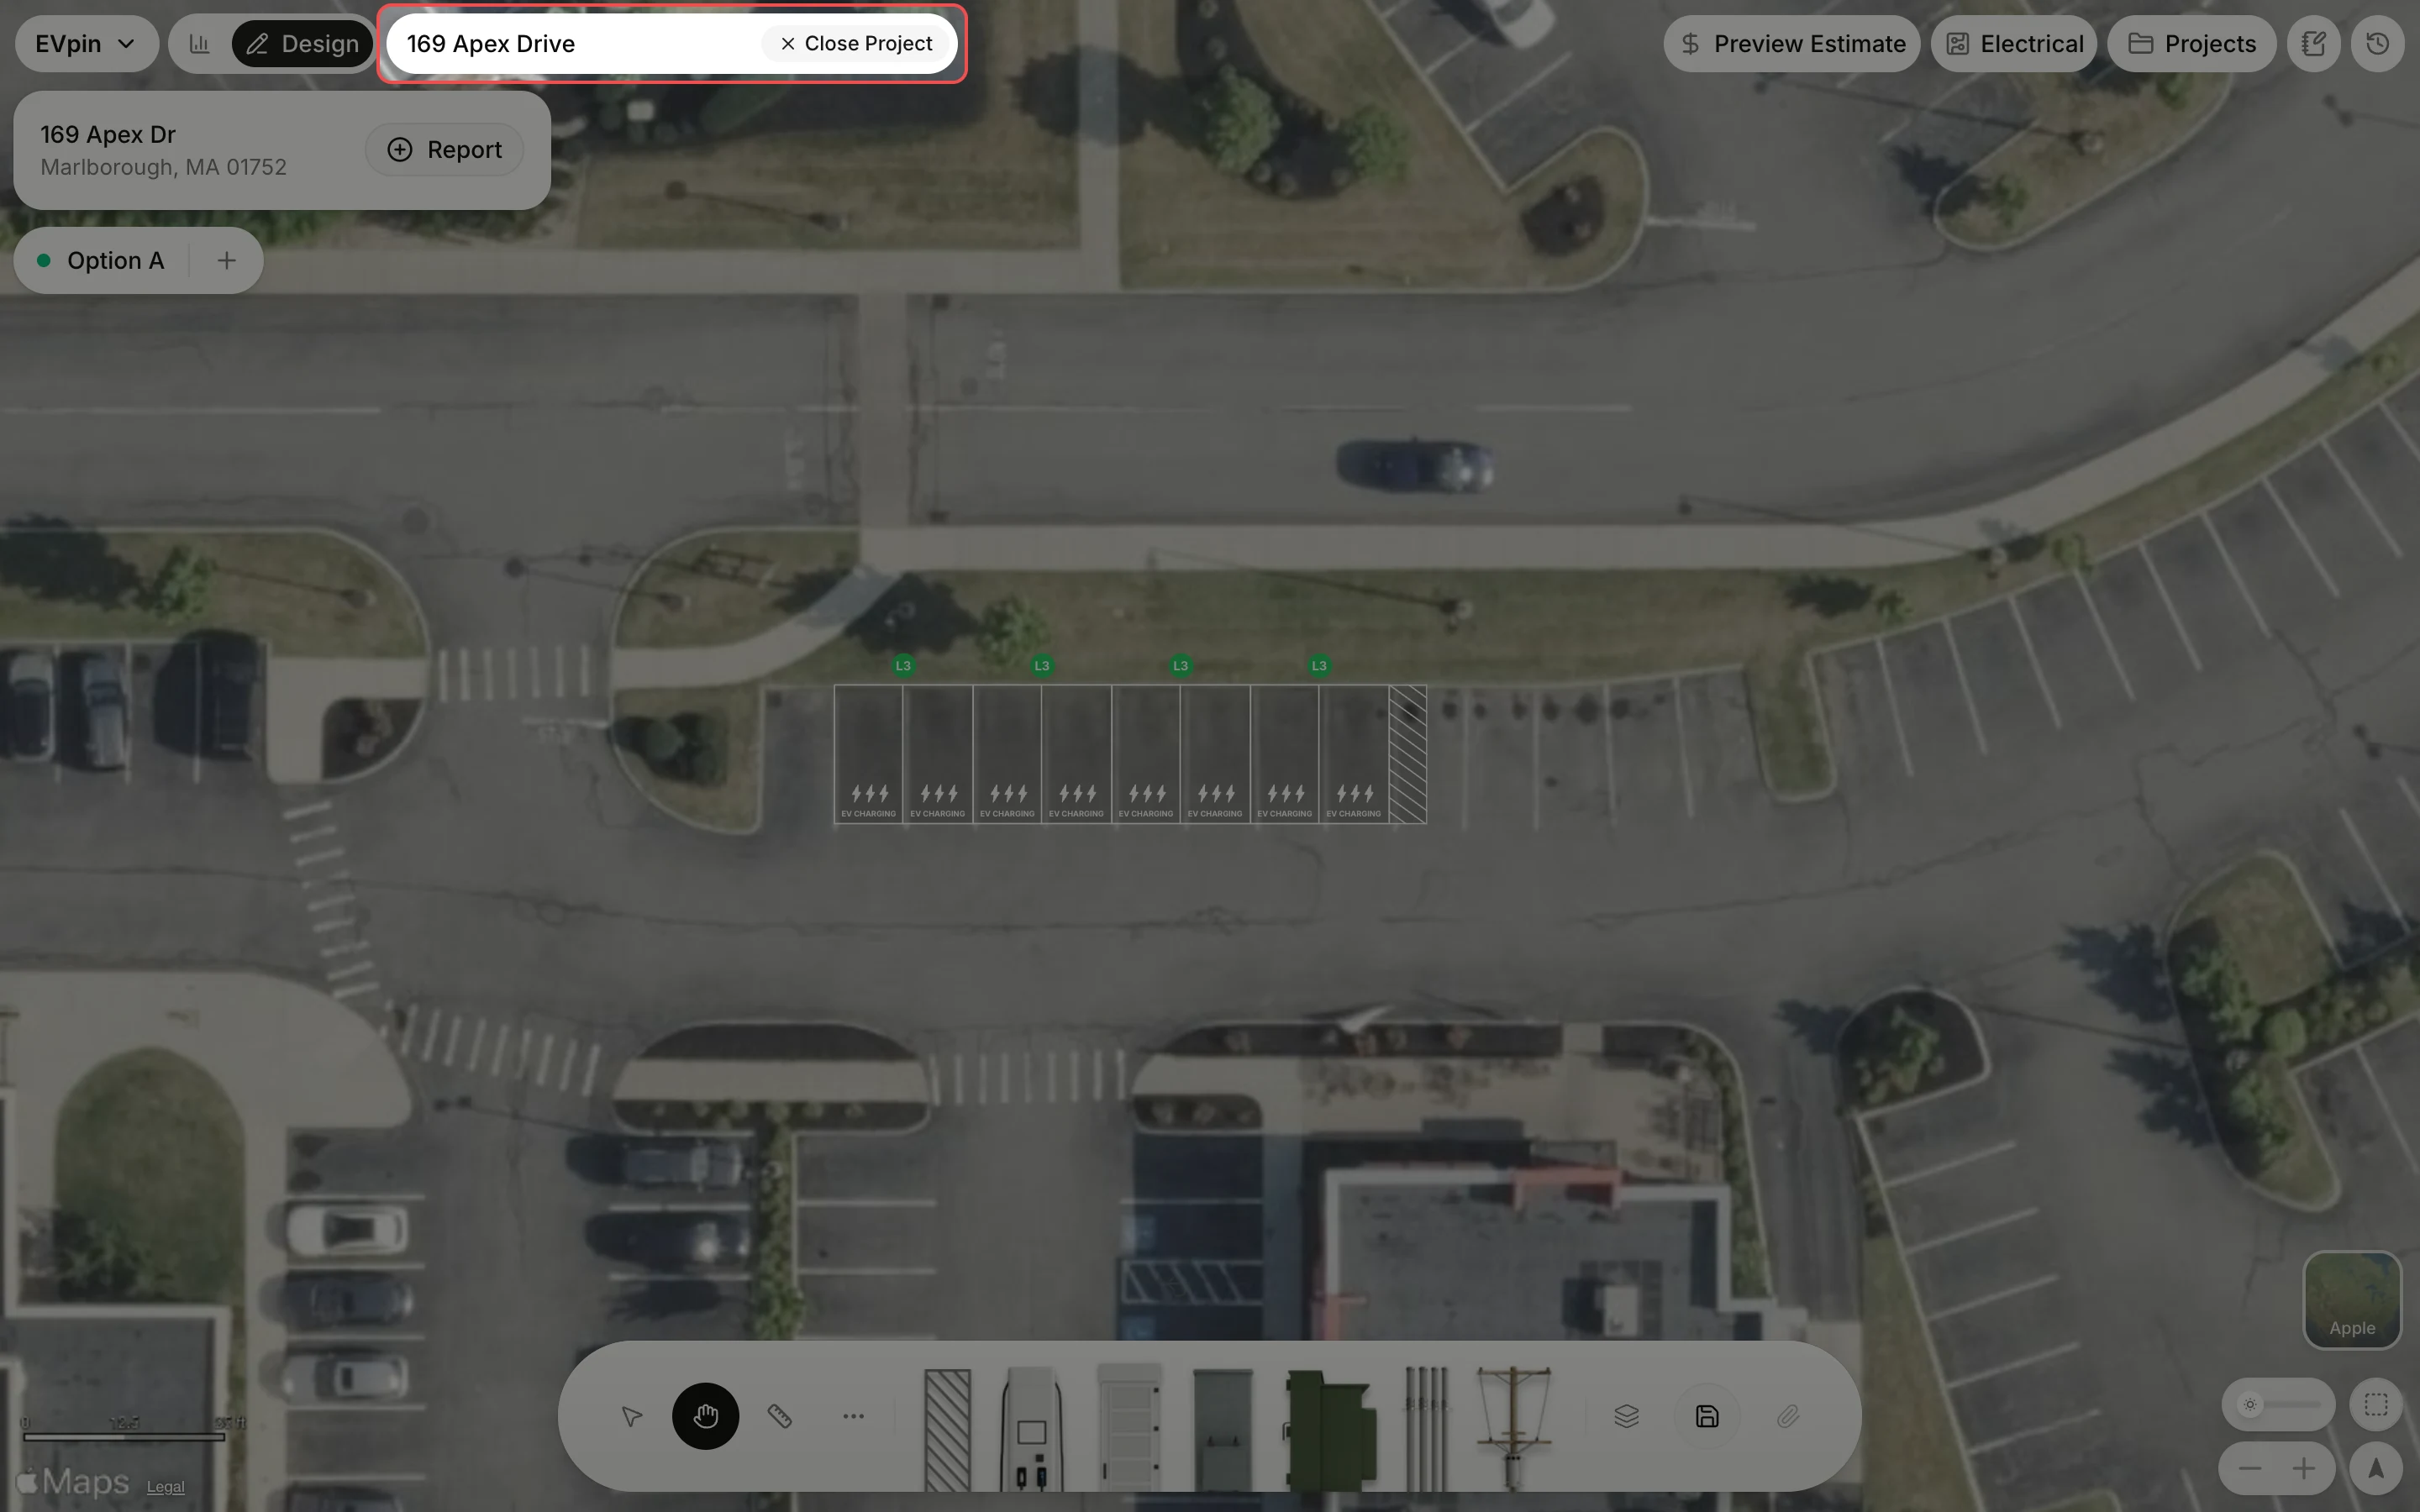
Click Save in the toolbar. EVpin creates a project named after the address and keeps the design in it.
Keep going or close the project
The project name now shows at the top. Add more equipment from the same toolbar, or click Close Project when you are done. The design is in Projects whenever you come back.
What's next
- How to add a transformer to start on the electrical equipment for the stalls.
- How to see what a design costs once the layout is in place.
- How to get a utilization score for an address if you have not evaluated this address yet.