How to rotate equipment on a design
Turn a row of charging stalls to match the angle of the painted spaces and drag it into place on the Design page.
New stalls always come in level, but parking spaces rarely are. By the end the row will run at the same angle as the paint on the lot. Here a shorter row of four stalls is turned to match the angled spaces east of the small building. You need a design with a row of stalls on it; see How to add charging stalls to a design if you don't have one yet.
Select the whole row
Drag a box around the row, starting on an empty part of the map. Every stall, charger and access aisle in the row is selected, so they turn together. Clicking a single stall selects only that stall.
Drag the rotate handle
Move the cursor just outside the top-right corner of the selection, where it turns into a curved arrow, and drag around the row. Stop when the stall lines run the same way as the painted lines, with the chargers on the side where cars pull in.
Drag the row into place
Drag the row by one of its stalls onto the painted spaces. Line up the front edge of the stalls with the curb so the chargers sit on the grass beyond it.
Nudge it into line
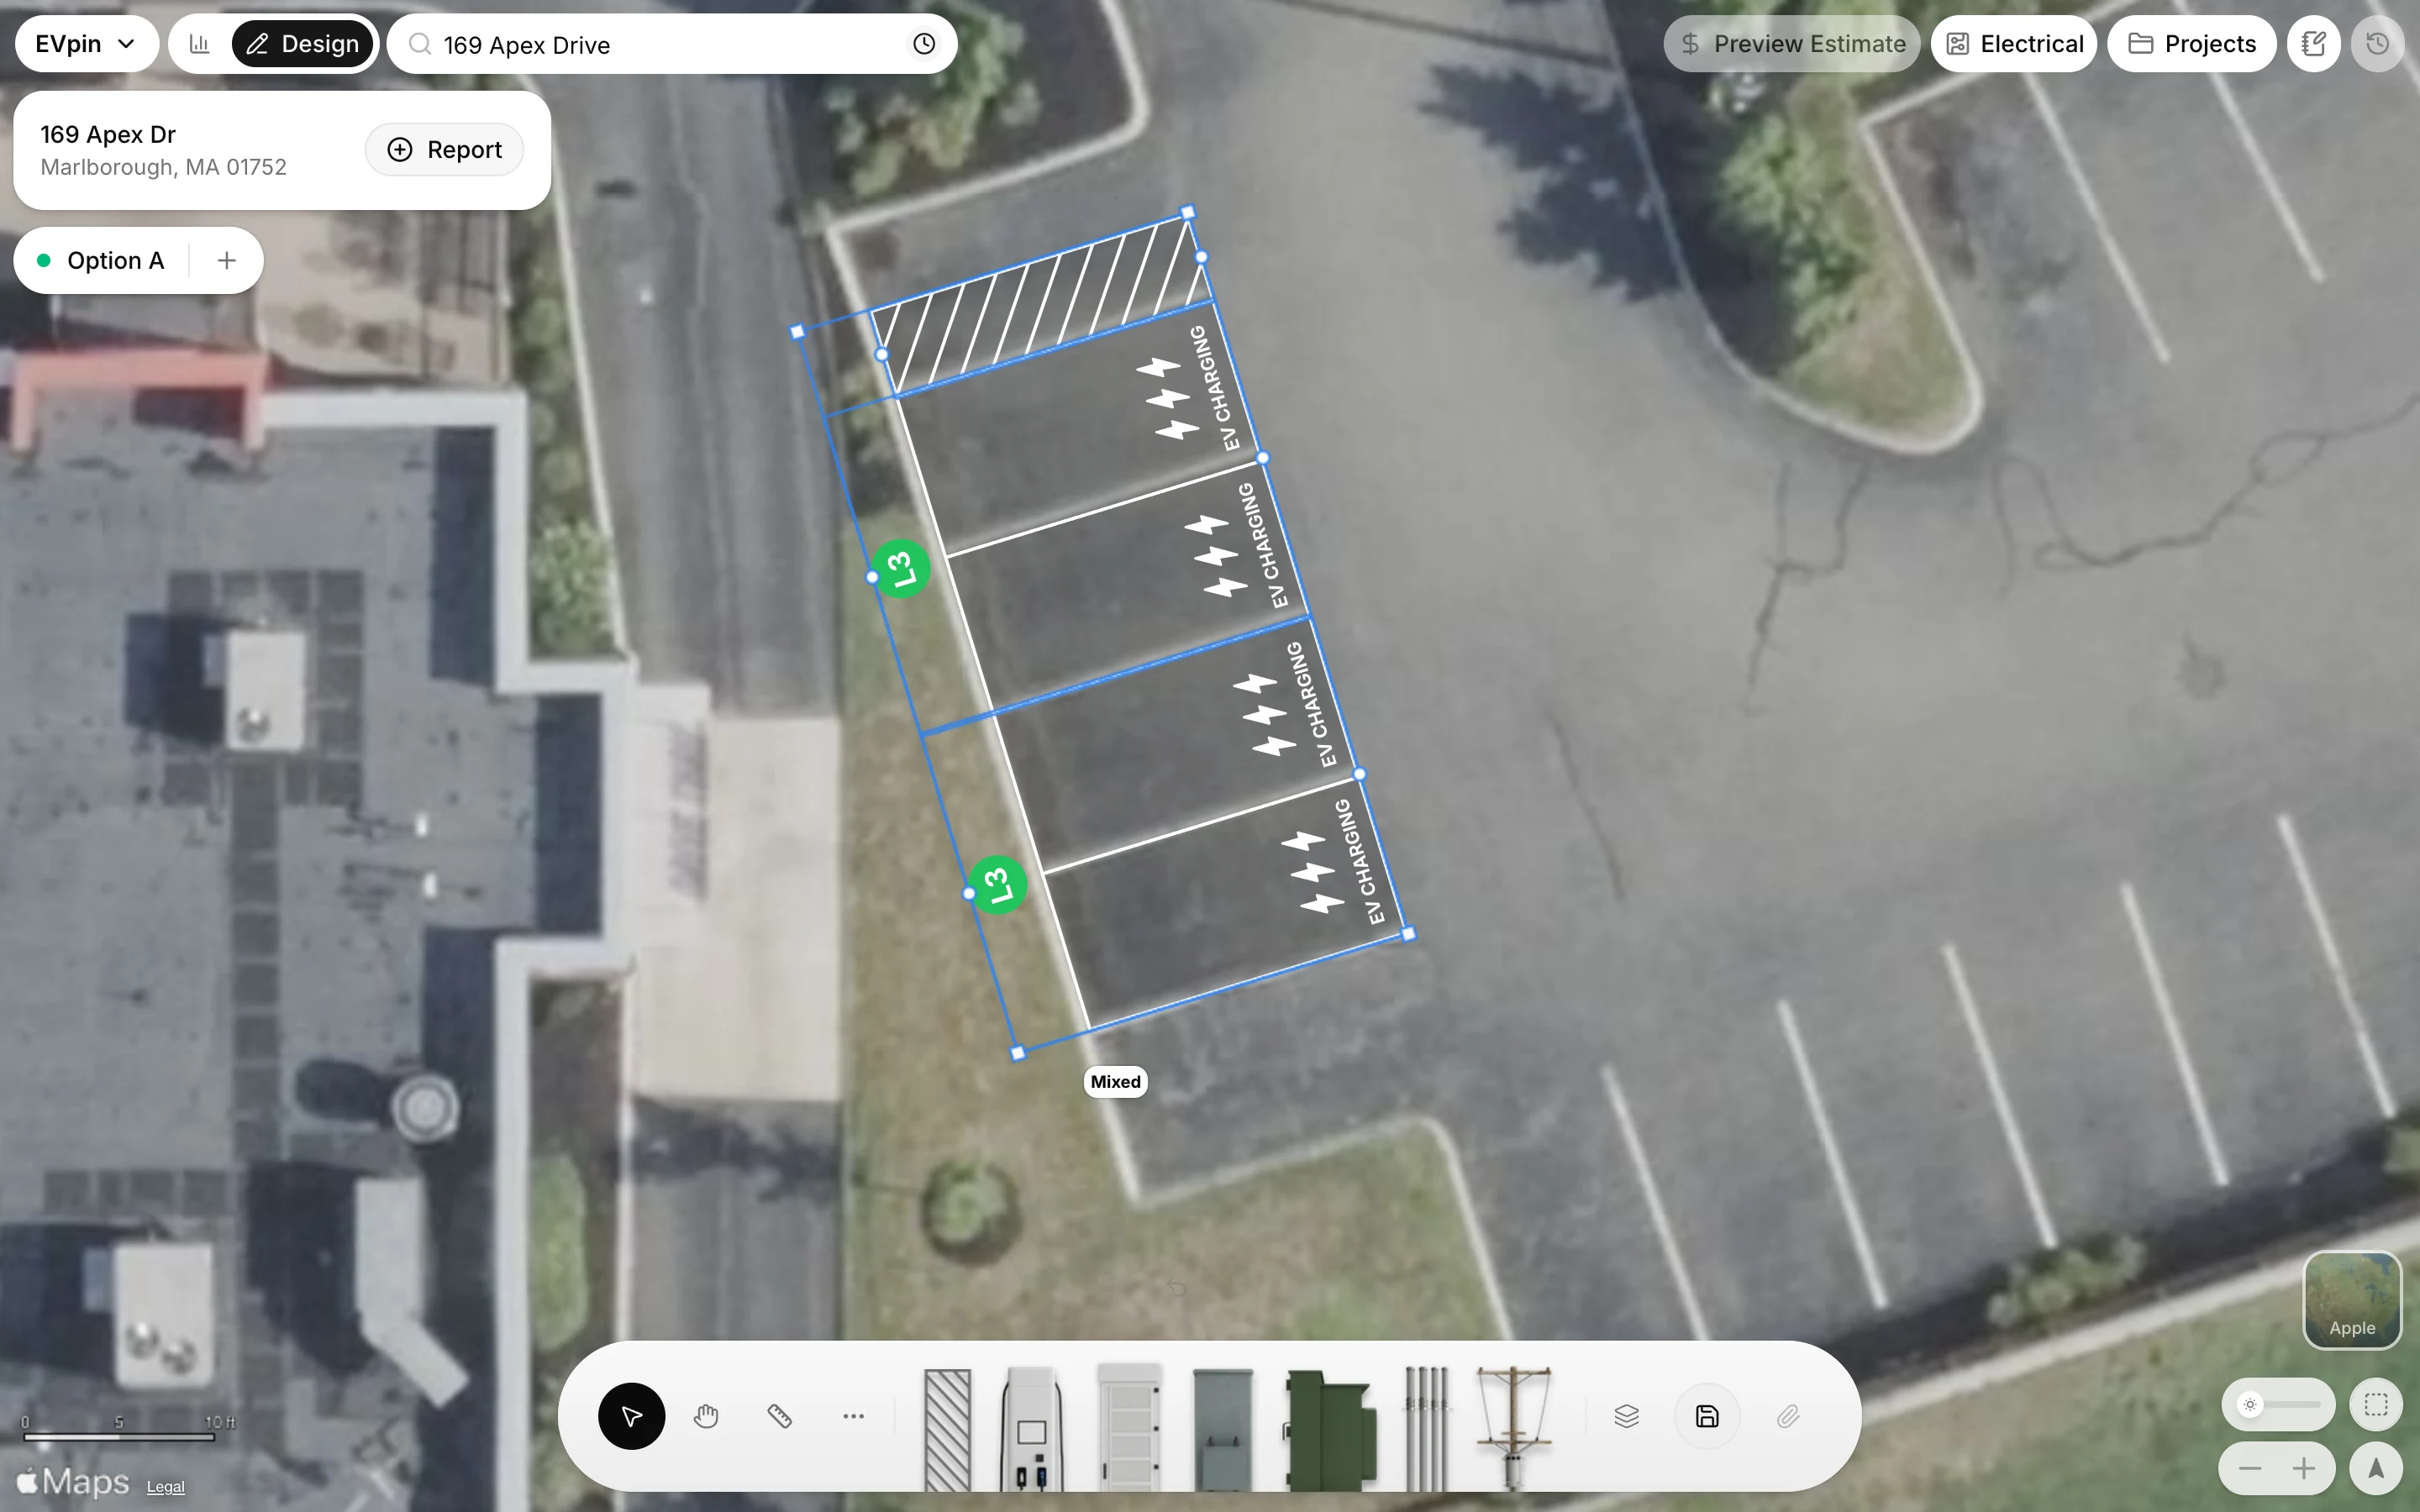
Zoom in to check the stall lines against the paint. With the row still selected, press the arrow keys to move it a little at a time, or hold Shift with an arrow key for bigger steps.
What's next
- How to add a transformer to power the stalls.
- How to auto-connect equipment once the equipment is in place.