How to import a site plan into a design
Upload a site plan image or PDF on the Design page and set its scale so you can draw to scale on top of it.
When the aerial imagery is out of date or the site isn't built yet, you can design on top of the site plan instead. By the end the plan will be the canvas, scaled so stalls and equipment come out the right size. You need the address picked on the Design page and nothing drawn yet, plus a plan with a known dimension on it, such as a scale bar.
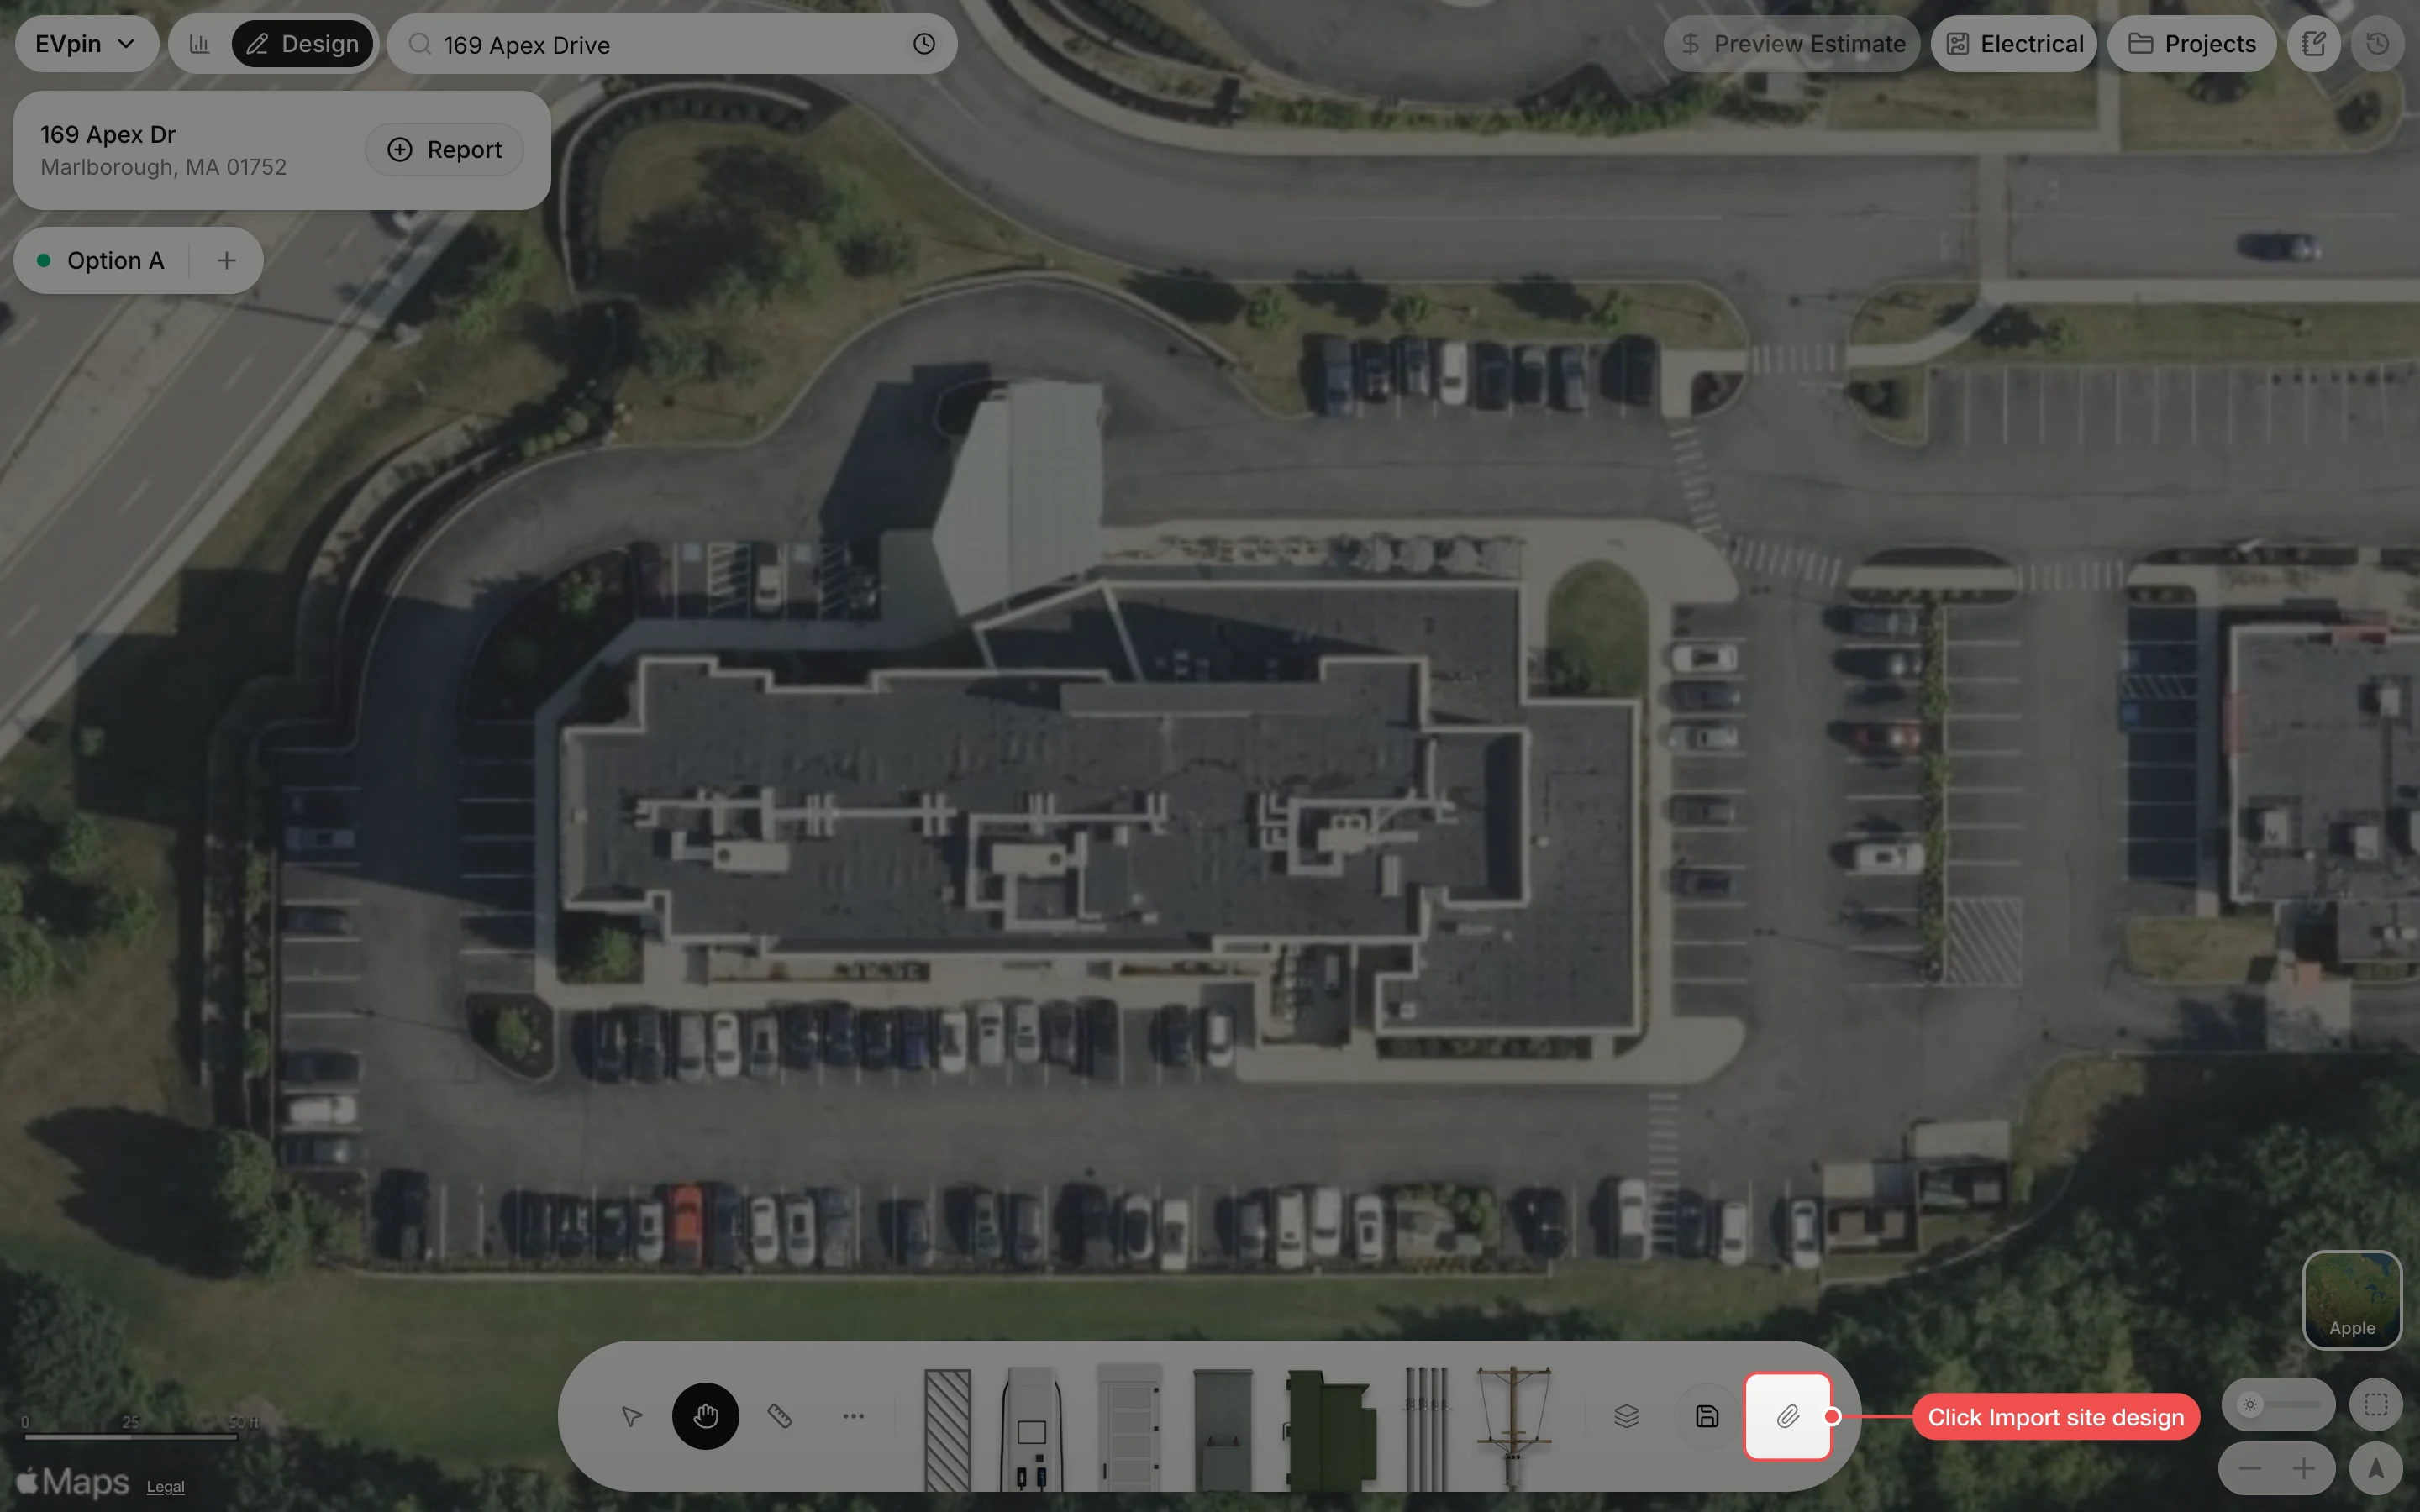
Open Import site design
Click Import site design, the paperclip at the right end of the dock. It is greyed out once the design has shapes on it.
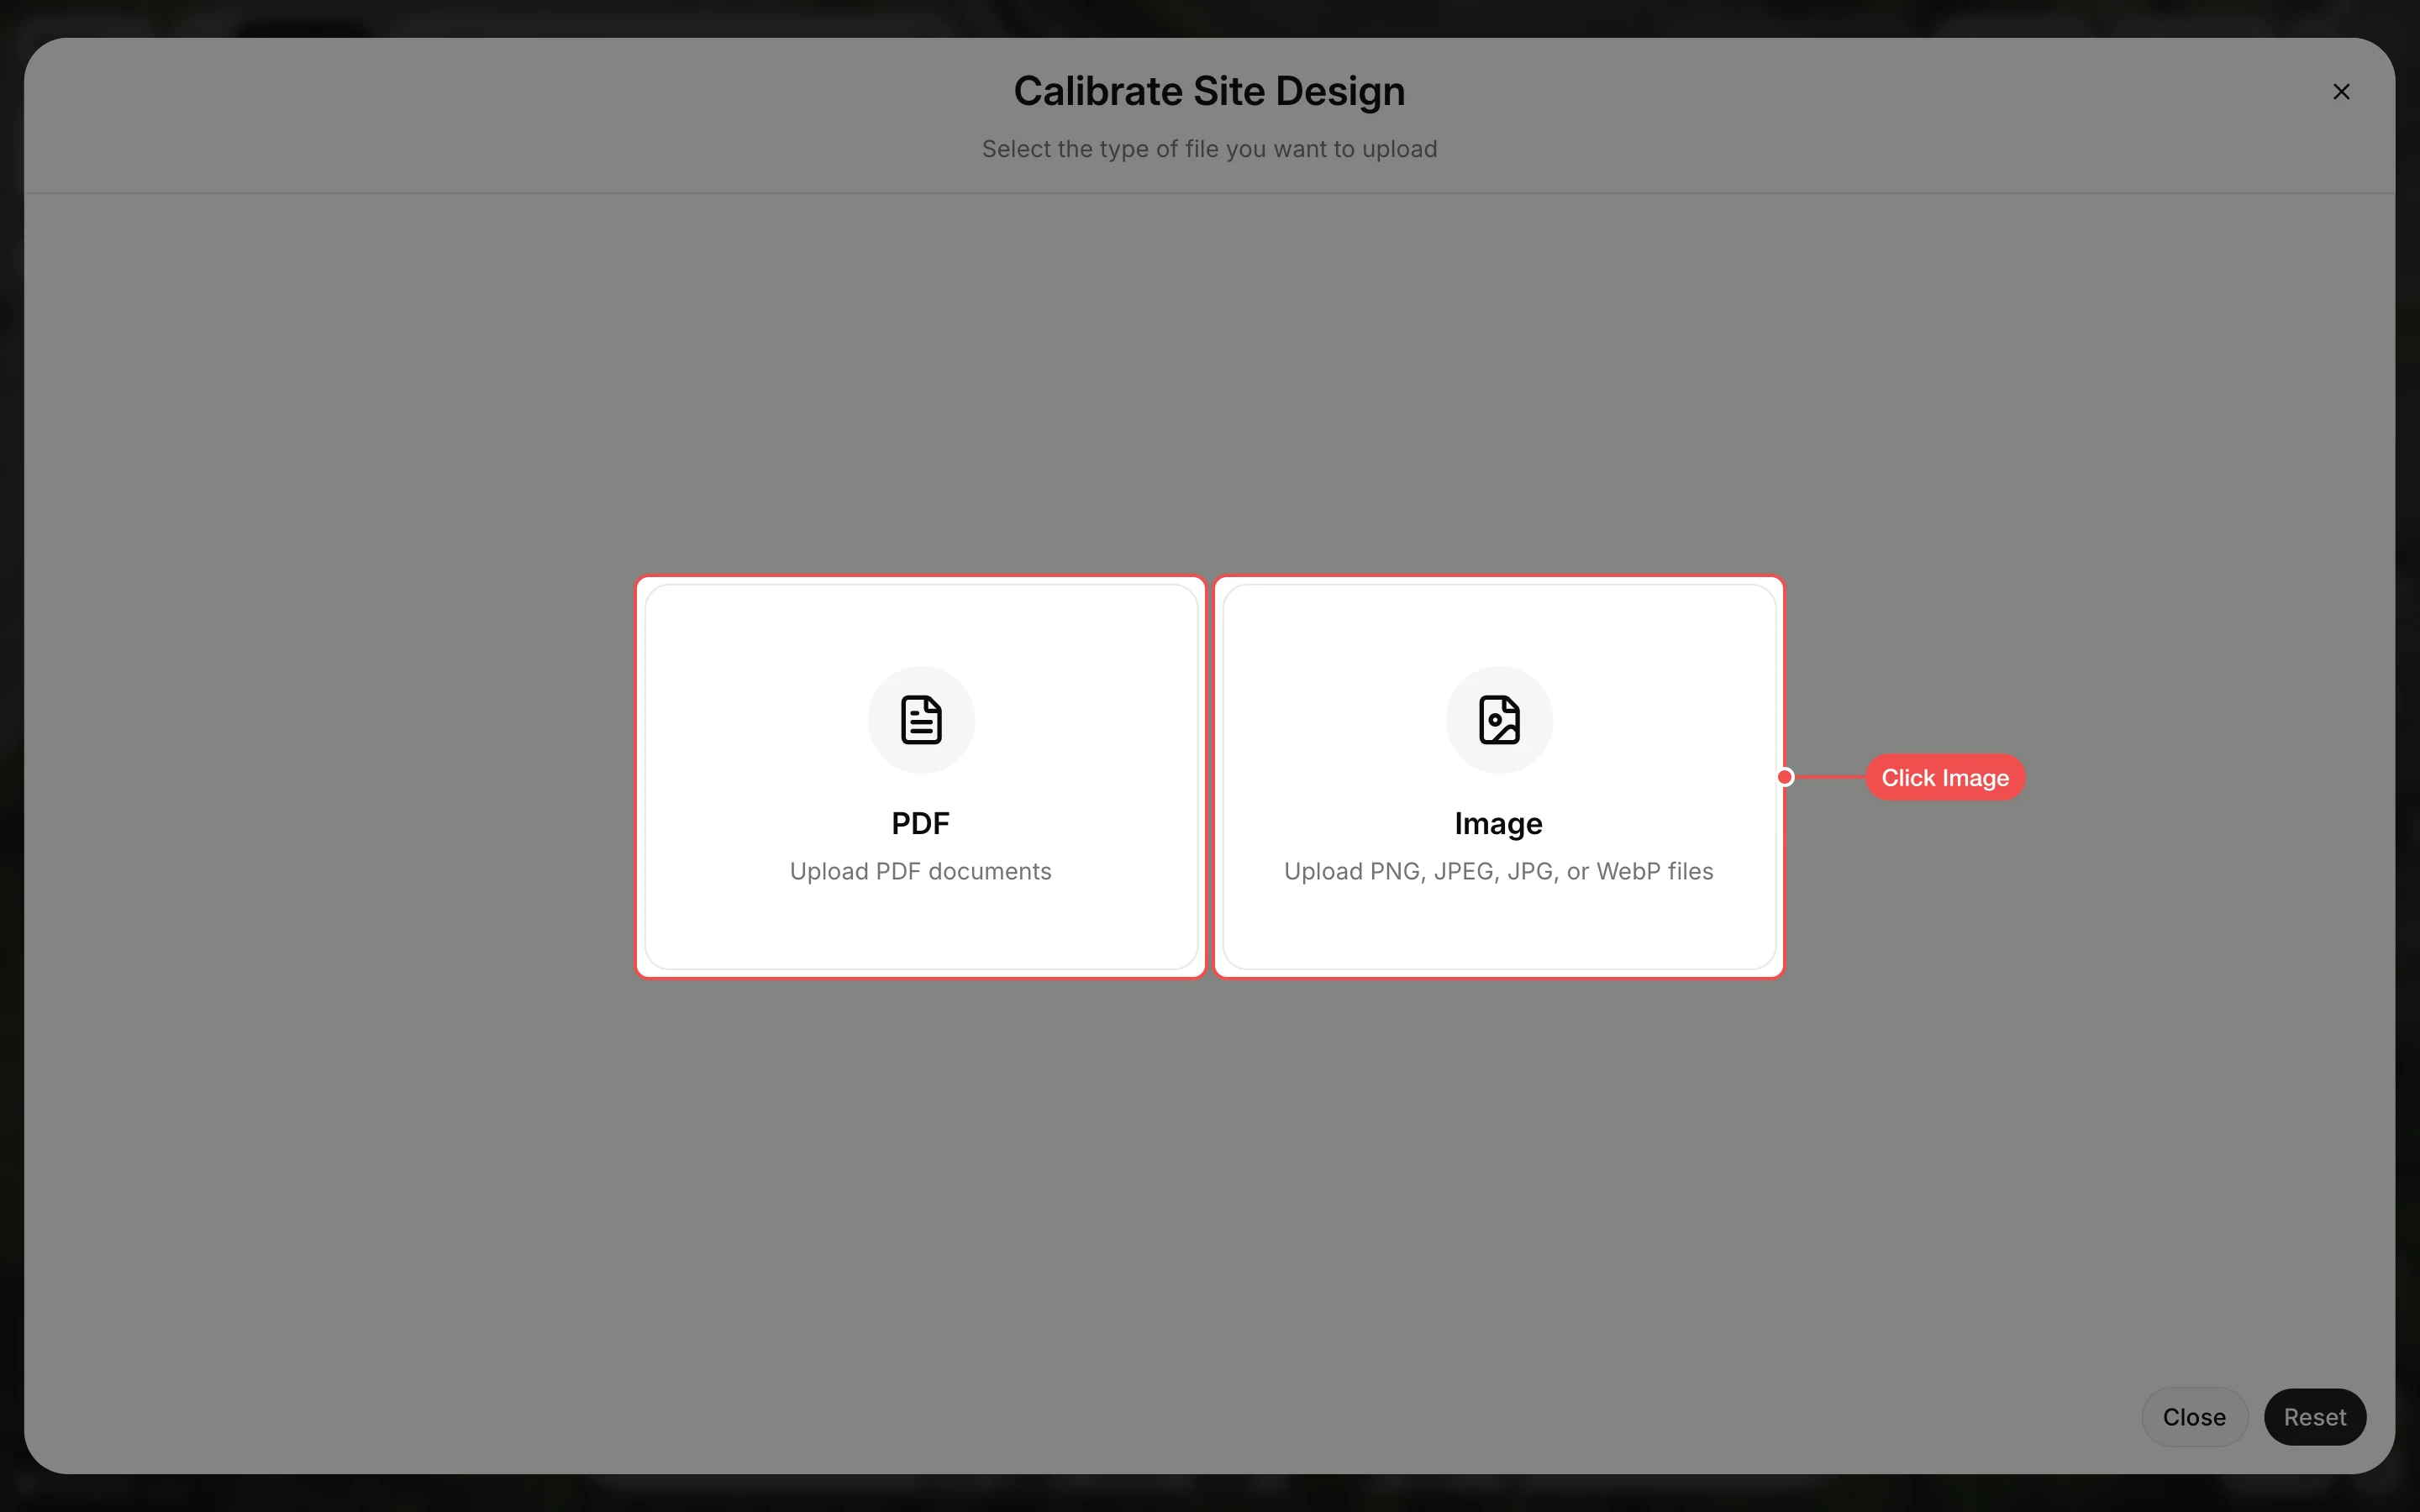
Click the file type
The Calibrate Site Design window opens. Click Image for a PNG, JPEG or WebP, or PDF for a drawing set.
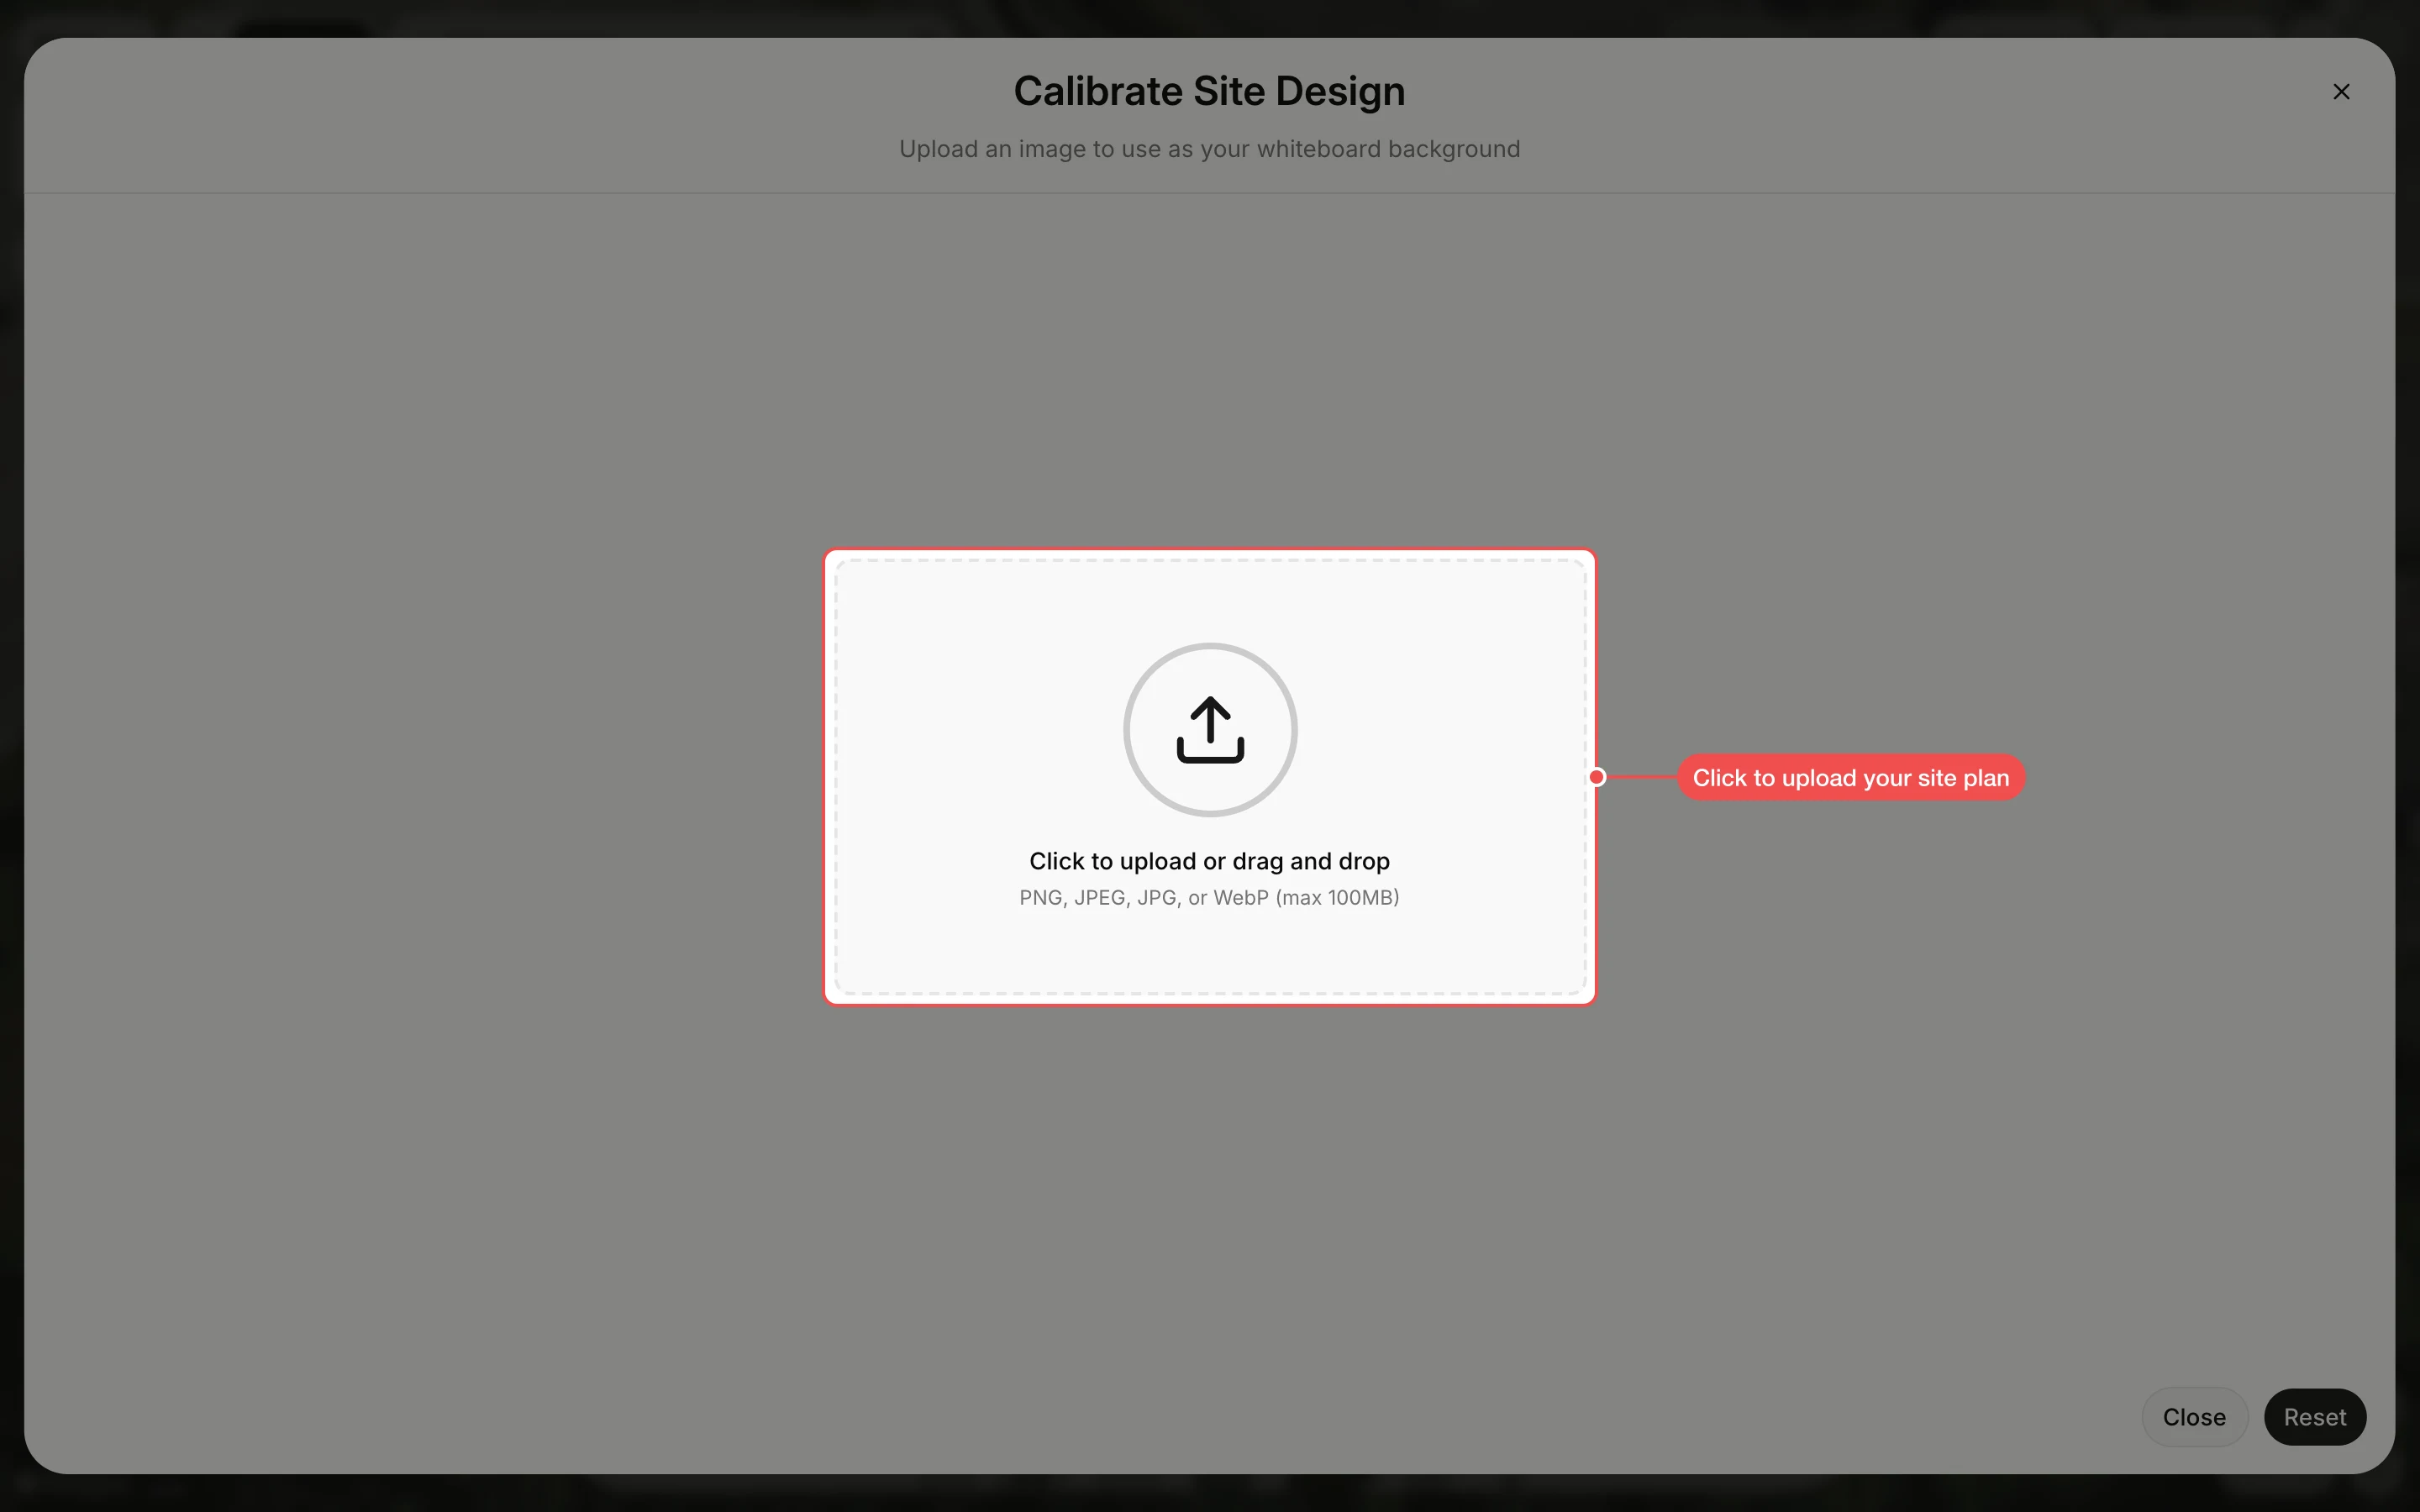
Upload the plan
Click the upload area and pick your file, or drag it onto the area. Images must be at least 2500 pixels wide; files can be up to 100 MB. For a PDF, click the page with the site plan once its pages are listed.
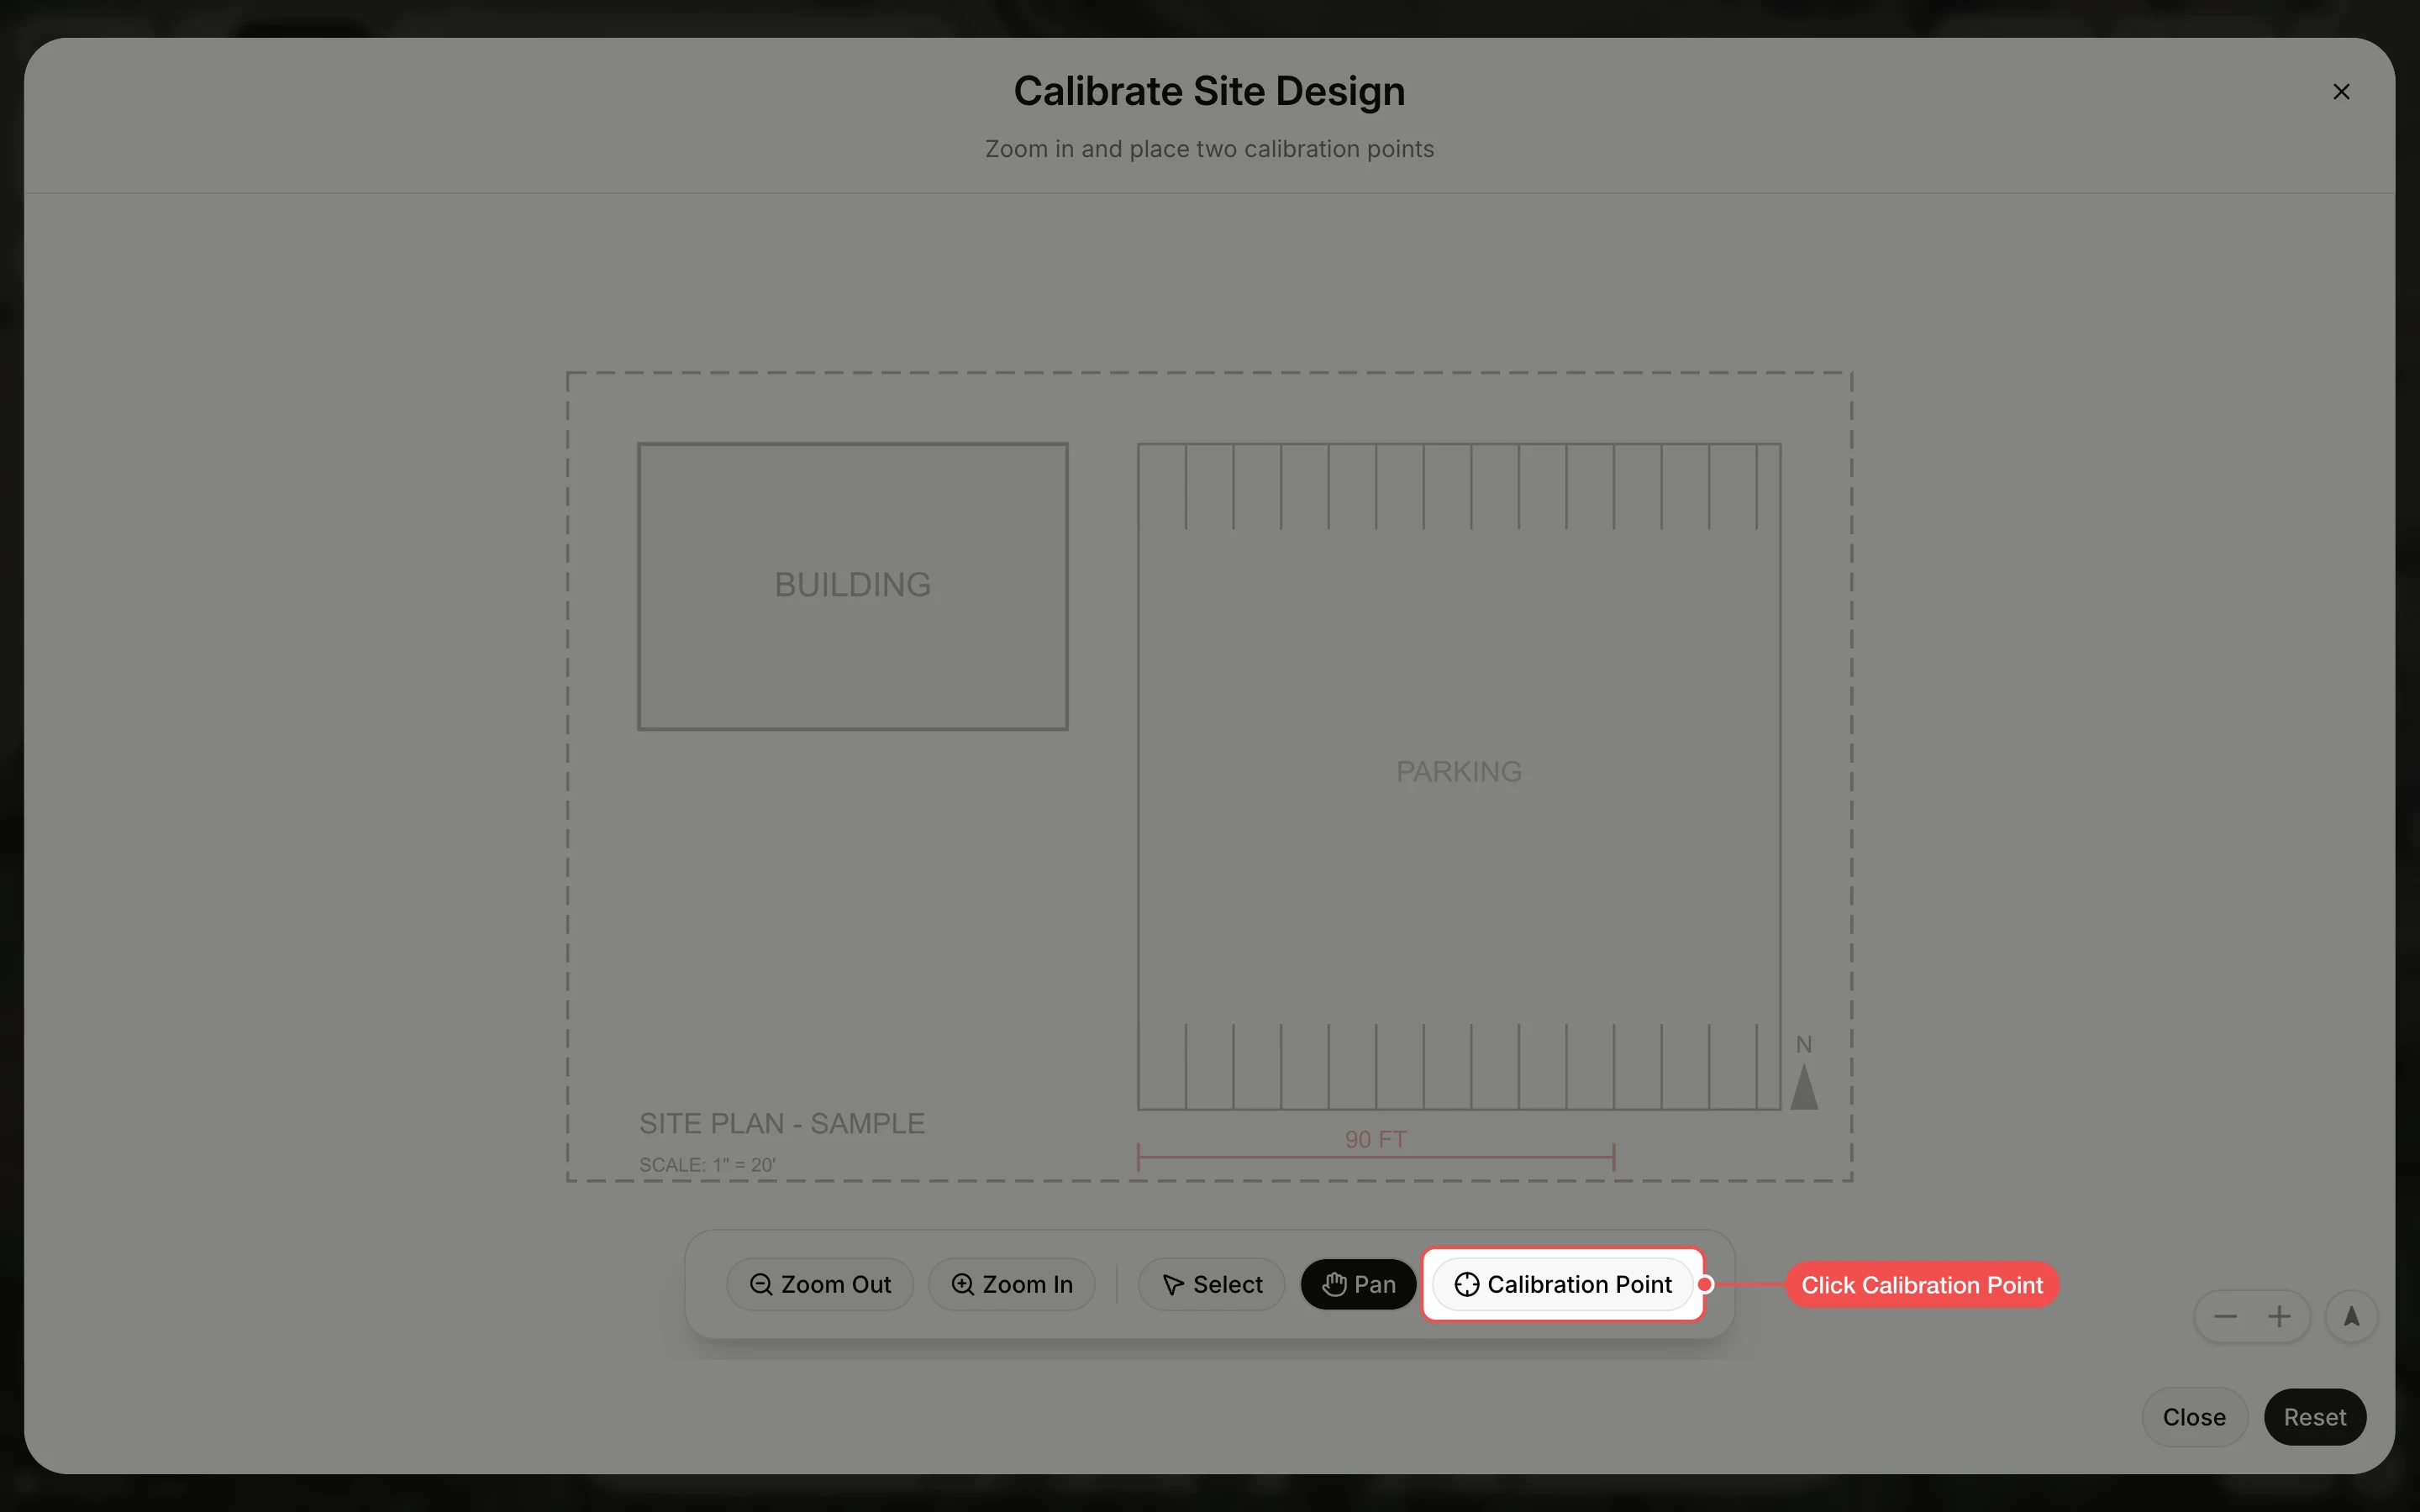
Click Calibration Point
The plan opens in the window. Click Calibration Point in the toolbar under it. Use Zoom In and Pan first if the dimension you want to measure is small.
Click both ends of a known distance
Click one end of a dimension whose length you know, such as the scale bar, then click the other end. The longer the distance, the more accurate the scale.
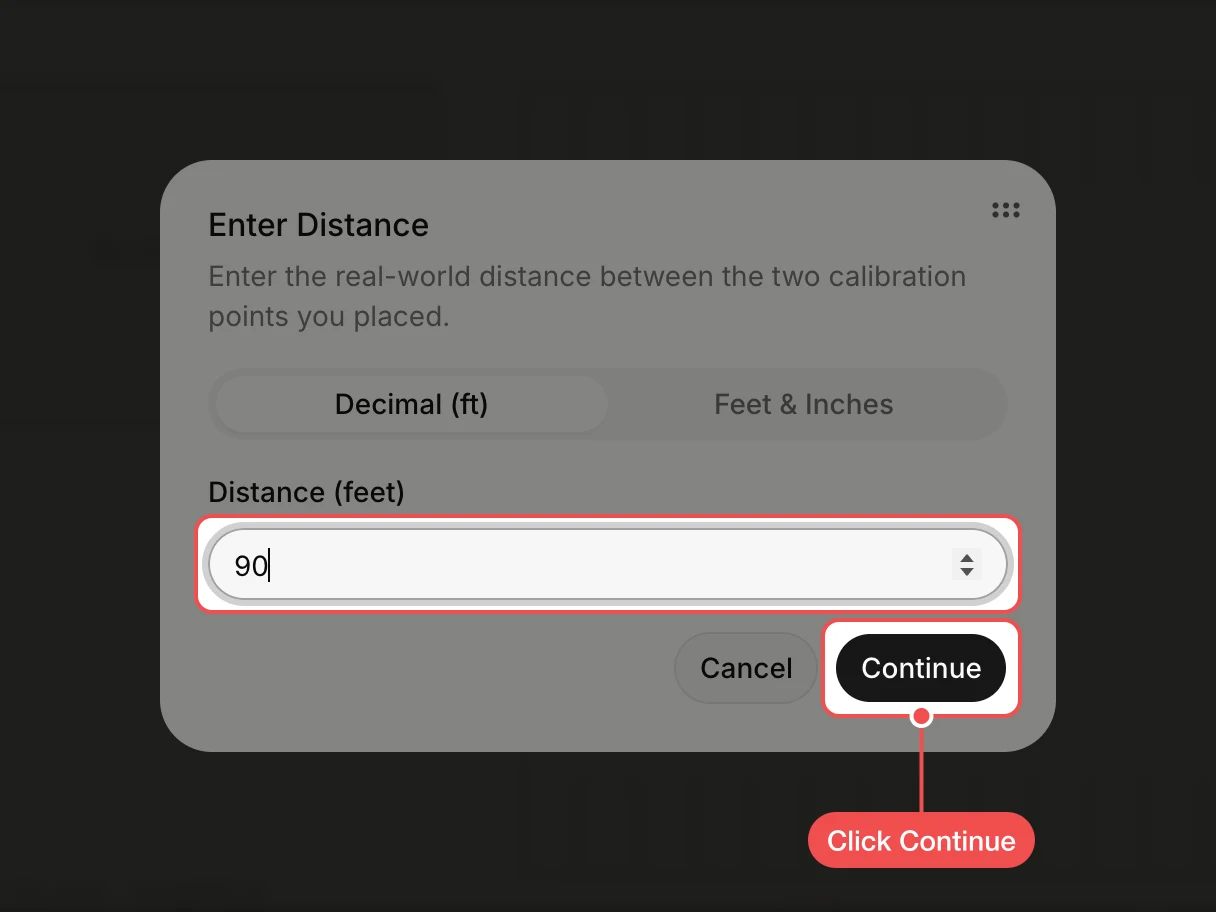
Enter the distance
In Enter Distance, type the real length between the two points in Distance (feet), then click Continue. Click Feet & Inches to enter it as feet and inches instead.
Check the plan on the canvas
The window closes and the plan replaces the map as the canvas, faded so your shapes stand out. Shapes you add now are drawn to the plan's scale.
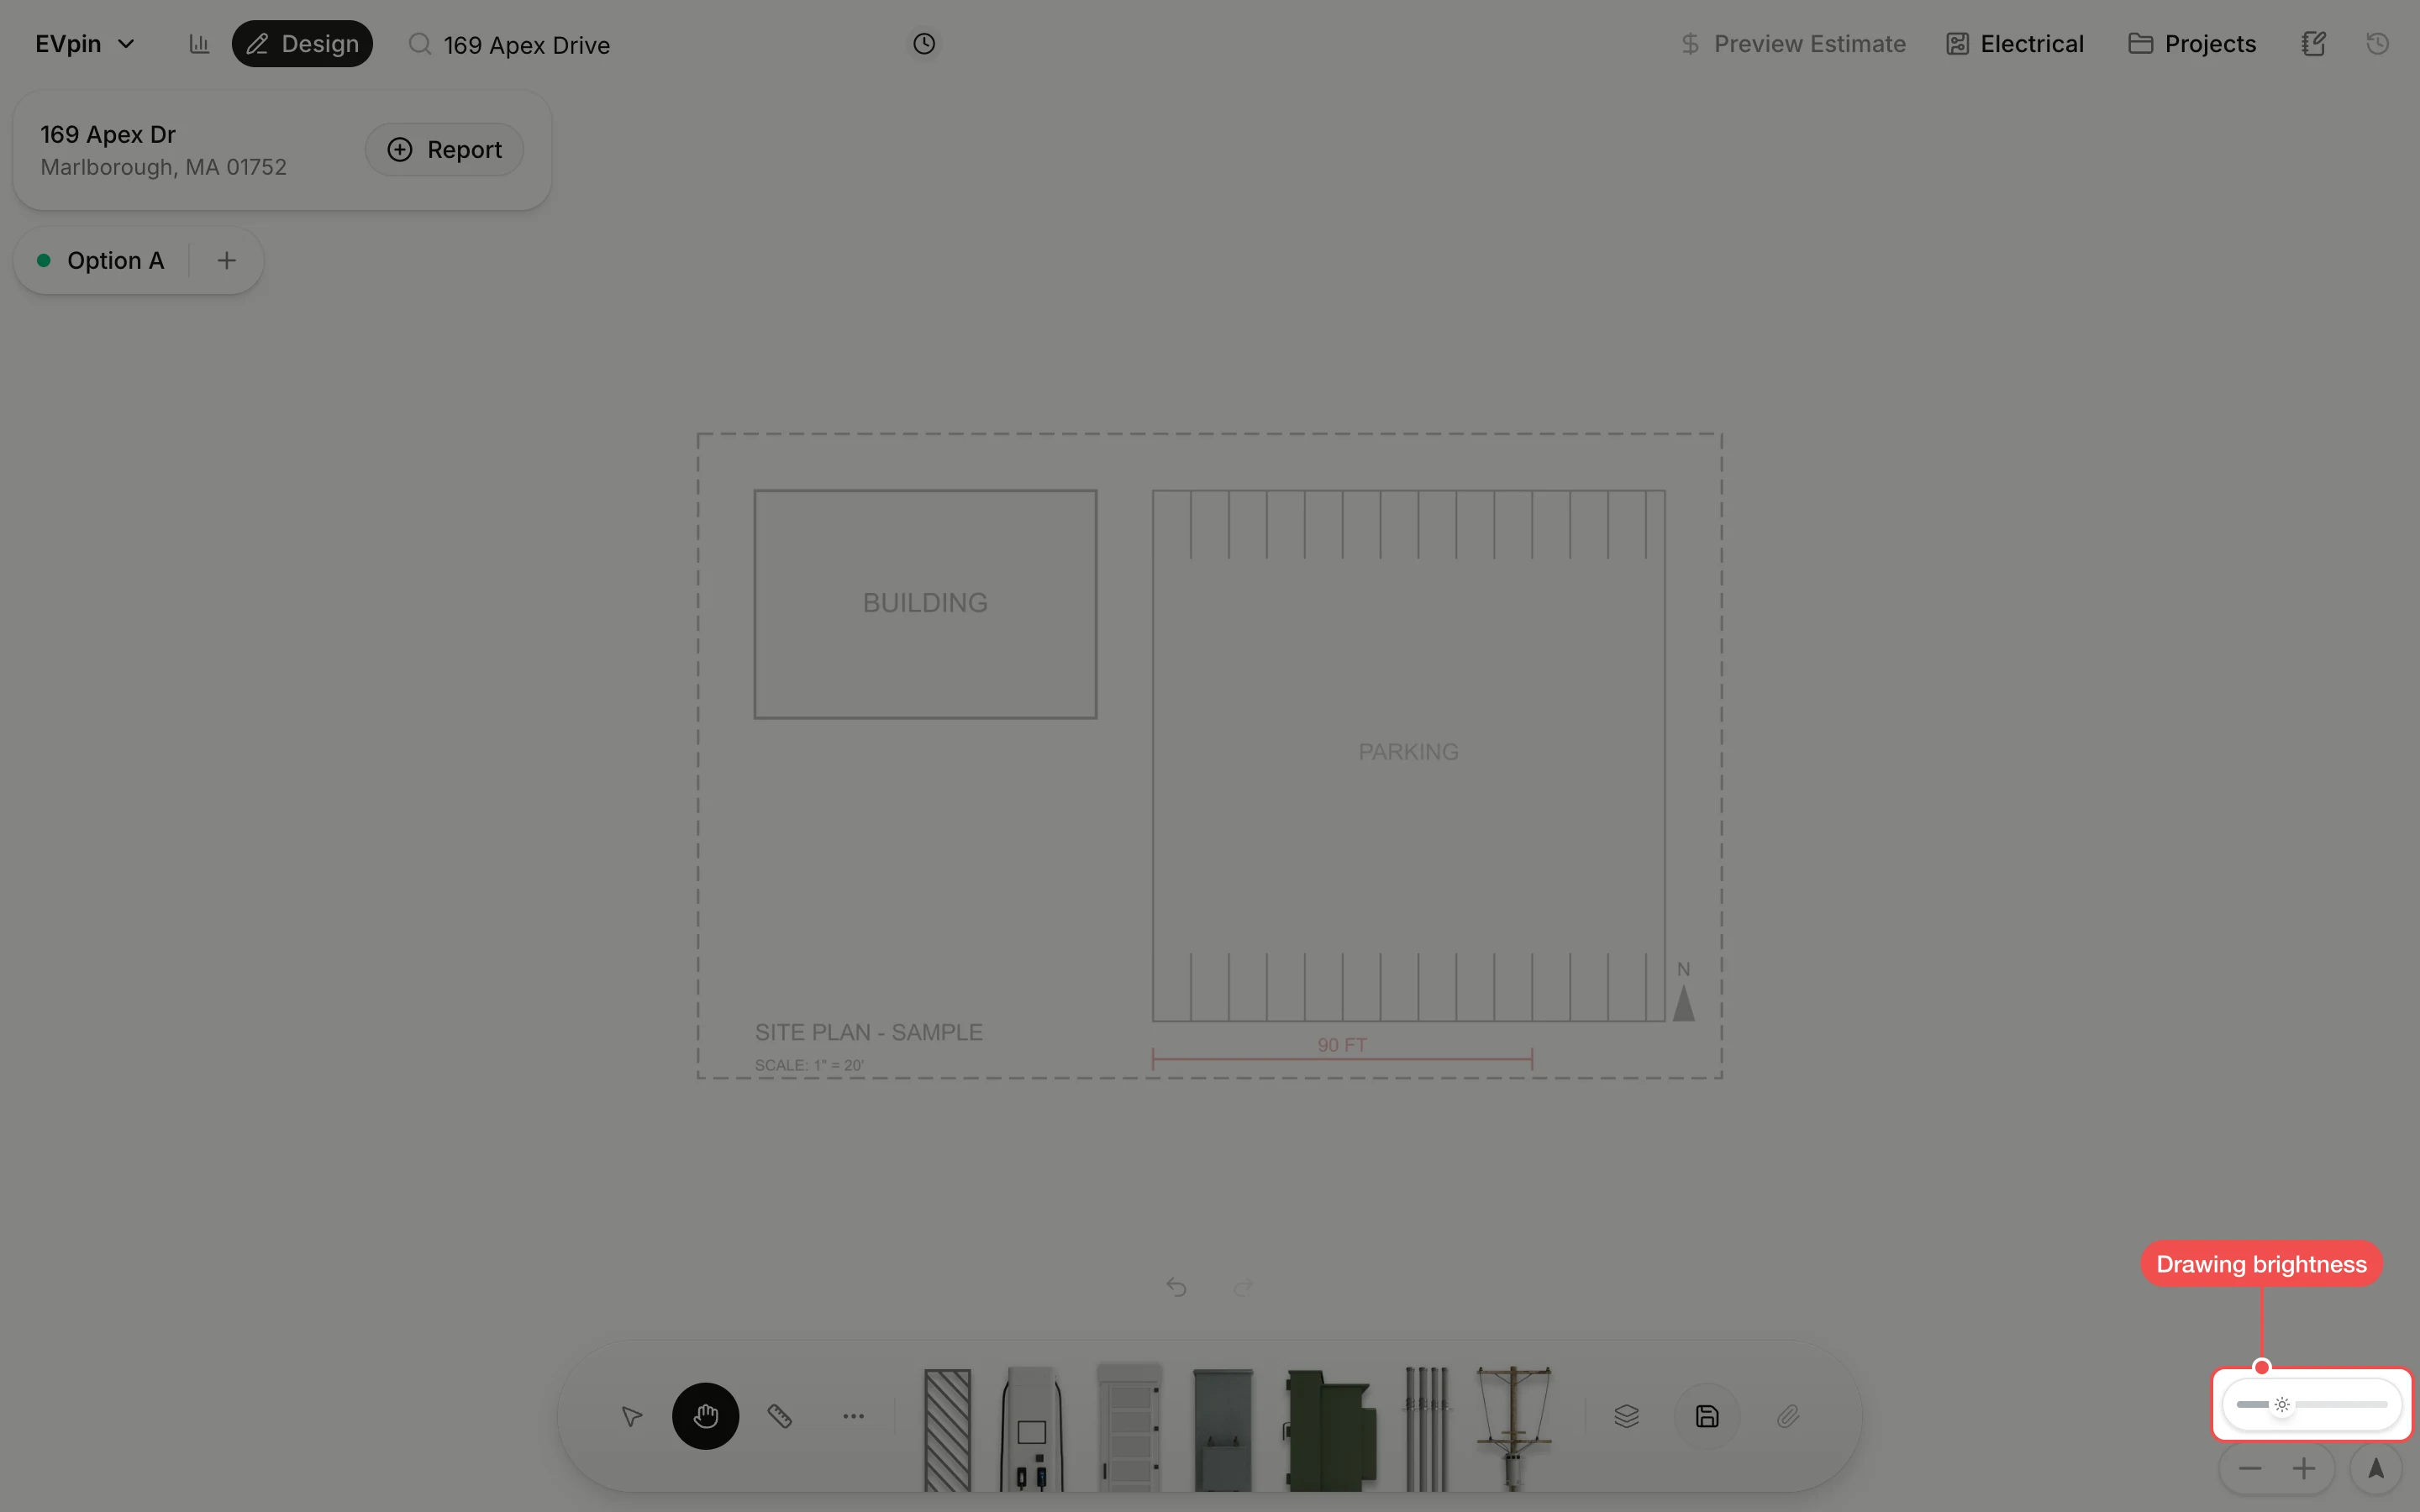
Drag Drawing brightness
Drag the Drawing brightness slider in the bottom-right corner to the right to make the plan darker and easier to read, or to the left to fade it.
What's next
- How to add charging stalls to a design
- How to measure a distance on a design to check the scale.