How to measure a distance on a design
Measure a distance on the Design page with the ruler, set a line to an exact length and remove it again.
By the end you will know how wide your row of stalls is from one end to the other, how to mark out an exact length, and how to remove a measuring line. The ruler is the Measuring tool in the toolbar, and it measures any straight distance on the site. You need a design with stalls on it, as in How to add charging stalls to a design.
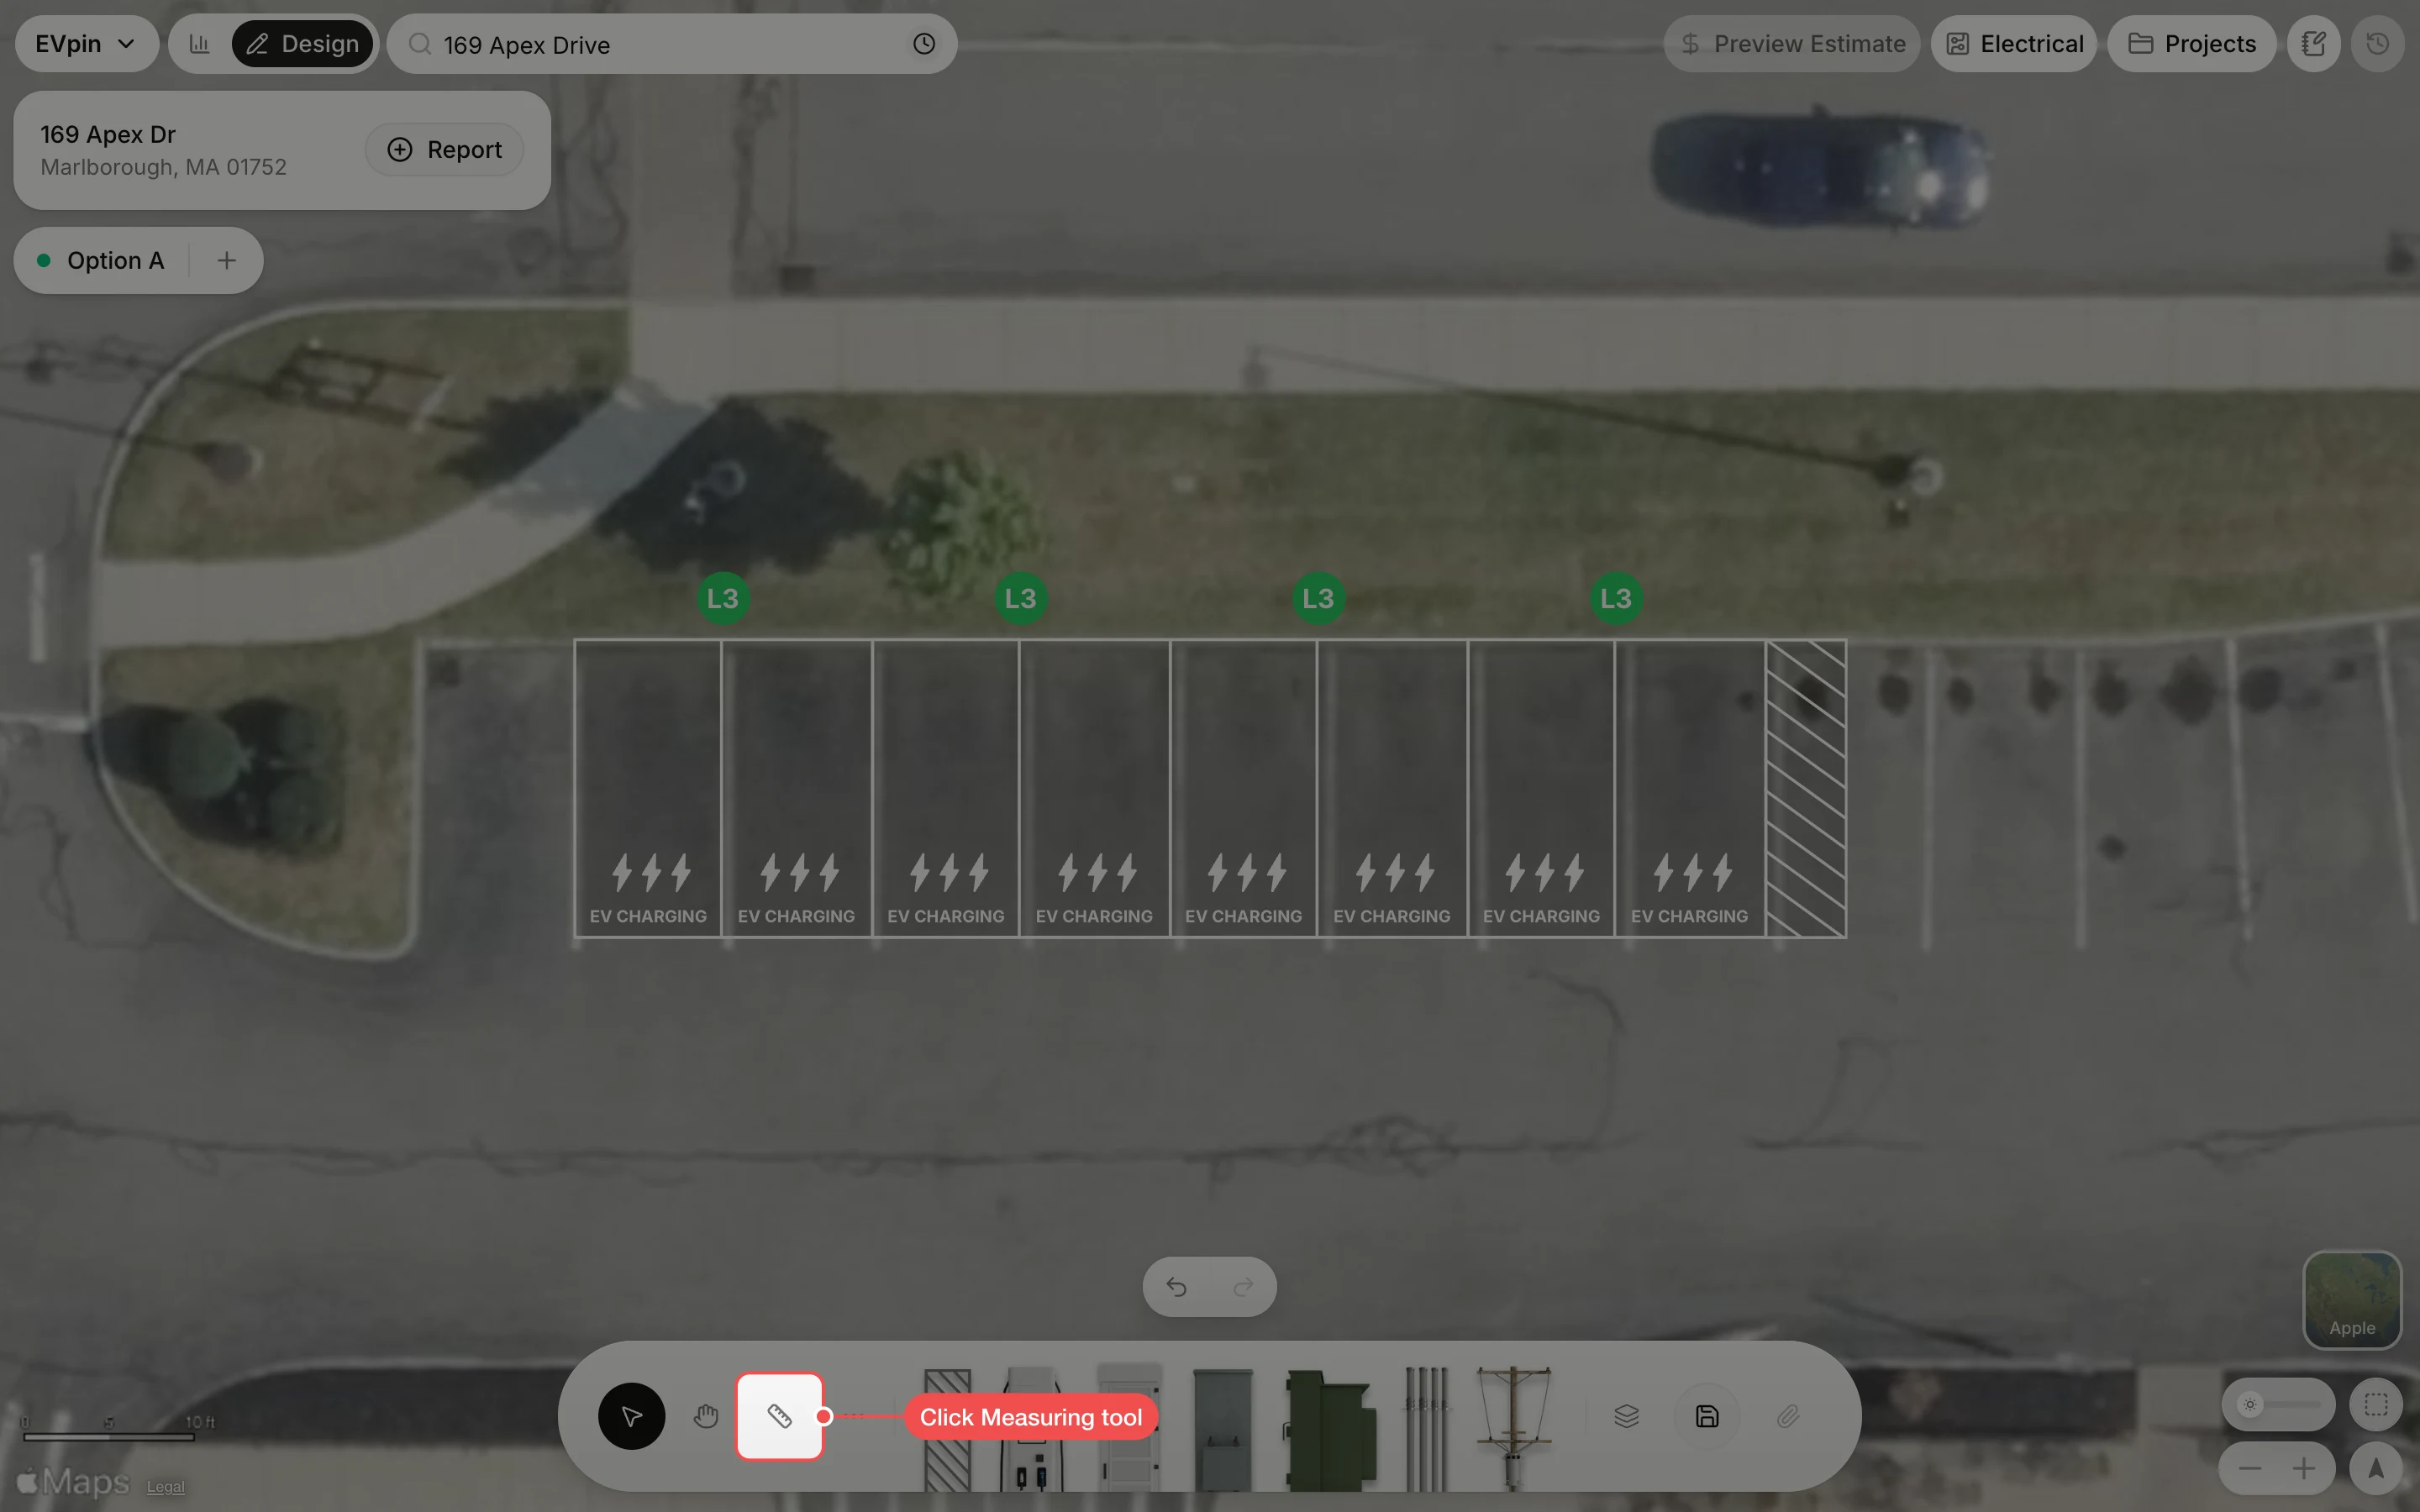
Drag across the row
Drag from the left edge of the first stall to the right edge of the last one. A line follows the cursor and its length updates as you drag.
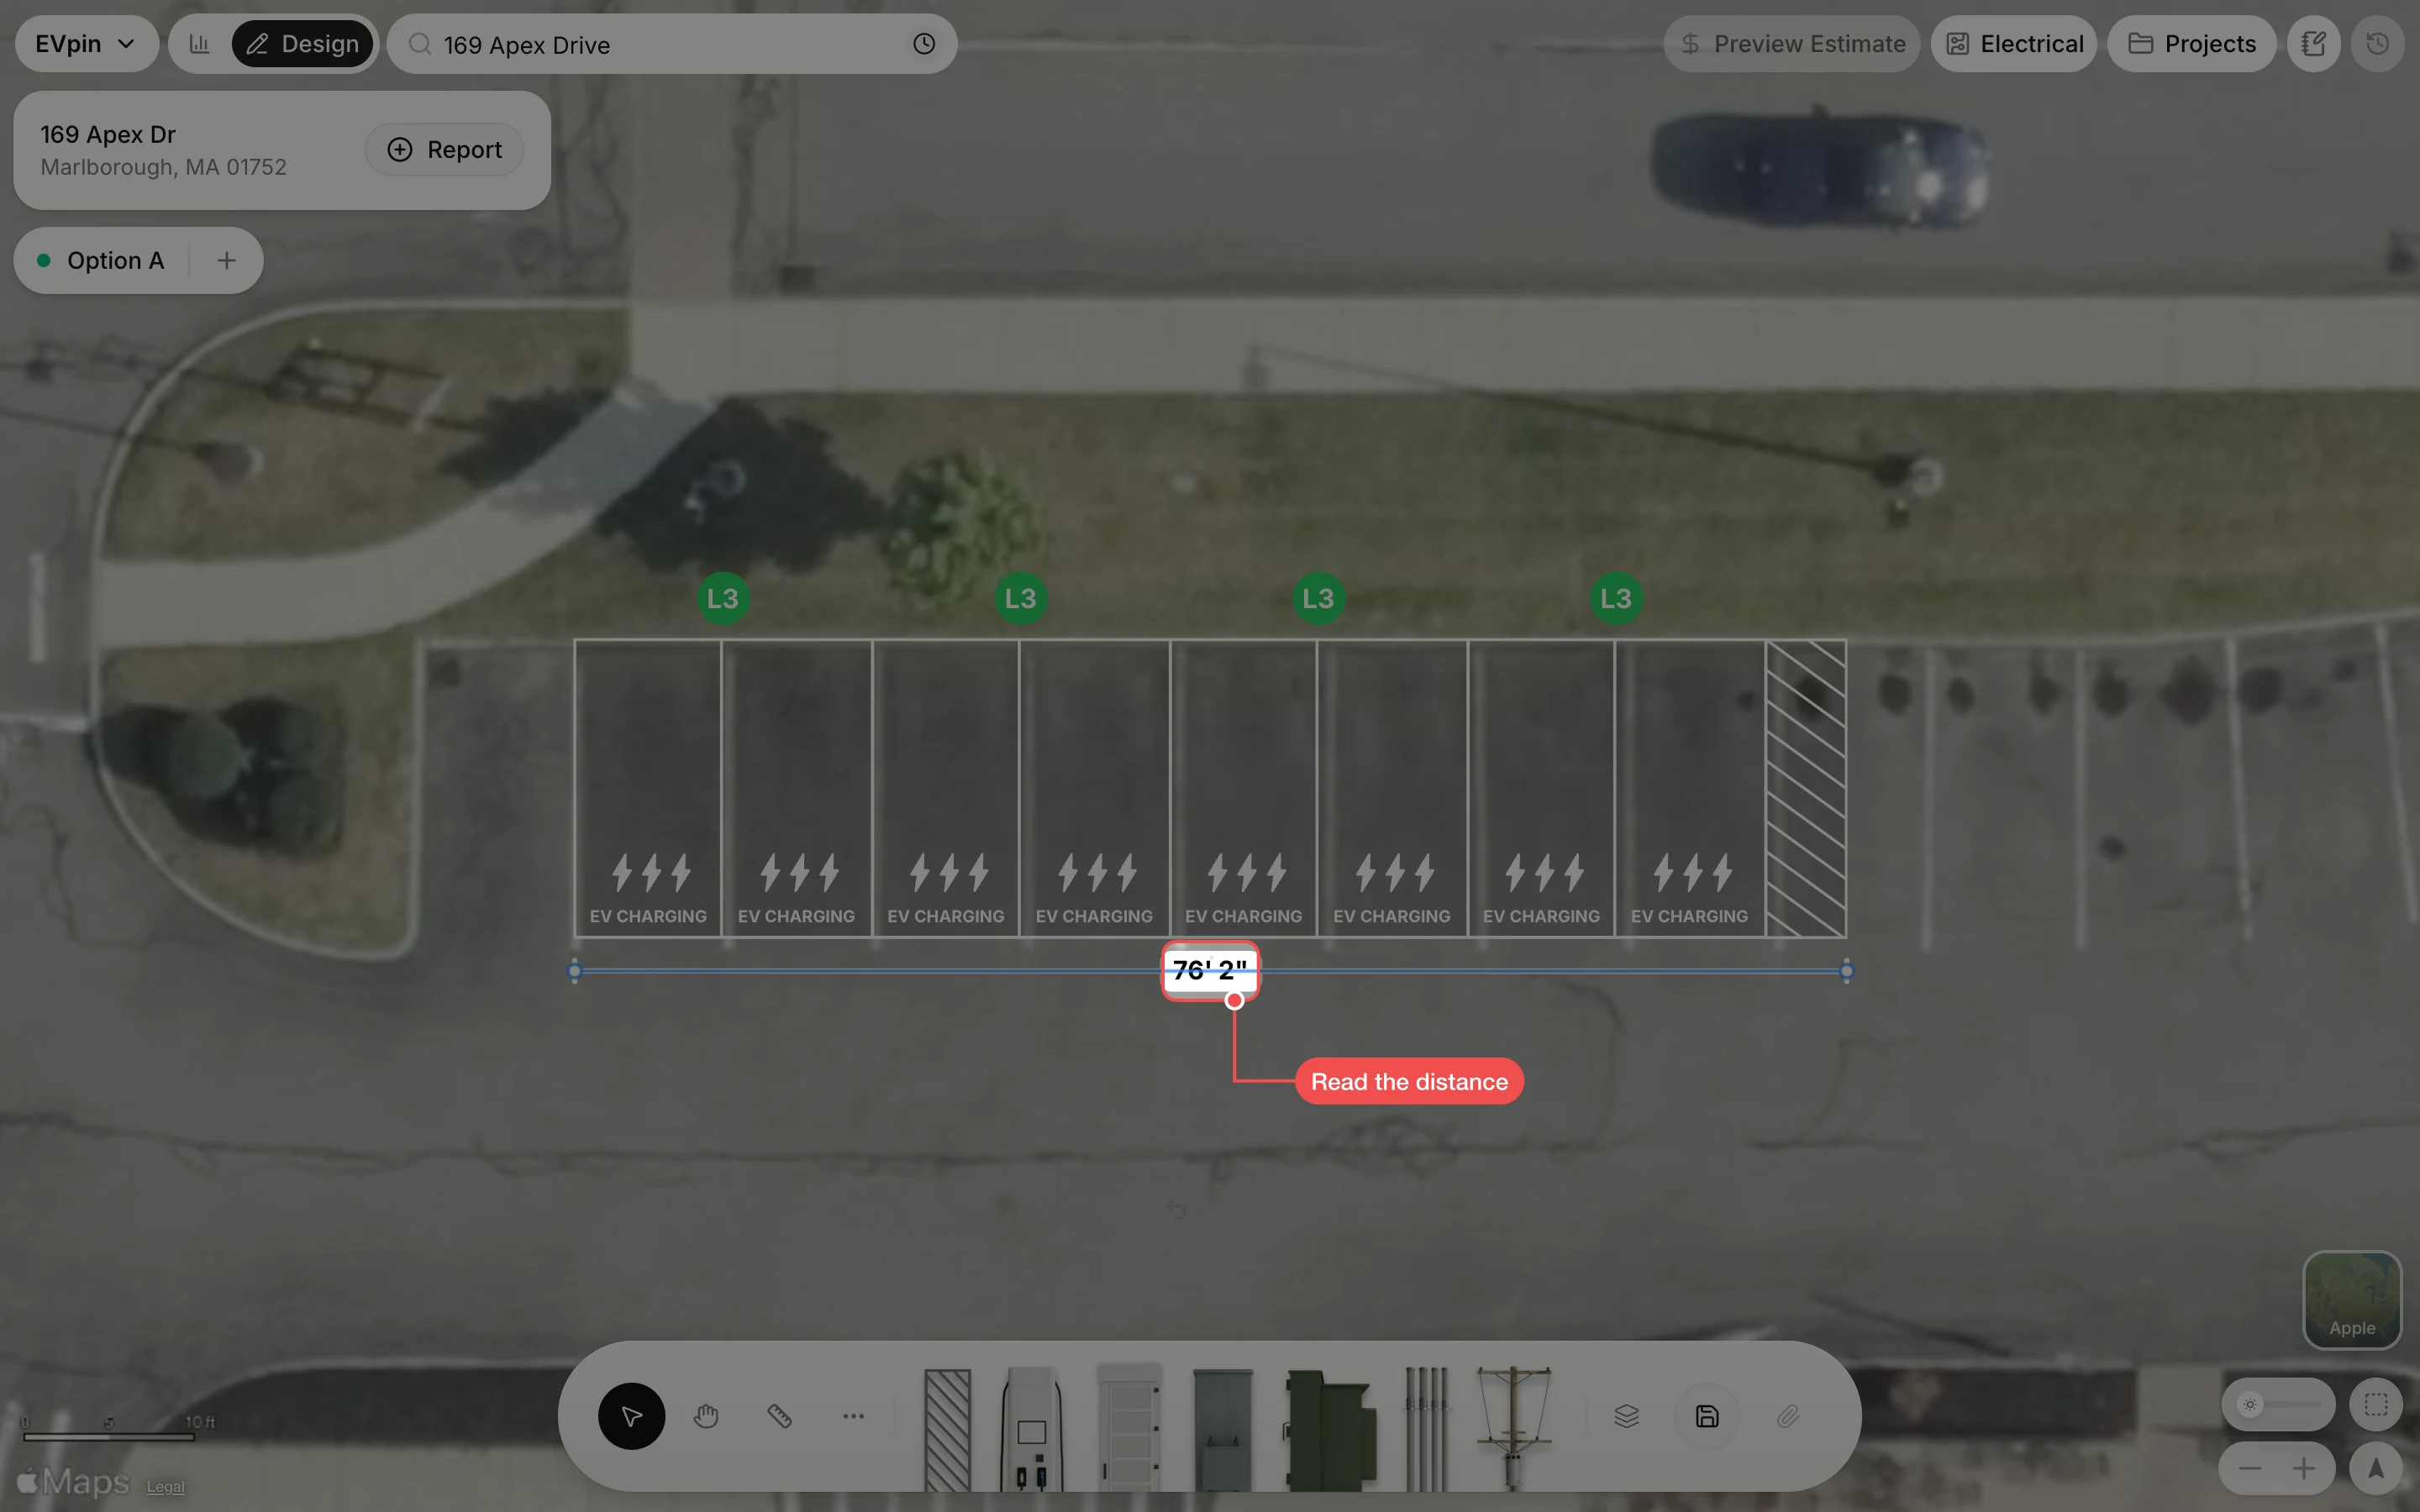
Read the distance
When you let go, the distance stays on the line, here 76' 2" for eight stalls and the access aisle. Sites in the US and Canada show feet and inches; sites elsewhere show meters. Drag either end of the line to measure again.
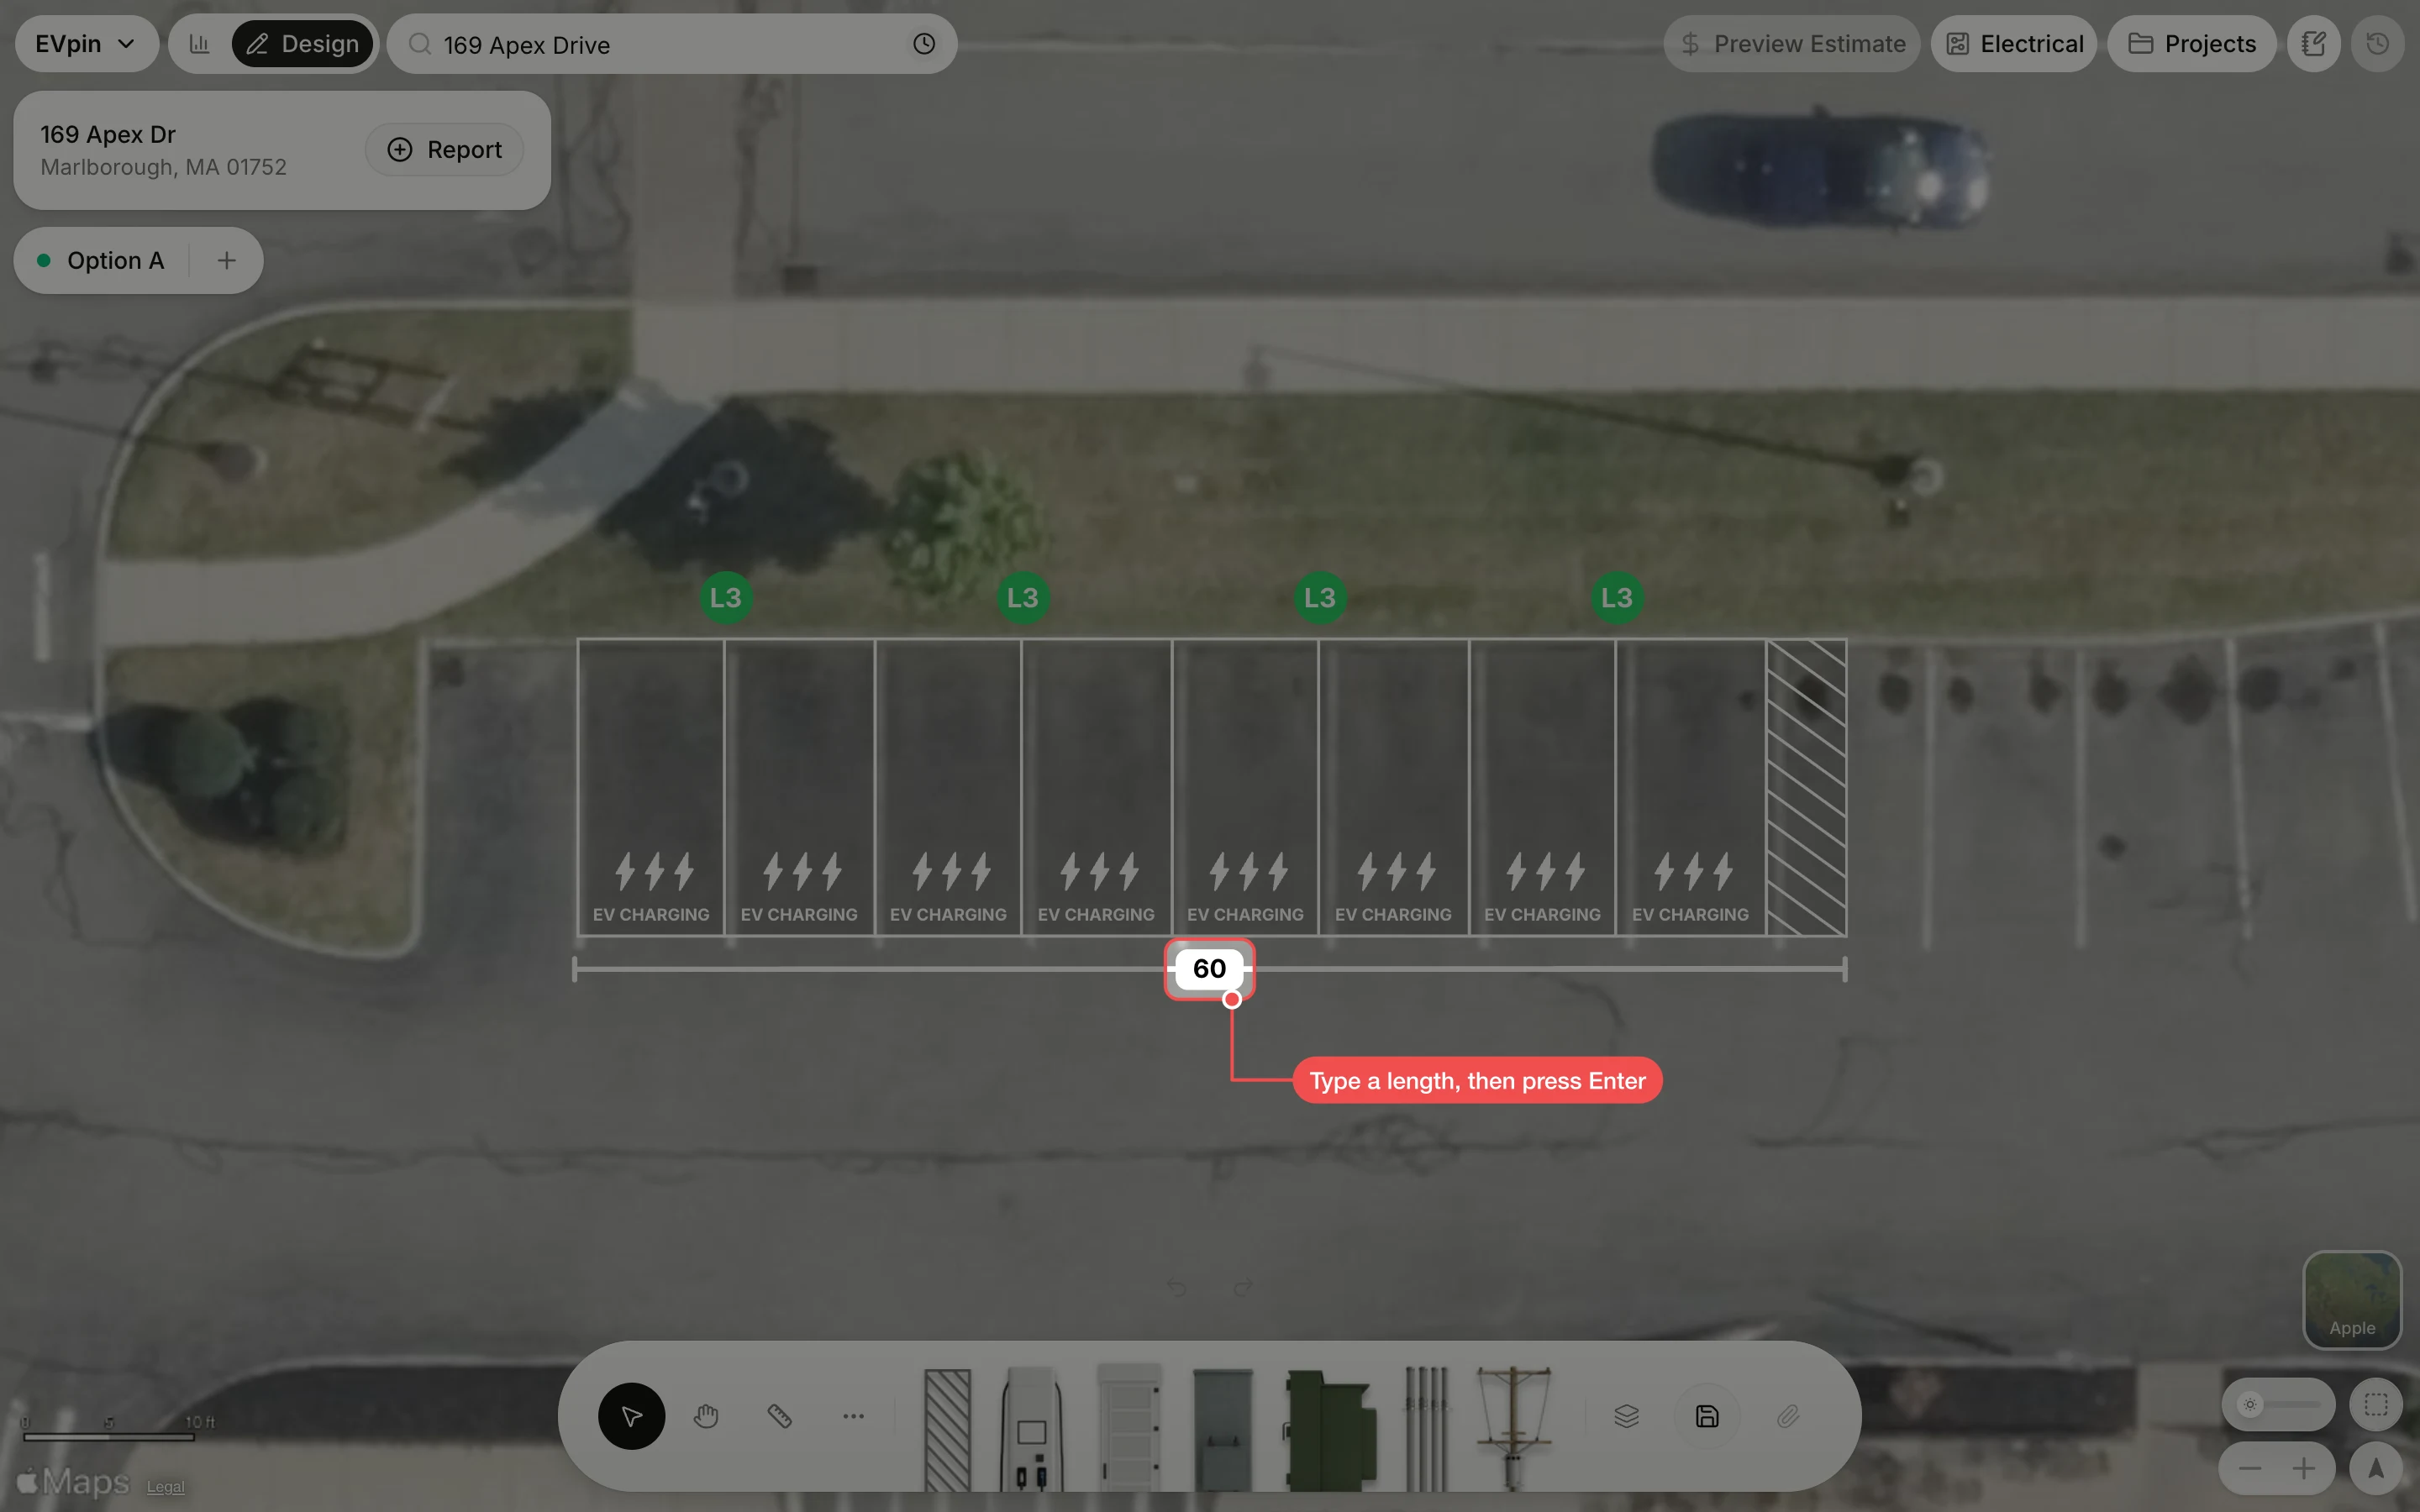
Set an exact length
Double-click the label on the line and click in the box that opens. Type a length, here 60, and press Enter. The start of the line stays put and the far end moves so the line is exactly that long, which is handy for marking out a set distance from a curb or a building.
Remove the line
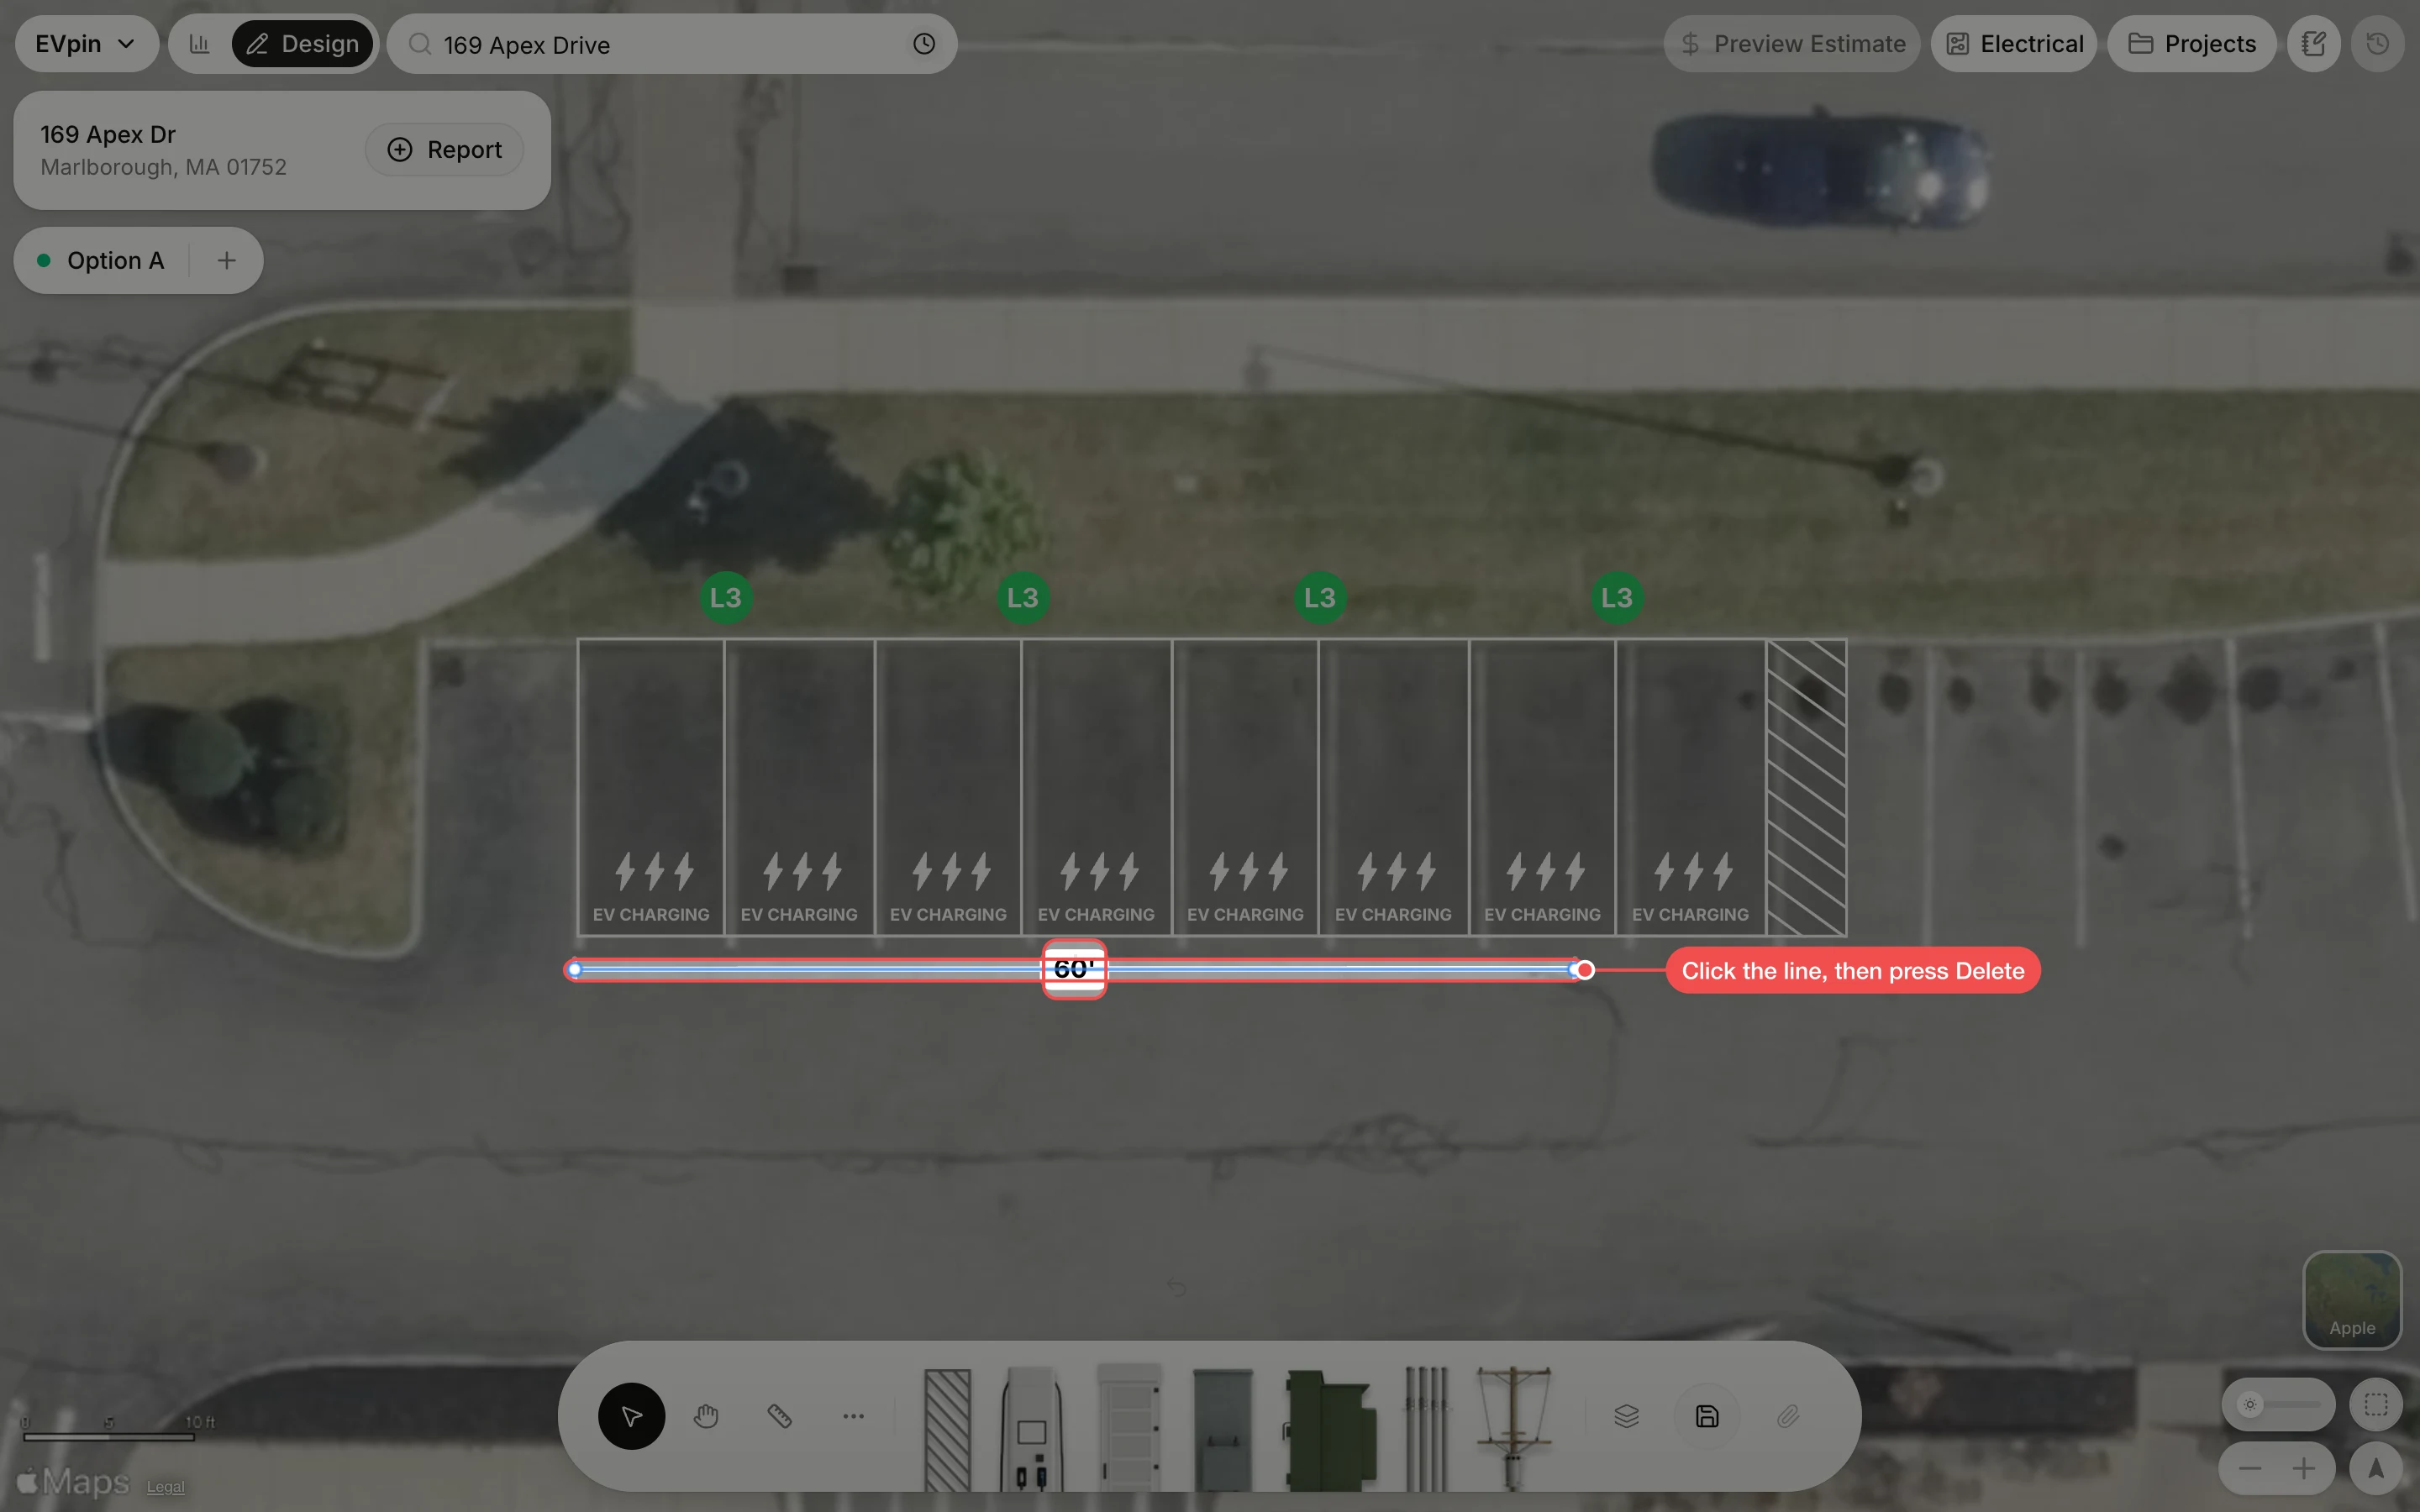
Measuring lines are saved with the design. When you no longer need one, click it and press Delete.
What's next
- How to add a transformer and keep the run to the chargers short.