How to add a path of travel
Draw the accessible route from the charging stalls to the building entrance on the Design page.
A path of travel is the hatched strip that marks the accessible route people walk, for example from the access aisle beside the stalls to the building entrance. By the end your design will show that route. You need a design with charging stalls on it, as in How to add charging stalls to a design.
Add a path of travel
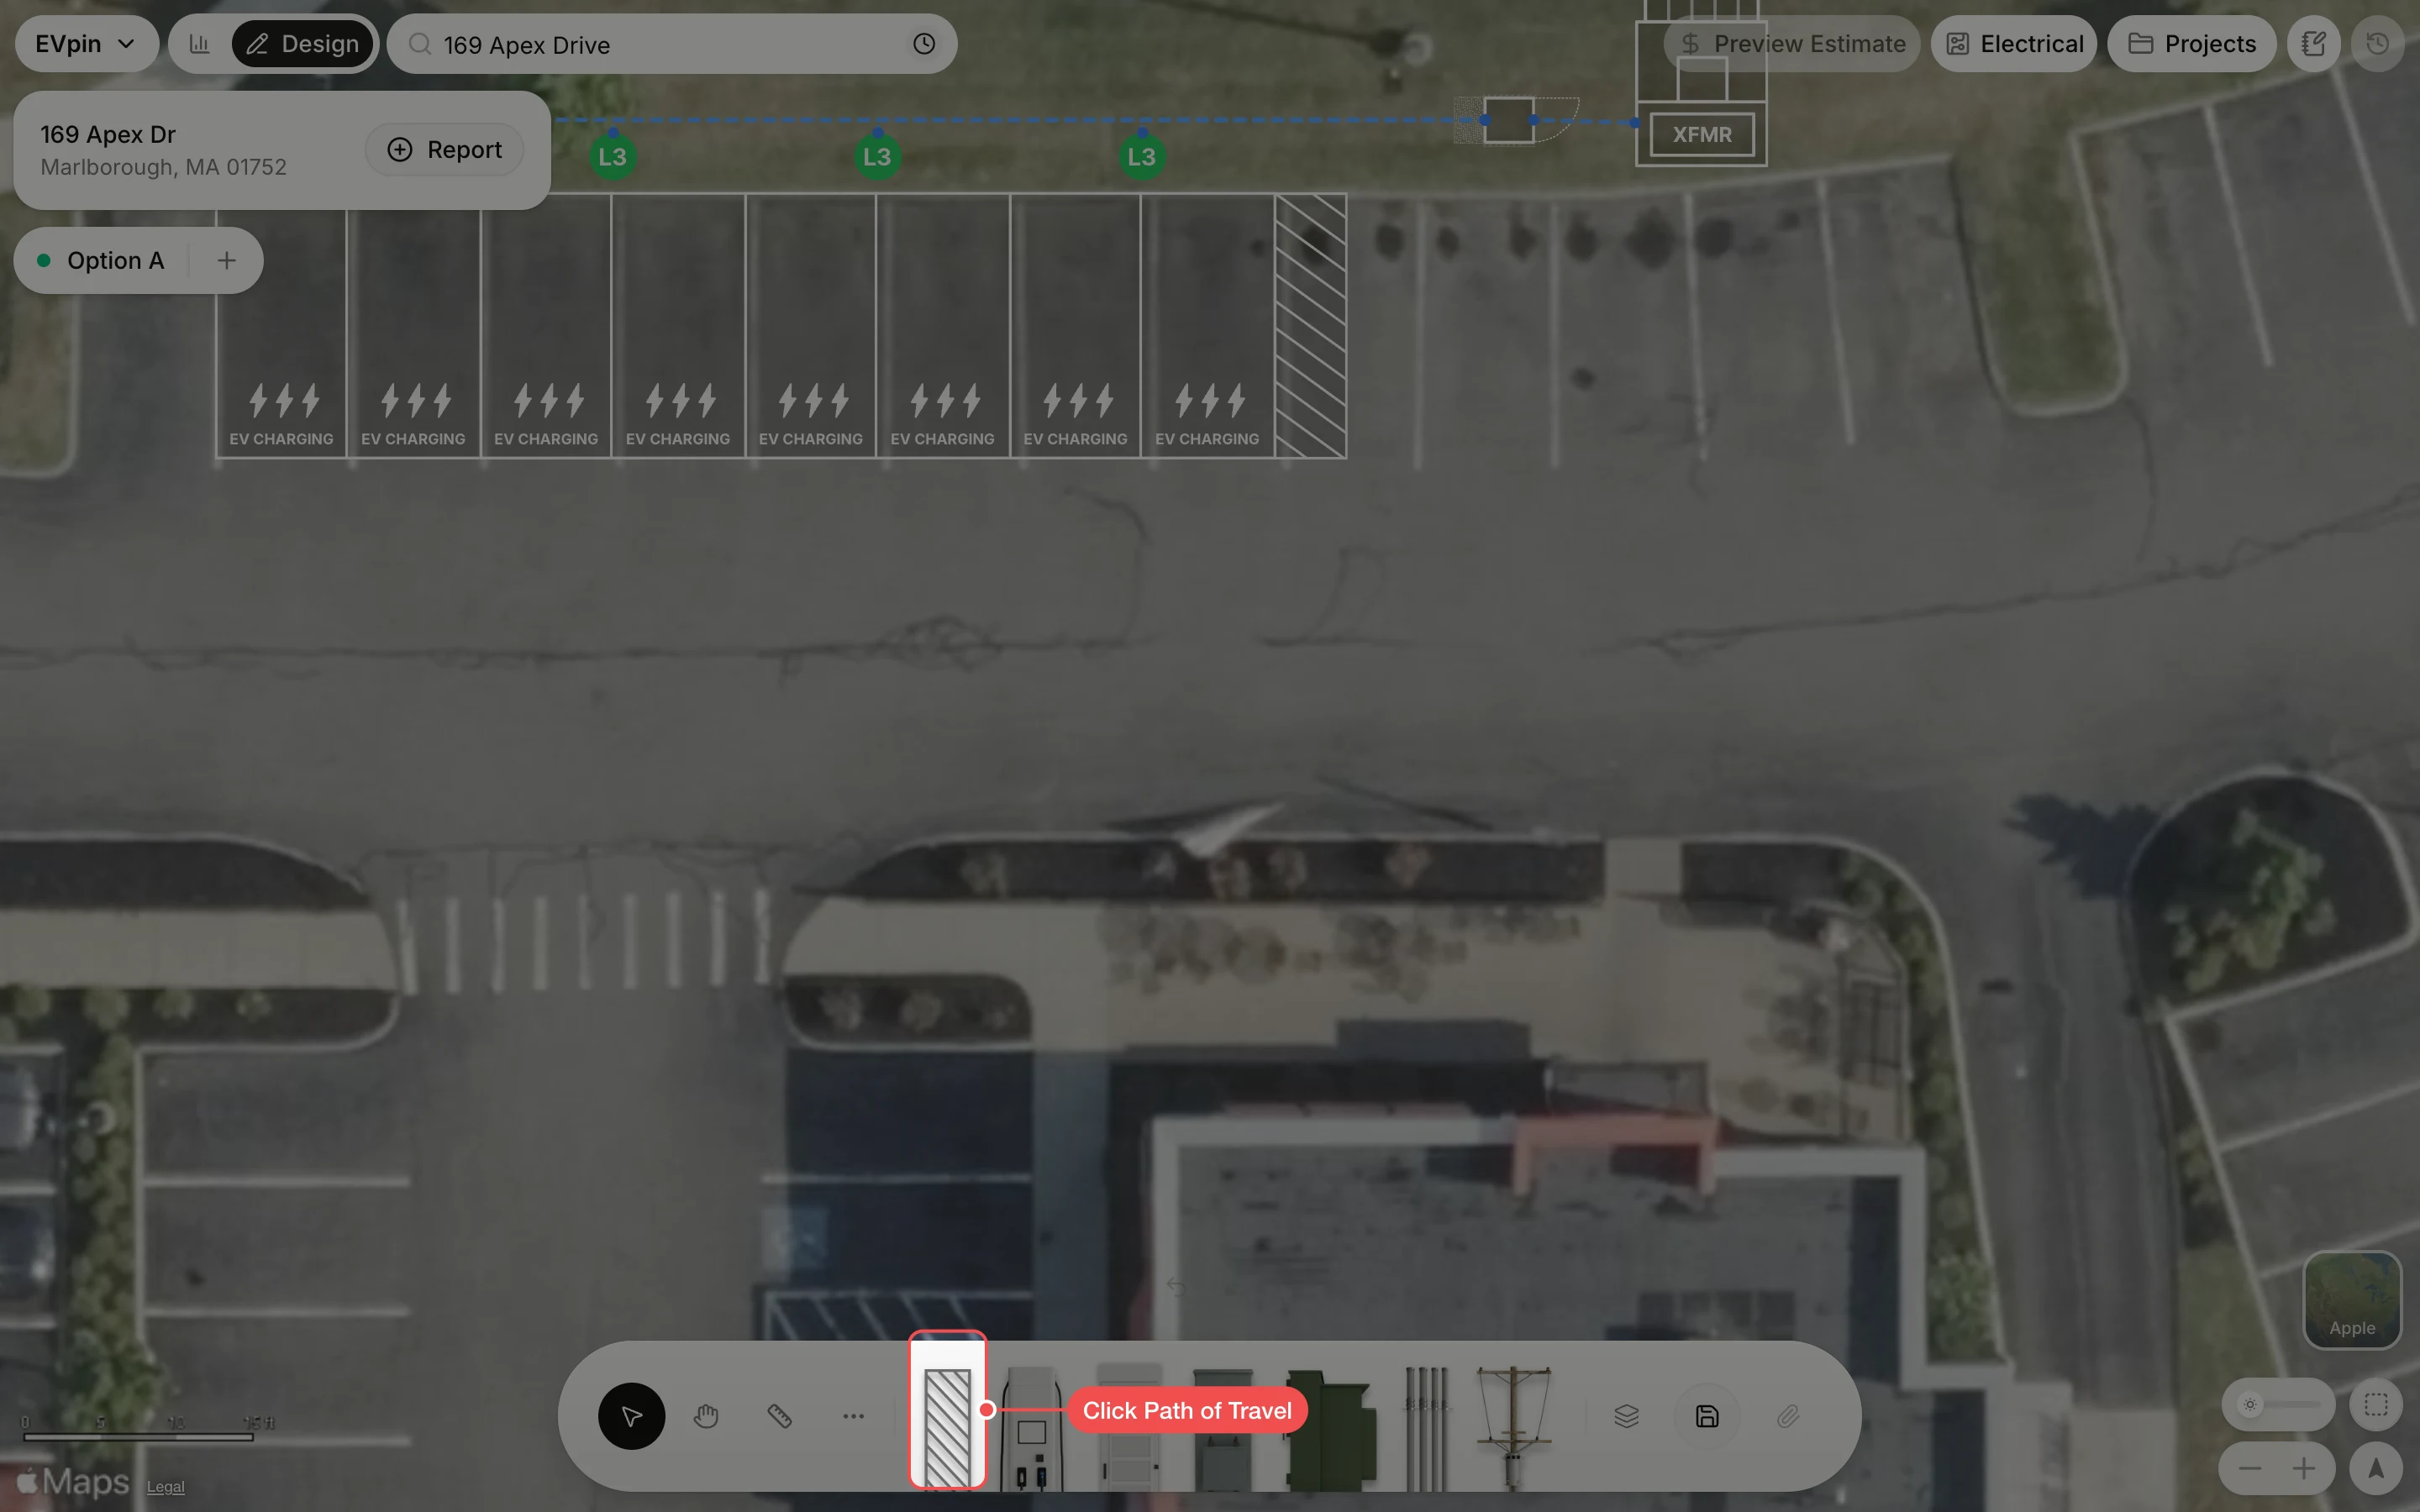
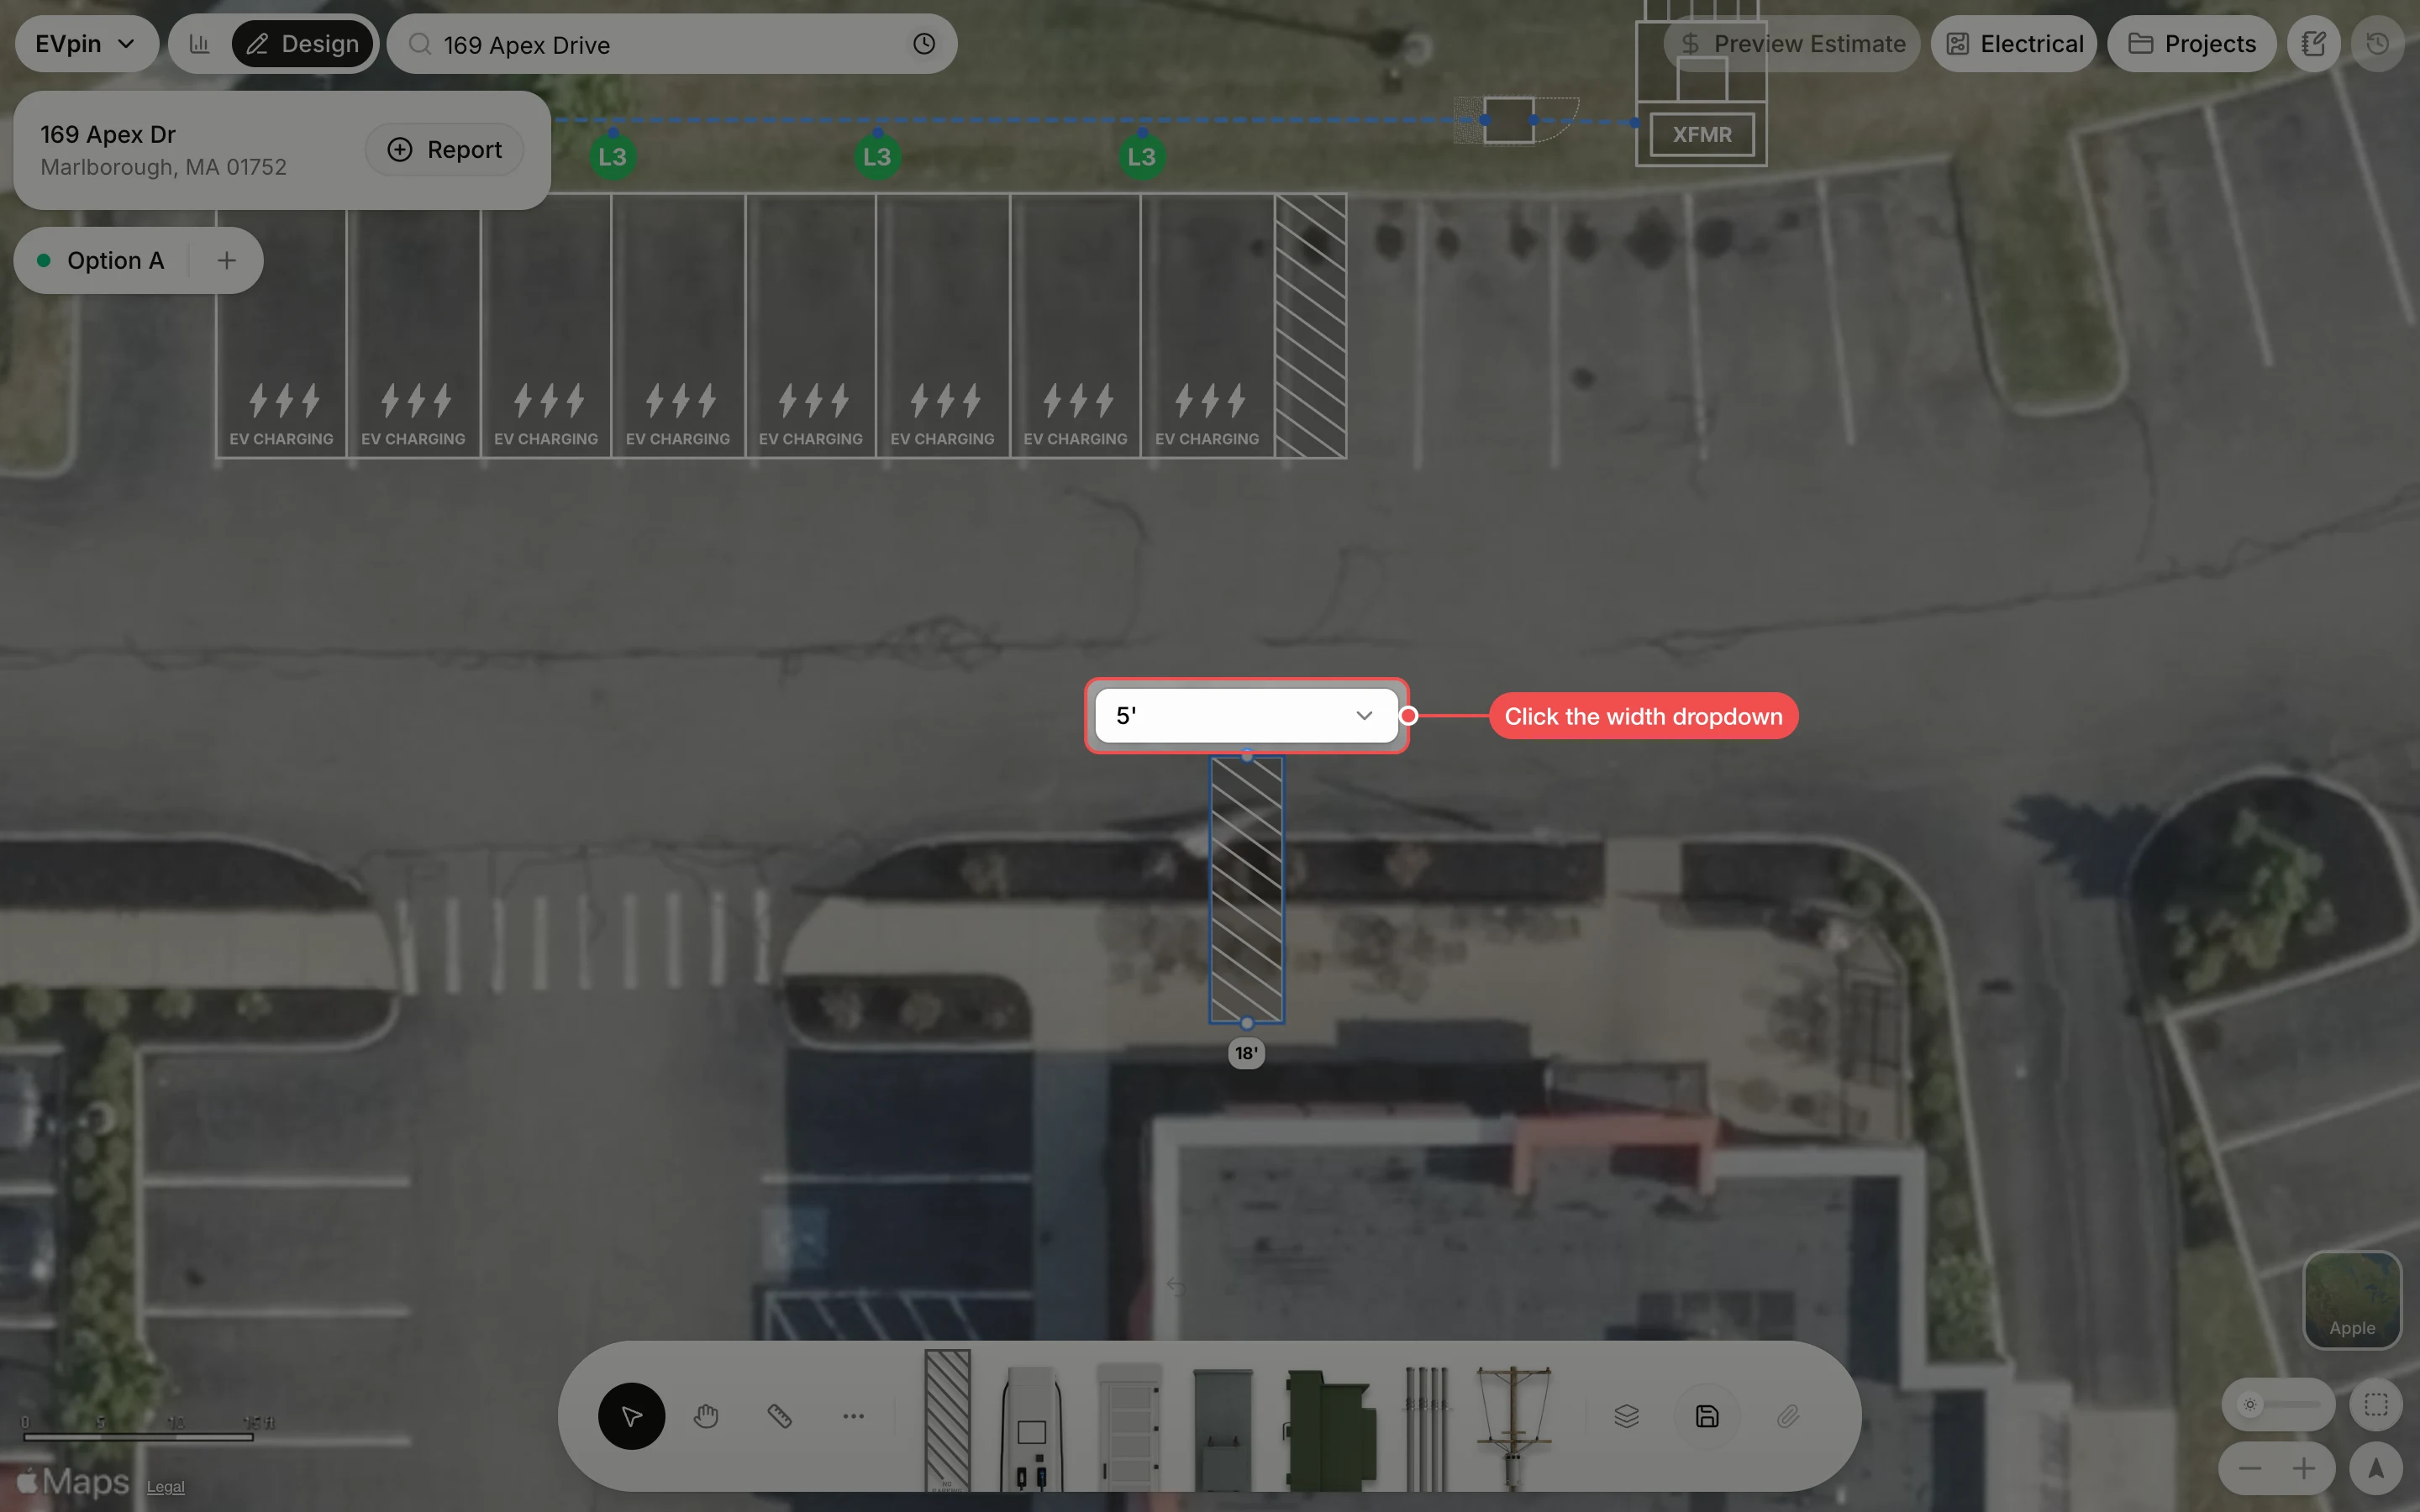
Click Path of Travel (the hatched strip) in the toolbar at the bottom. A path appears in the middle of the map, selected.
Rotate it to the direction of the route
Drag just outside a corner of the path to turn it until it points the way the route runs.
Drag it to the start of the route
Drag the path so one end meets the access aisle at the end of the stall row.
Stretch it to the walkway
Drag the handle at the other end to lengthen the path. The label shows its length as you drag. Stop where it reaches the walkway, here the gap in the planter.
Add a leg for each turn
A path of travel is straight, so repeat steps 1 to 5 for each turn in the route. Here a second leg runs from the planter gap to the entrance.
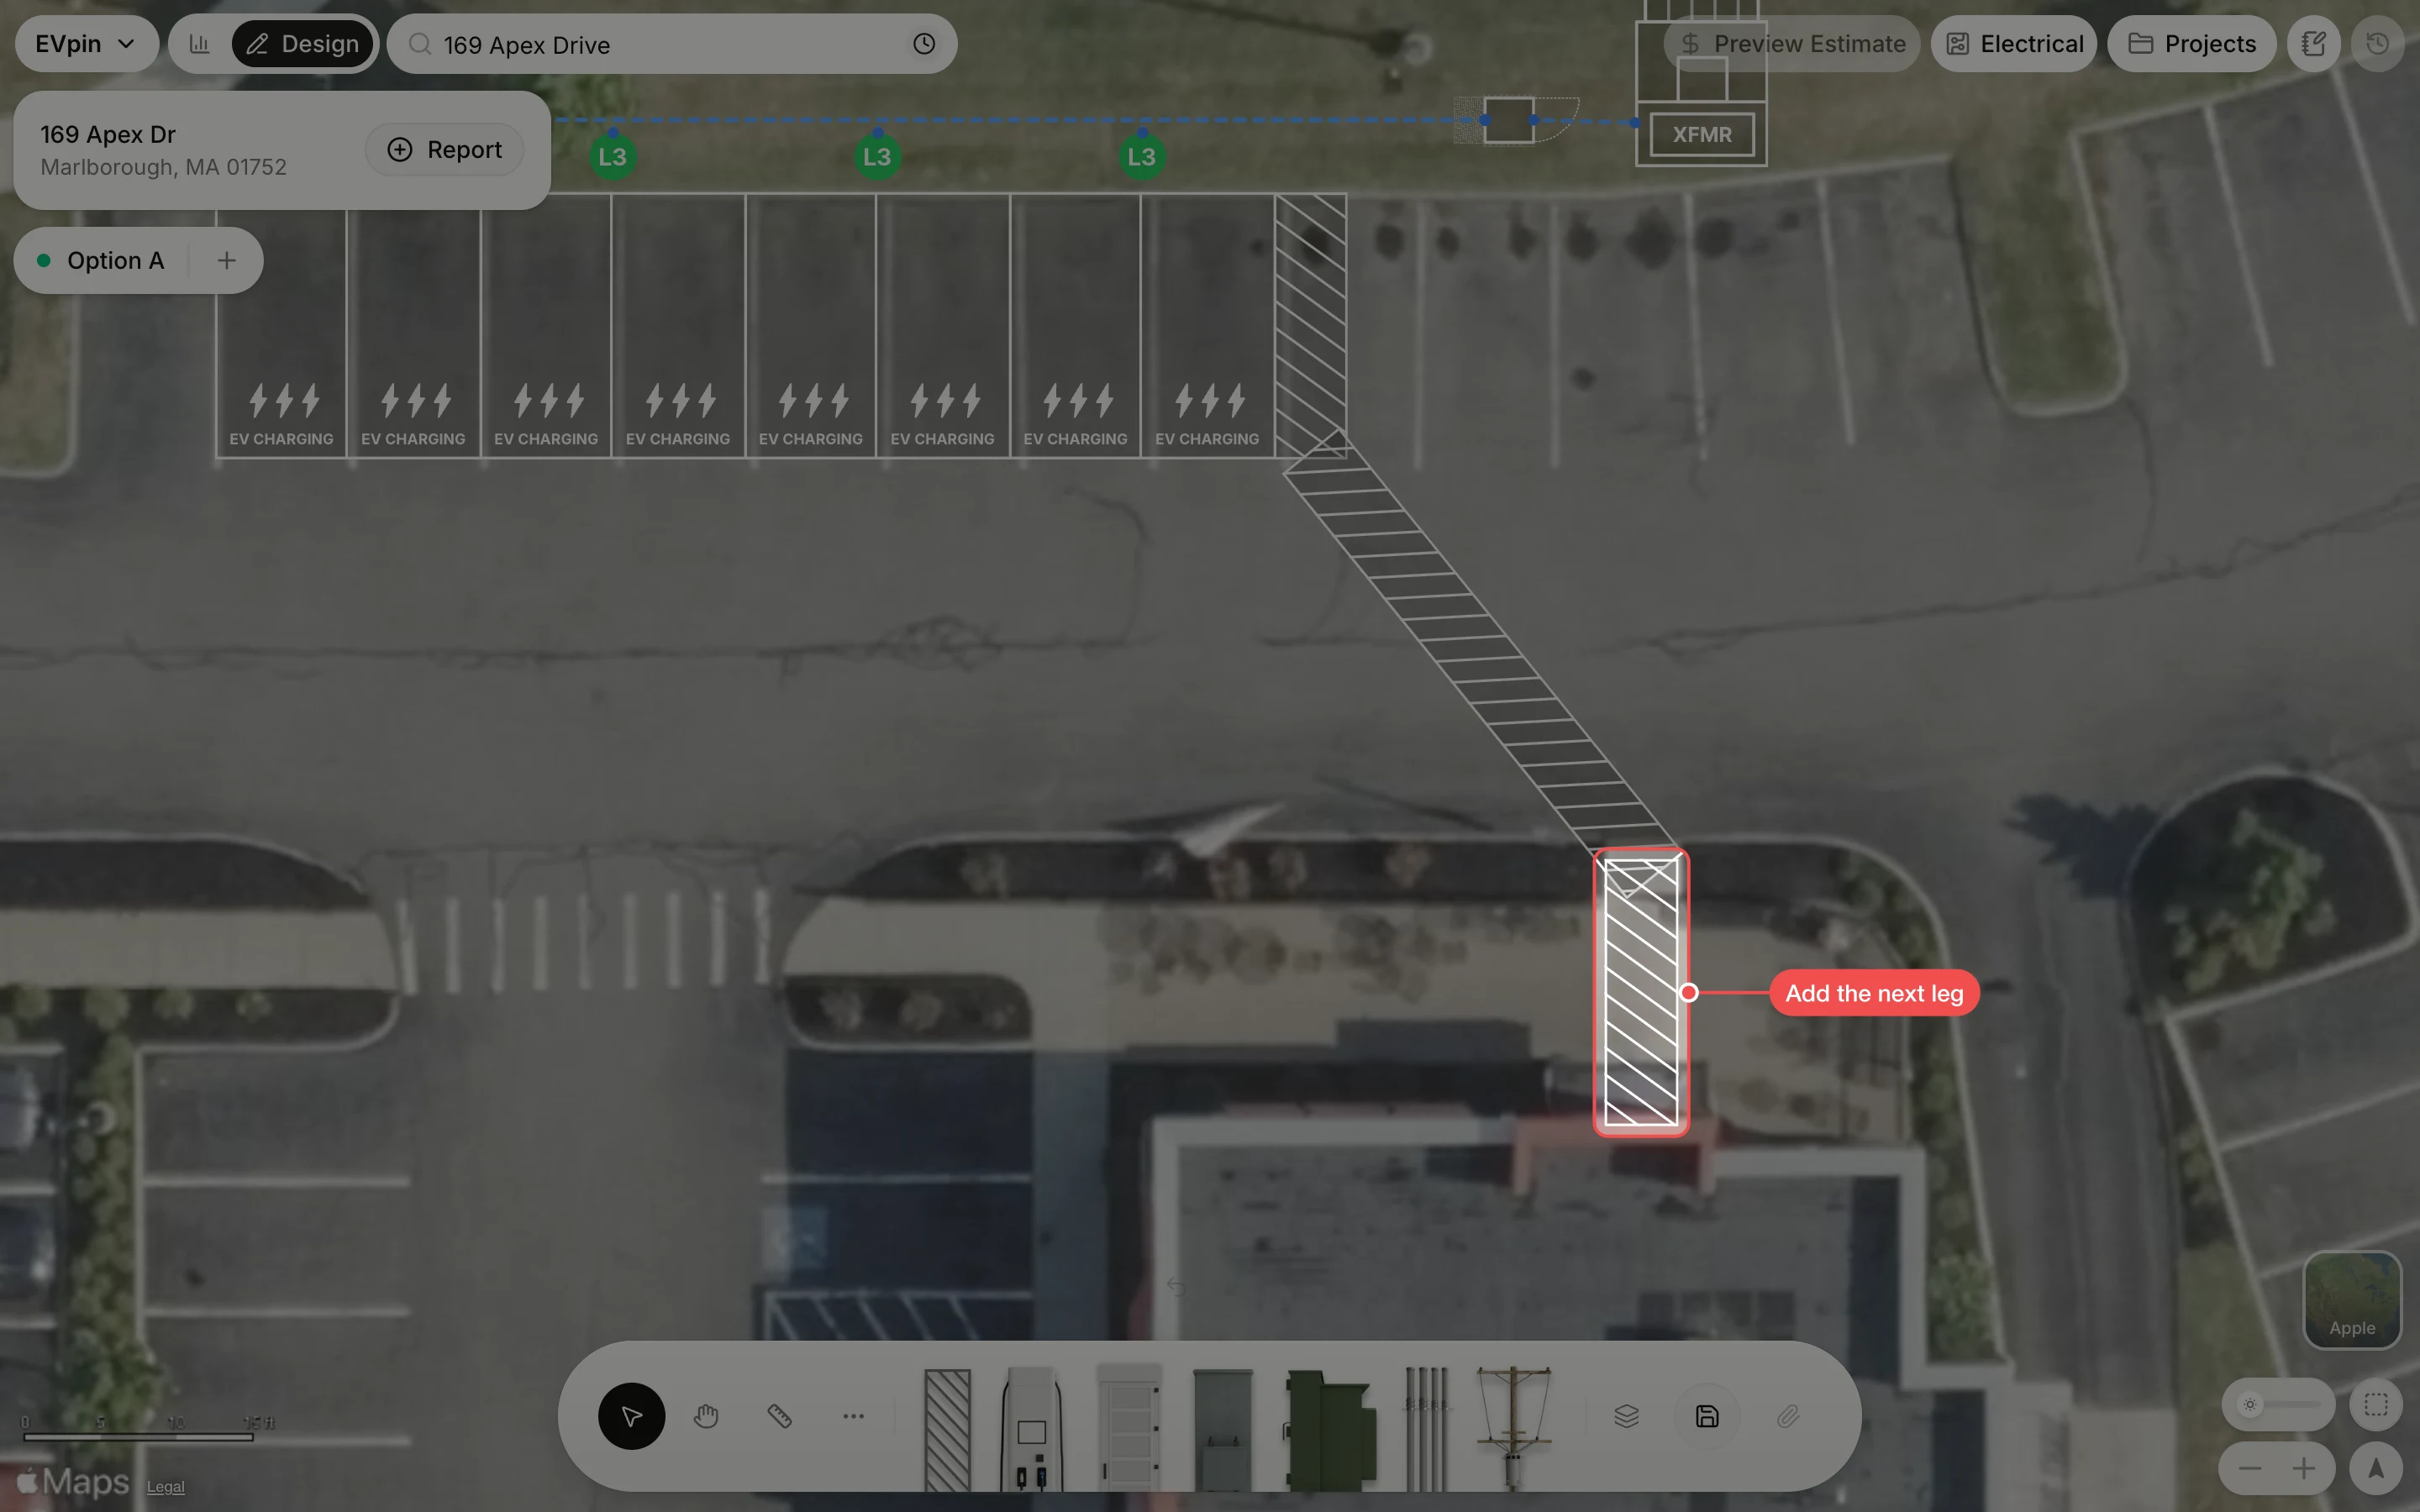
What's next
- How to measure a distance on a design to check the length of the route.